More details about Conflux development documents please read Conflux dev-package
Specifications
Standard
For specifications following EIP-721 and EIP-1155 standards on Conflux please read Guideline for developing NFT on Conflux
Note that the exposed functions reading metadata in the OpenZeppelin’s implementations are tokenURI (EIP-721) and uri (EIP-1155). And most blockchain browsers, NFT marketplaces, and wallets supporting NFT display read these two functions by default.
For special requests such as storing NFT on multiple servers, you can expose the metadata uri, which is mainly used for external display, to the tokenURI/uri function. And then write one or more other functions to fetch the metadata uri stored on other servers.
Sponsorship
More details about internal contract and sponsorship please read Introduction to Conflux internal contract.
You should import the internal contract SponsorWhitelistControl.sol in order to use sponsorship. Simple case:
// Import sponsor whitelist contract
import "./SponsorWhitelistControl.sol";

contract example {
    // Create SponsorWhitelistControl Object SPONSOR
    SponsorWhitelistControl public constant SPONSOR =
        SponsorWhitelistControl(
            address(0x0888000000000000000000000000000000000001)
        );

    constructor(string memory uri_) {
       // set the initial uri to get metadata
        _setURI(uri_);

       /**
        * Register all users as receiving sponsorship:
        * call addPrivilege to add a list of users who are eligible to receive sponsorship
        * address(0) means zero address, representing all users
        */
        address[] memory users = new address[](1);
        users[0] = address(0);
        SPONSOR.addPrivilege(users);
    }
}
Decentralized Storage
The process of storing NFT resources used for display - images, audio, or video - on a centralized server can be found in the documentation provided by each cloud provider. These will not be repeated here.
IPFS
Take the widely used IPFS as an example.
InterPlanetary File System (IPFS) is a network transport protocol designed to enable distributed storage, sharing, and persistence of files. It is a content-addressable peer-to-peer hypermedia distribution protocol. The nodes in an IPFS network constitute a distributed file system.
You do not need to know much about IPFS if you do not have complex requirements. Simply use the service provider Pinata recommended by the IPFS officials. It provides 1GB of storage space for free.
- Enter the Pinata website, register, and log in. It will bring you to the profile page: 图片:

- Click
UploadunderMy Fileson the left. There will be three options:Folder,File, andCID. SelectCID, files that are cached orPinnedlocally can be stored on other nodes of IPFS by uploading the locally generatedCID. This mechanism ensures that files can still be accessed even if the local node is offline.
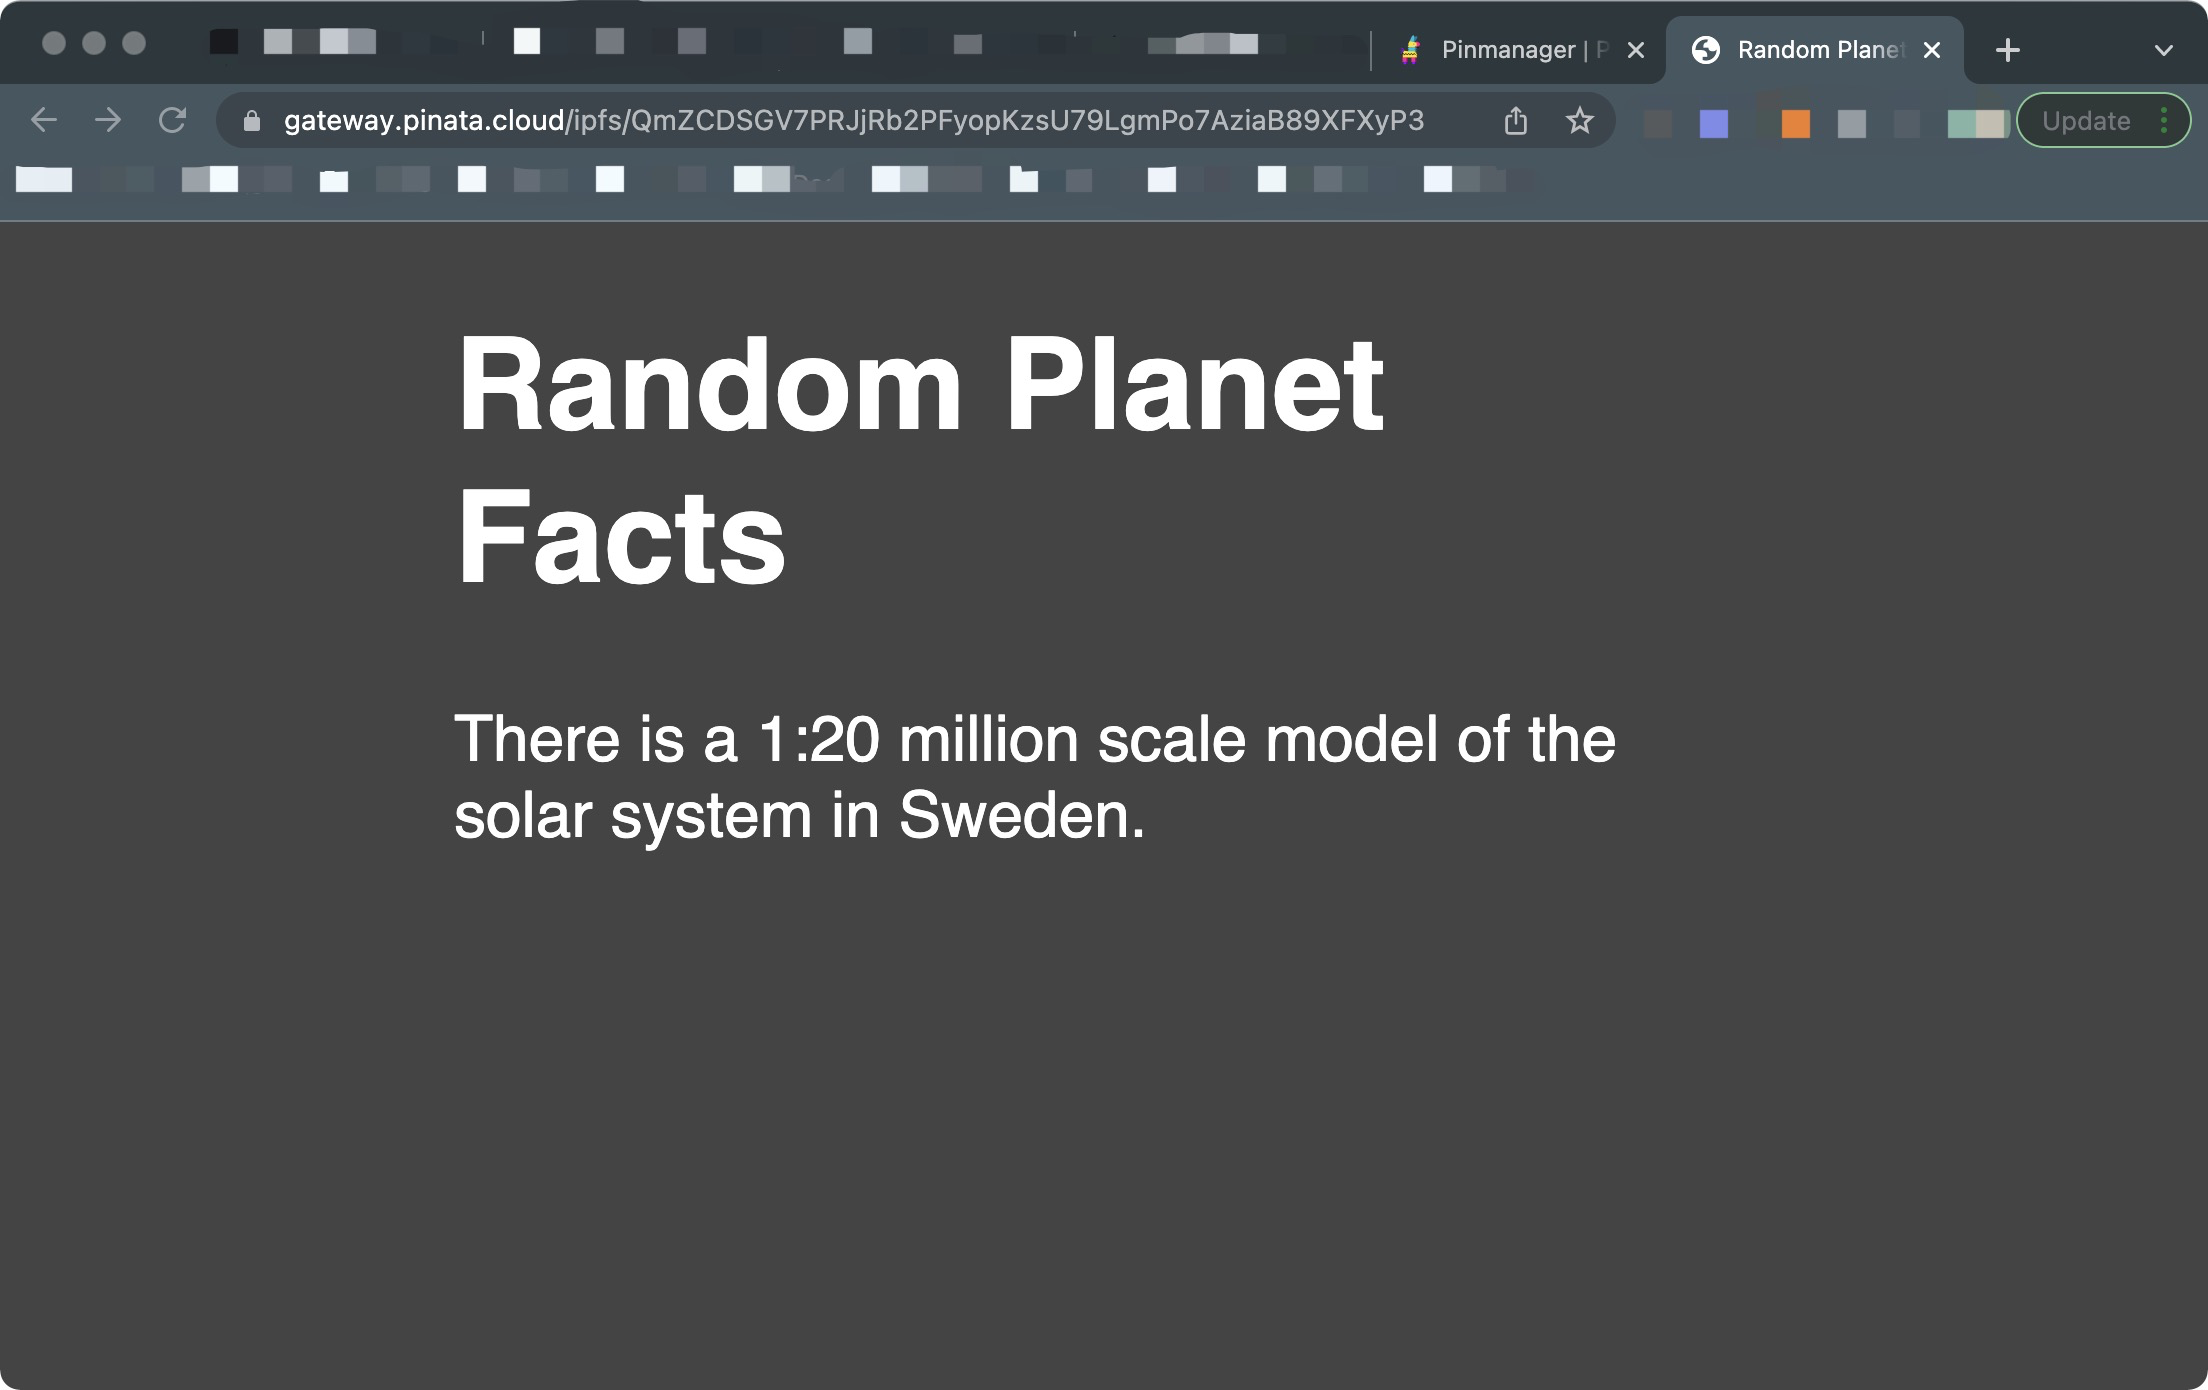
A Content Identifier (CID) will be generated after a successful pin (i.e., it has been saved on the IPFS network) if you selectFile. And then this file can be accessed by Pinata gateway + CID. For example: https://gateway.pinata.cloud/ipfs/QmZCDSGV7PRJjRb2PFyopKzsU79LgmPo7AziaB89XFXyP3
- If you choose
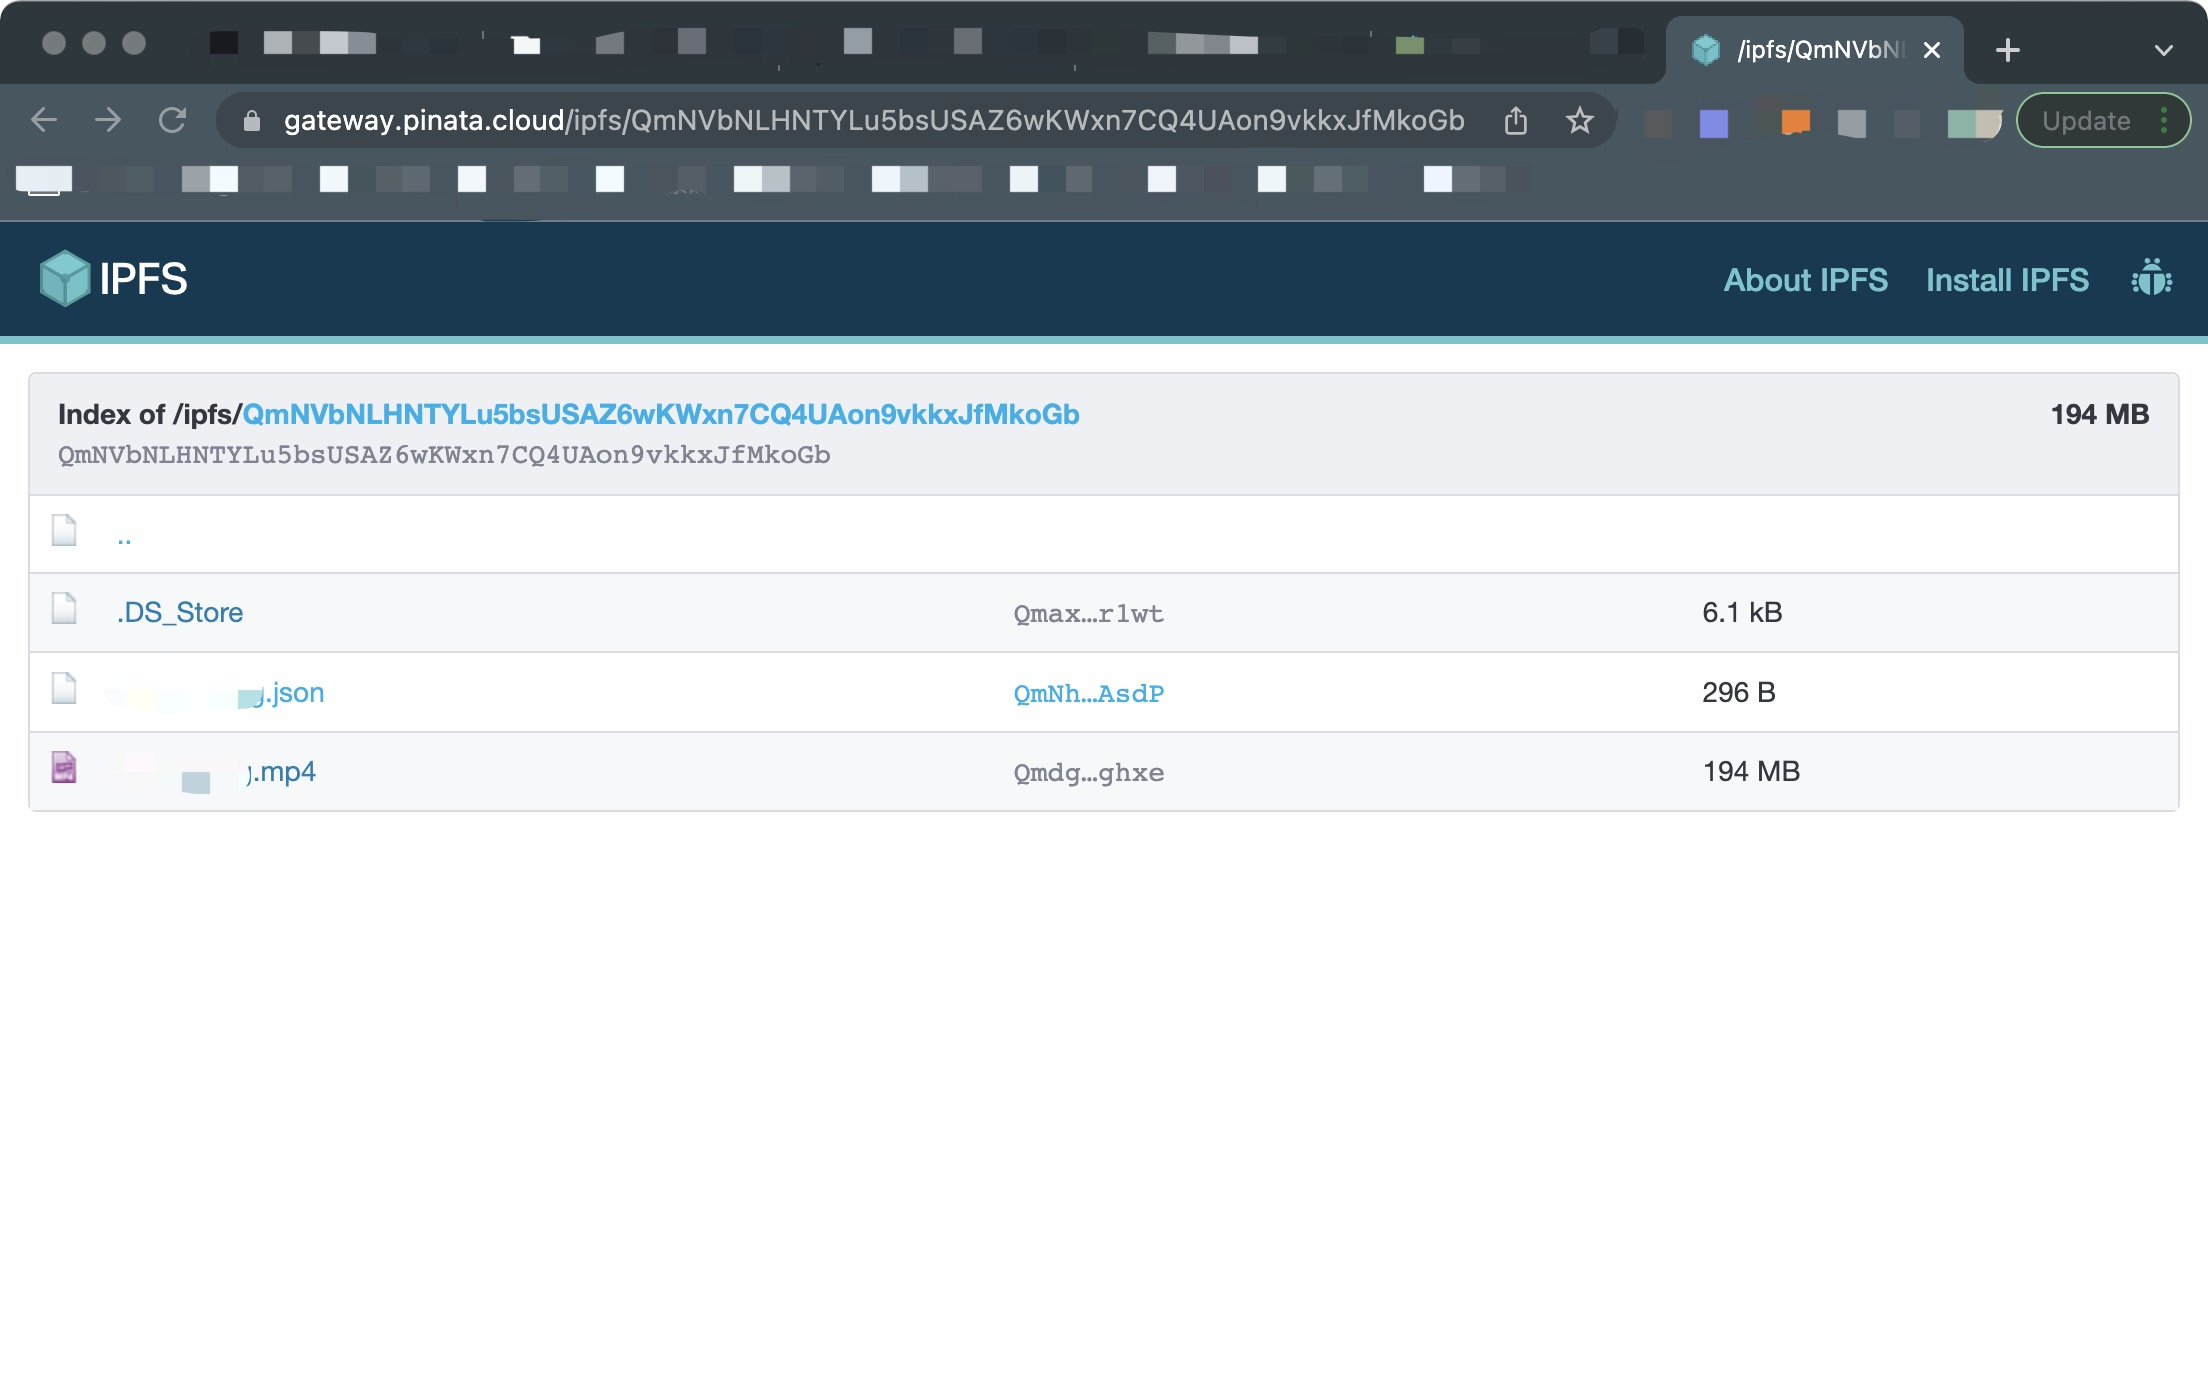
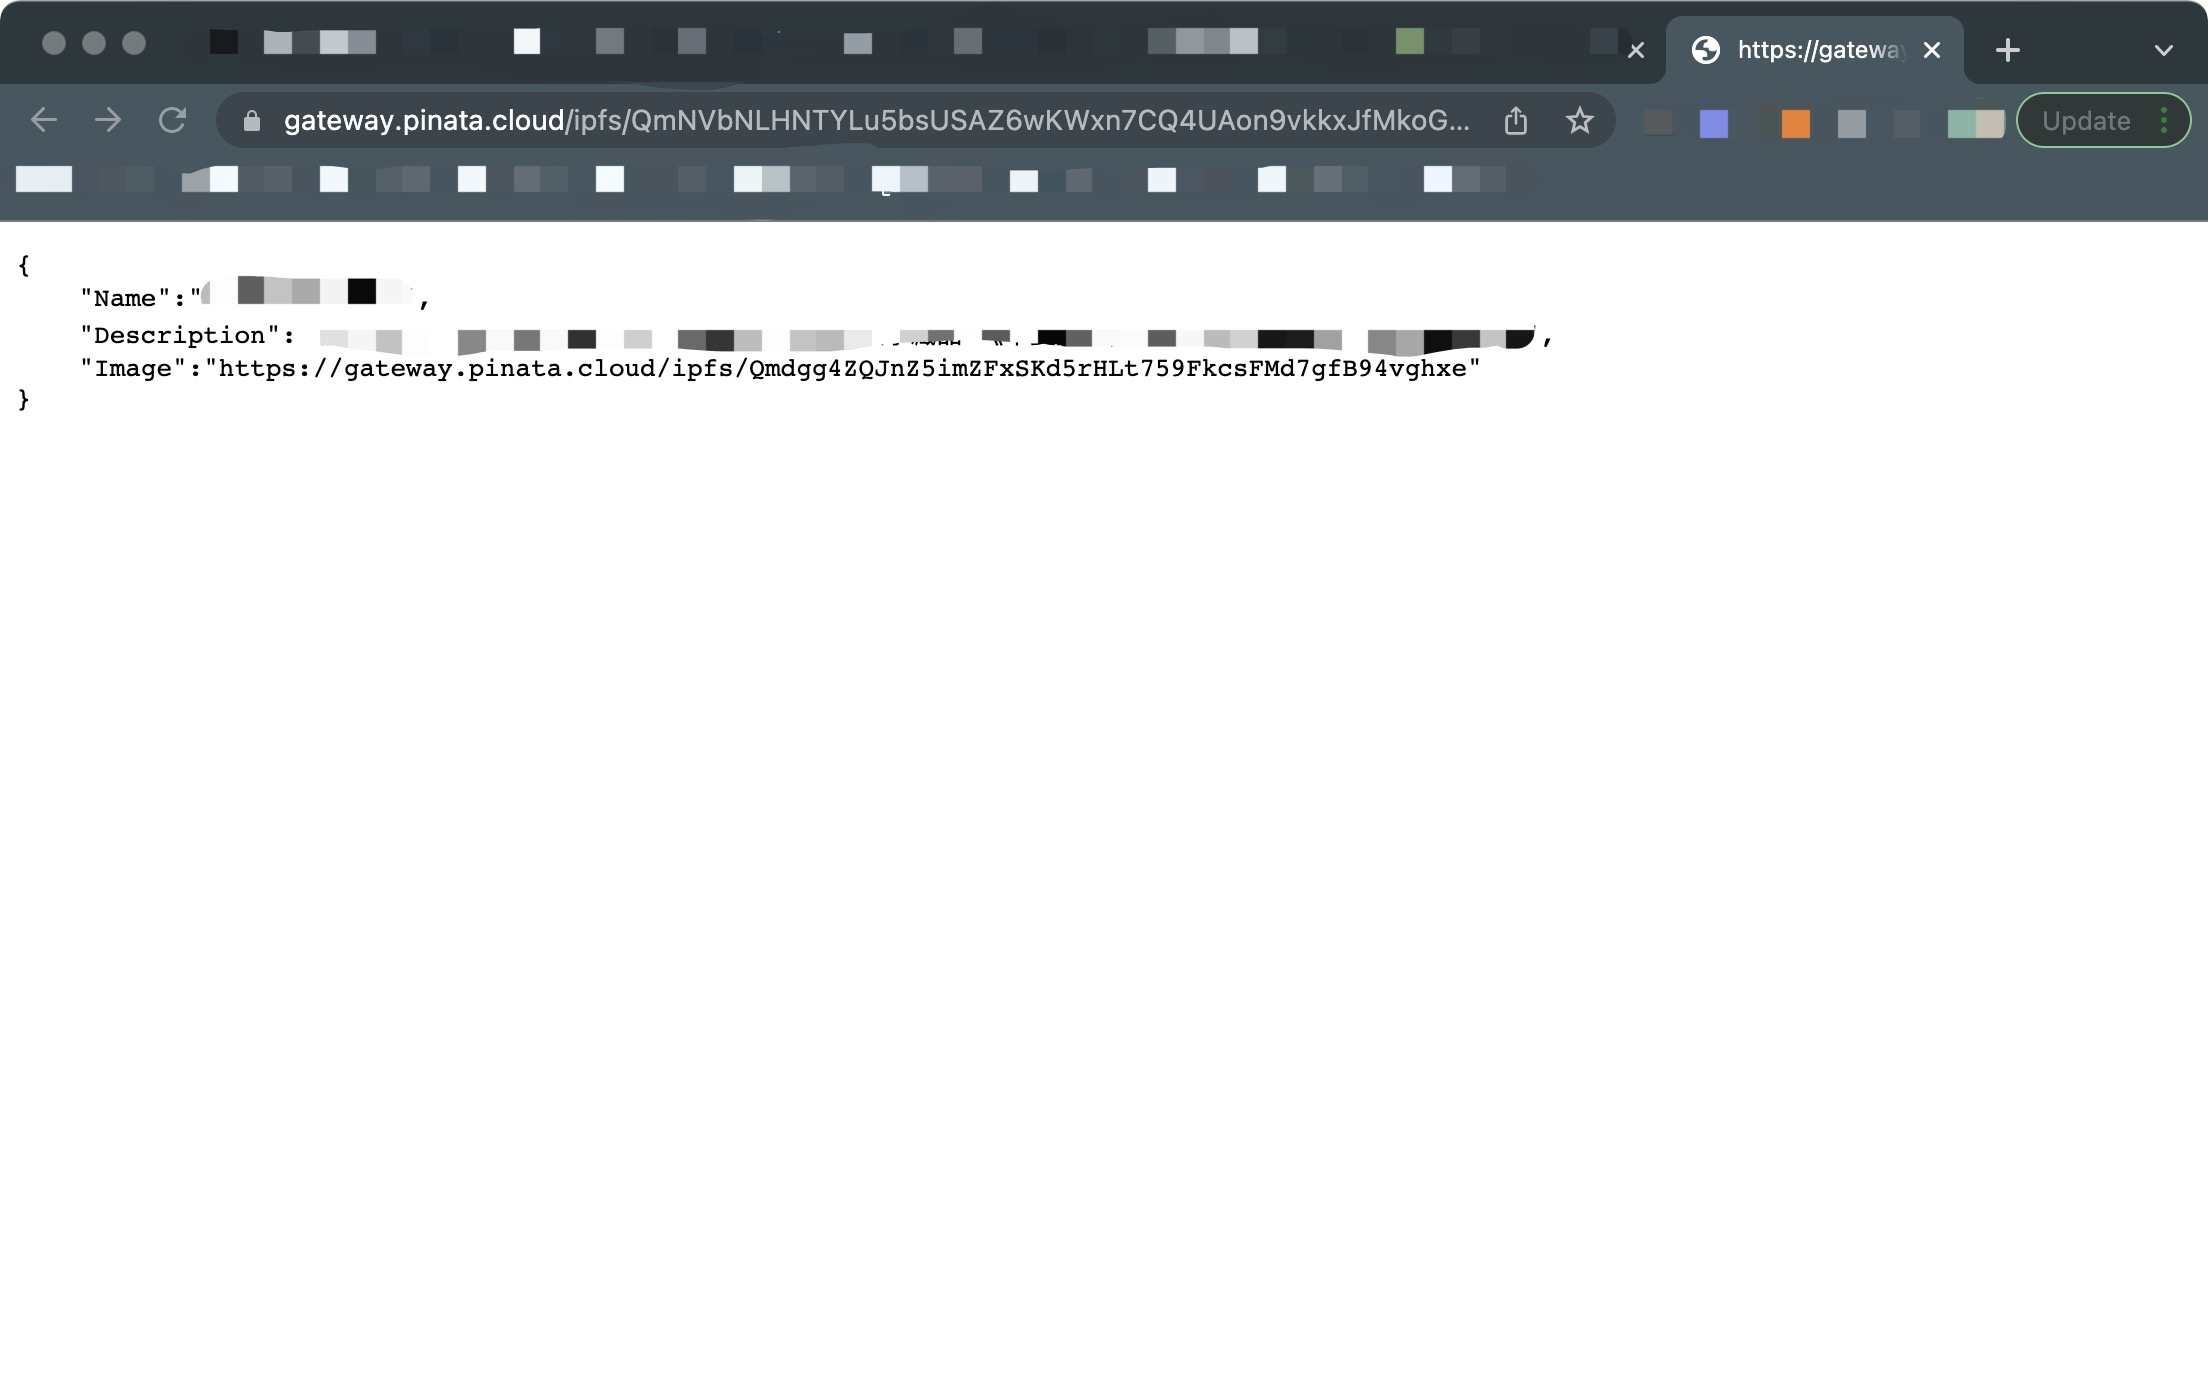
Folderto upload a folder,CIDwill be generated for both the folder and each of its files separately. And users can access the files either by the file's ownCID(see above) or by the folder'sCID+ filename, here is an example: https://gateway.pinata.cloud/ipfs/QmNVbNLHNTYLu5bsUSAZ6wKWxn7CQ4UAon9vkkxJfMkoGb/ShuangJing.json
Access the folder by CID
Access the file via folder CID + filename
Note: Pinata has a 1GB free quota, beyond which you need to pay. The official team provides a list of pinning service providers. NFT.Storage is recommended, which is very similar to Pinata. This is a free decentralized storage service maintained by Protocol Labs, which is also the development team of IPFS protocol.
Reference: Introducing NFT.Storage: Free Decentralized Storage for NFTs: https://filecoin.io/blog/posts/introducing-nft.storage-free-decentralized-storage-for-nfts/
Deployment
Deploy contracts by cfxtruffle. For more information:
Conflux Truffle Complete User Guide: https://juejin.cn/post/6862239117934067726
Conflux-truffle: https://github.com/Pana/conflux-101/blob/master/docs/conflux-truffle.md
Workflow for smart contract development by using Cfxtruffle: https://shimo.im/docs/e1Az4M7EwbCVadqW
And Introduction to Lecture7.1 - Cfxtruffle & standard contracts: https://confluxedu.wixsite.com/beidoutianxuan2021/课程录屏
Basic Steps:
// Install cfxtruffle globally
npm install -g conflux-truffle
// Initialize a project
cfxtruffle init project-name
// Add contract
cfxtruffle create contract contract-name
// Install @openzeppelin/contracts to import required contracts
npm install @openzeppelin/contracts
// Compile the contract
// A build folder will be created once compiled
// There are json files related to the contract inside
// Use this command if you want to re-compile all files: cfxtruffle compile --all
cfxtruffle compile

// Config truffle-config.js file
// Deploy contracts to the Conflux mainnet via remote nodes
module.exports = {
  networks: {
    Tethys: {
        url: "https://main.confluxrpc.com", // Conflux mainnet rpc
        network_id: "1029", // mainnet id
        /**
         * This is used to send the account private key of the transaction deploying contract
         * Put some cfx in this account in advance
         * It normally costs 11-14 cfx for deploying a contract
         */
        privateKeys: [""],
    },
  },
  // Specify the solc compiler version here, which is the version used by the contract you want to deploy
  compilers: {
    solc: {
      //  Note: You can also use version: "pragma" to automatically detect the compiler version without specifying it
      version: "^0.8.0",    // Fetch exact version from solc-bin (default: truffle's version)
      // docker: true,        // Use "0.5.1" you've installed locally with docker (default: false)
      // settings: {          // See the solidity docs for advice about optimization and evmVersion
      //  optimizer: {
      //    enabled: false,
      //    runs: 200
      //  },
      //  evmVersion: "byzantium"
      // }
    }
  },
}
// Add contract deployment script
cfxtruffle create migration contract-name
/**
  * Note:
  * After creating the deployment script you need to rename it, in the historical order of all contract deployments
  * If the first script name preset after initialization is 1_initial_migration.js
  * Then if you are going to deploy your own contract
  * The deployment script should be named as 2_any_maybe_your_new_contract_name.js
  */

// Add the following codes to the deployment script
const any = artifacts.require("contract-name");
module.exports = function(_deployer, network) {
  // Use deployer to state migration tasks.
  _deployer.deploy(any)
  /**
    * Note:
    * The args of _deployer.deploy() are determined by the args of your contract constructor constructor()
    * Here _deployer.deploy(any) assume constructor() do not need any args
    * If your contract requires additional args passed to the constructor while deploying, such as:
    * constructor(
        string memory name_,
        string memory symbol_,
        string memory uri_
      )
    * Then you should pass the args to deploy function in order. Like this:
    * _deployer.deploy(any, 'arg1', 'arg2', 'arg3', ......)
    * If you failed to pass args properly, the following error will be generated:
    * "Invalid number of parameters for "undefined". Got 0 expected 3!"
    */
};
/**
 * Run the deployment command
 * --reset: to re-deploy all contract
 * --network: to specify a network. It will use the development network by default
 */
cfxtruffle deploy --reset --network Testnet
// After the deploy command is executed, the result of the deployment will be the output
// Such as transaction hash, contract address, gas costs, etc.
// You may check this information on ConfluxScan https://confluxscan.net/ by searching contract address
Tips: You can install a Solidity Contract Flattener plugin if you are developing with the Conflux-Truffle framework by VSCode. It will compress your contract with all its imported dependencies into one file. This plugin is handy in scenarios where your contract has complex dependencies, and you also want to publish it to the blockchain browser (e.g. ConfluxScan) for validation and/or reference, for open-source purposes.
Interact with contracts
Interact via ConfluxScan
After deploying a contract to the Conflux mainnet, you can search for the contract address on ConfluxScan and interact with the contract by verifying it.
- The contract is not verified now
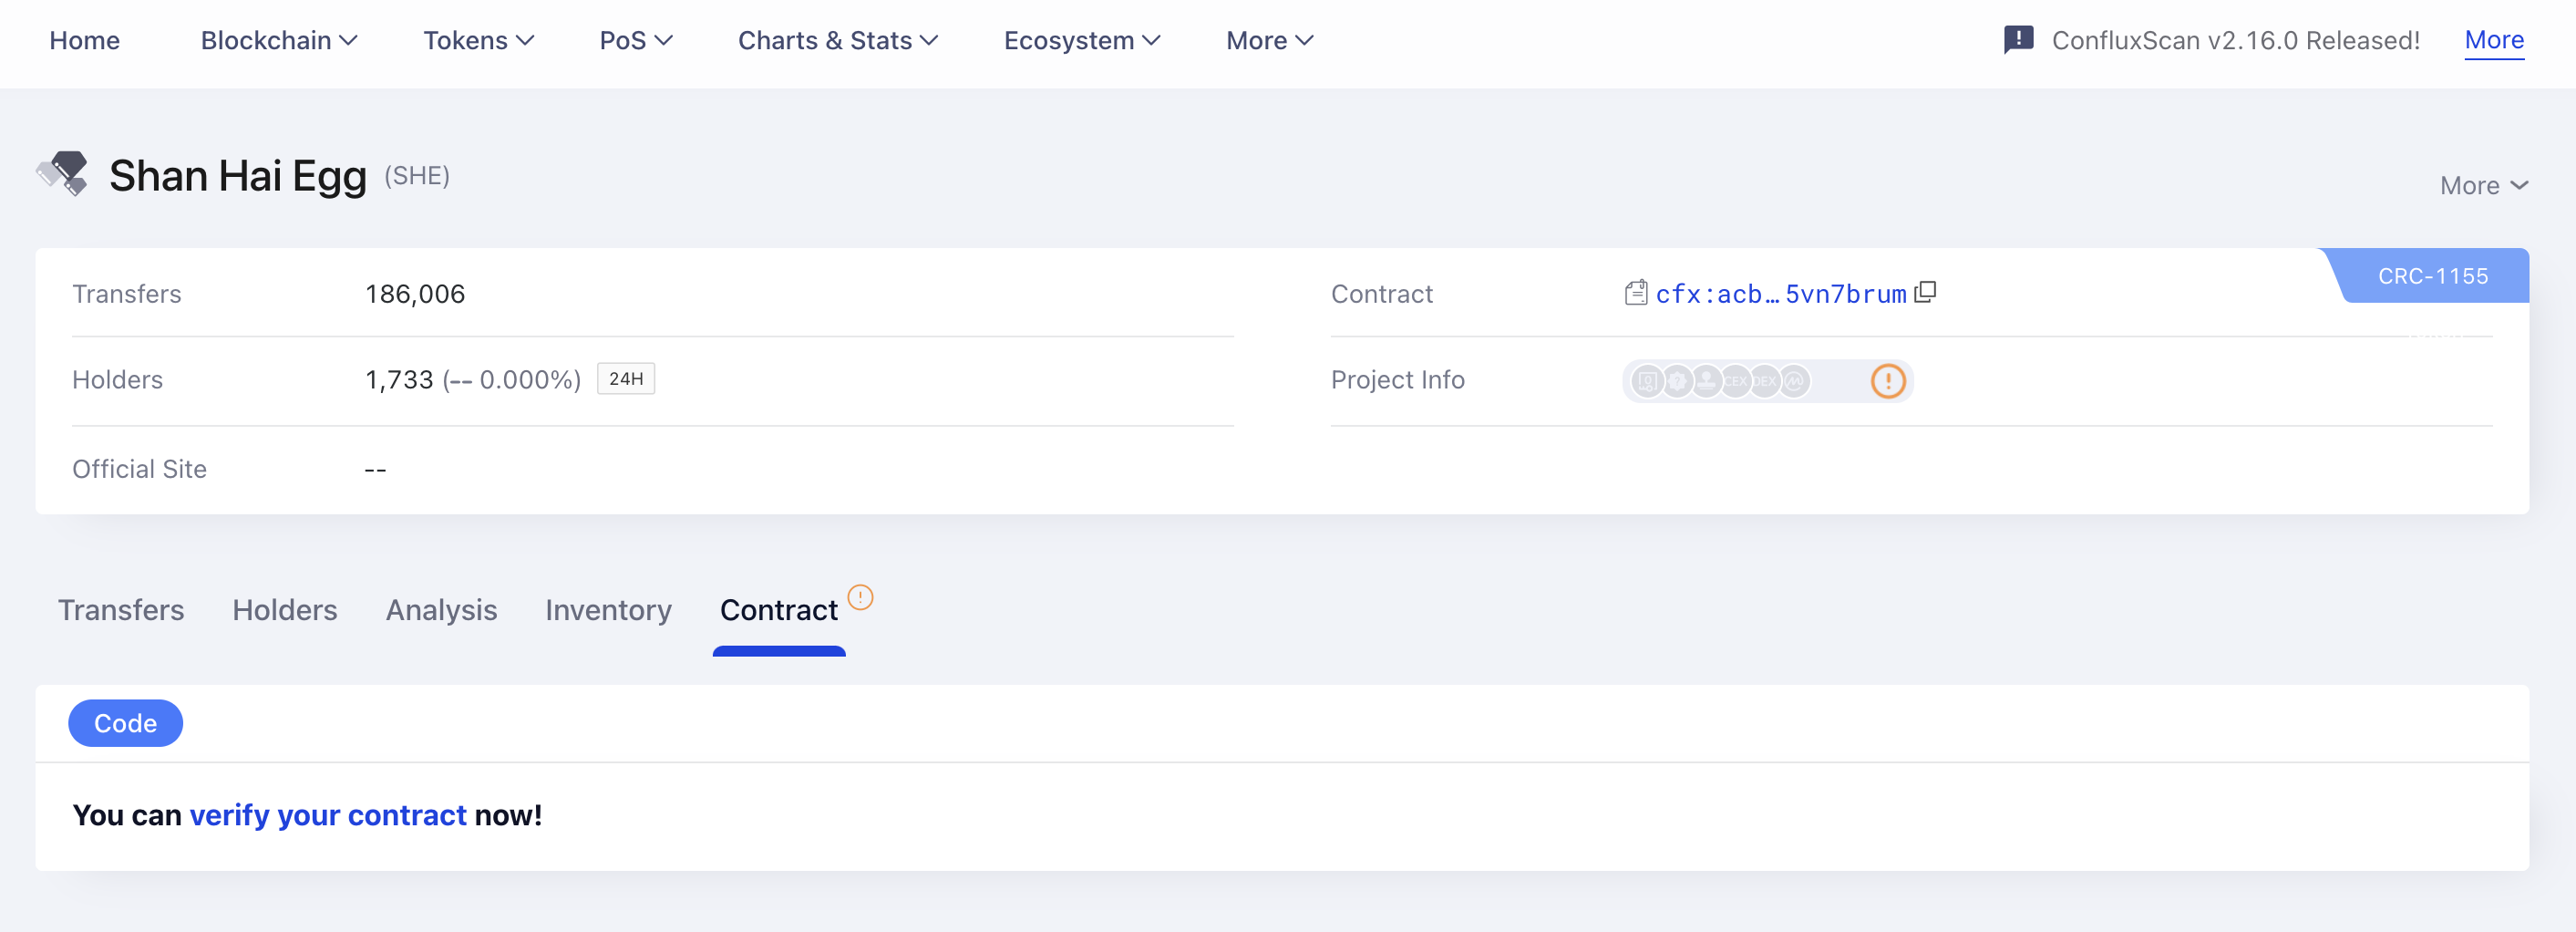
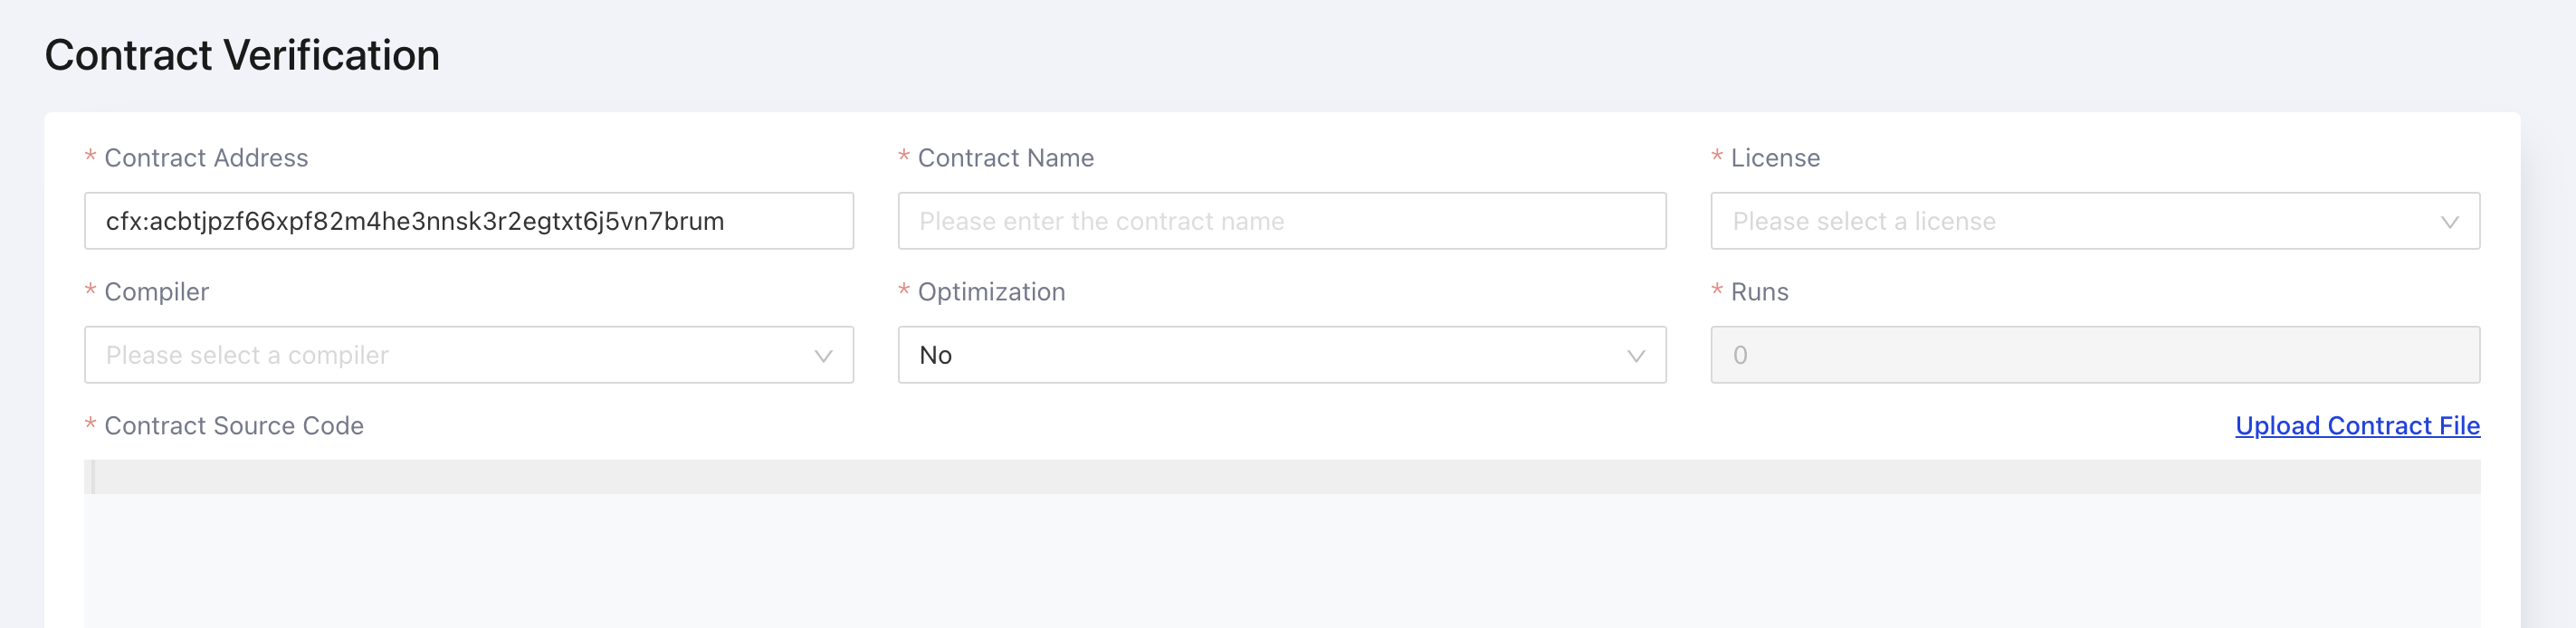
- Submit the contract codes on the verification page. Note that the submitted codes must include all the imported contracts (and the contracts imported by the imported contracts)
Once the contract has been successfully verified, you can return to the contract homepage to view the contract code and interact with the contract.
- Select
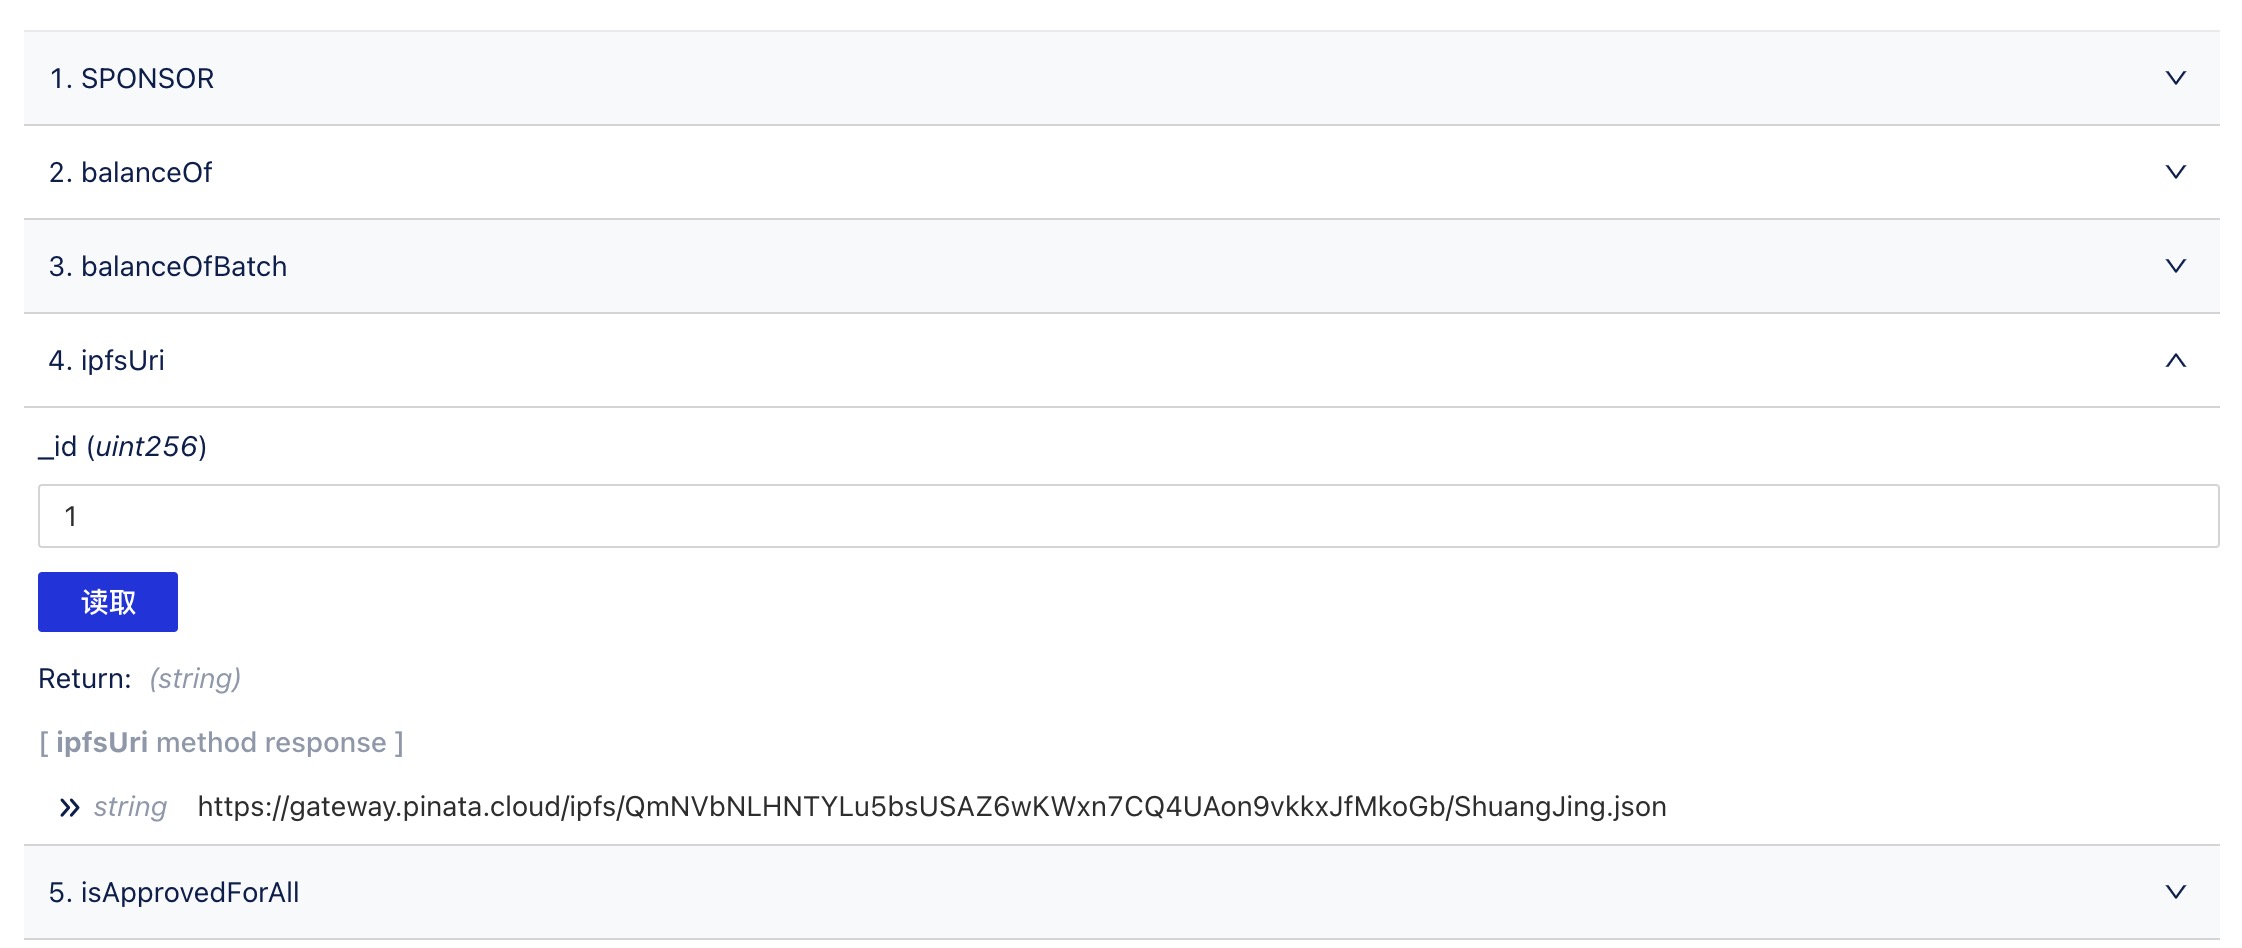
Read Contract
Receive the metadata uri on IPFS by NFT id
- Select
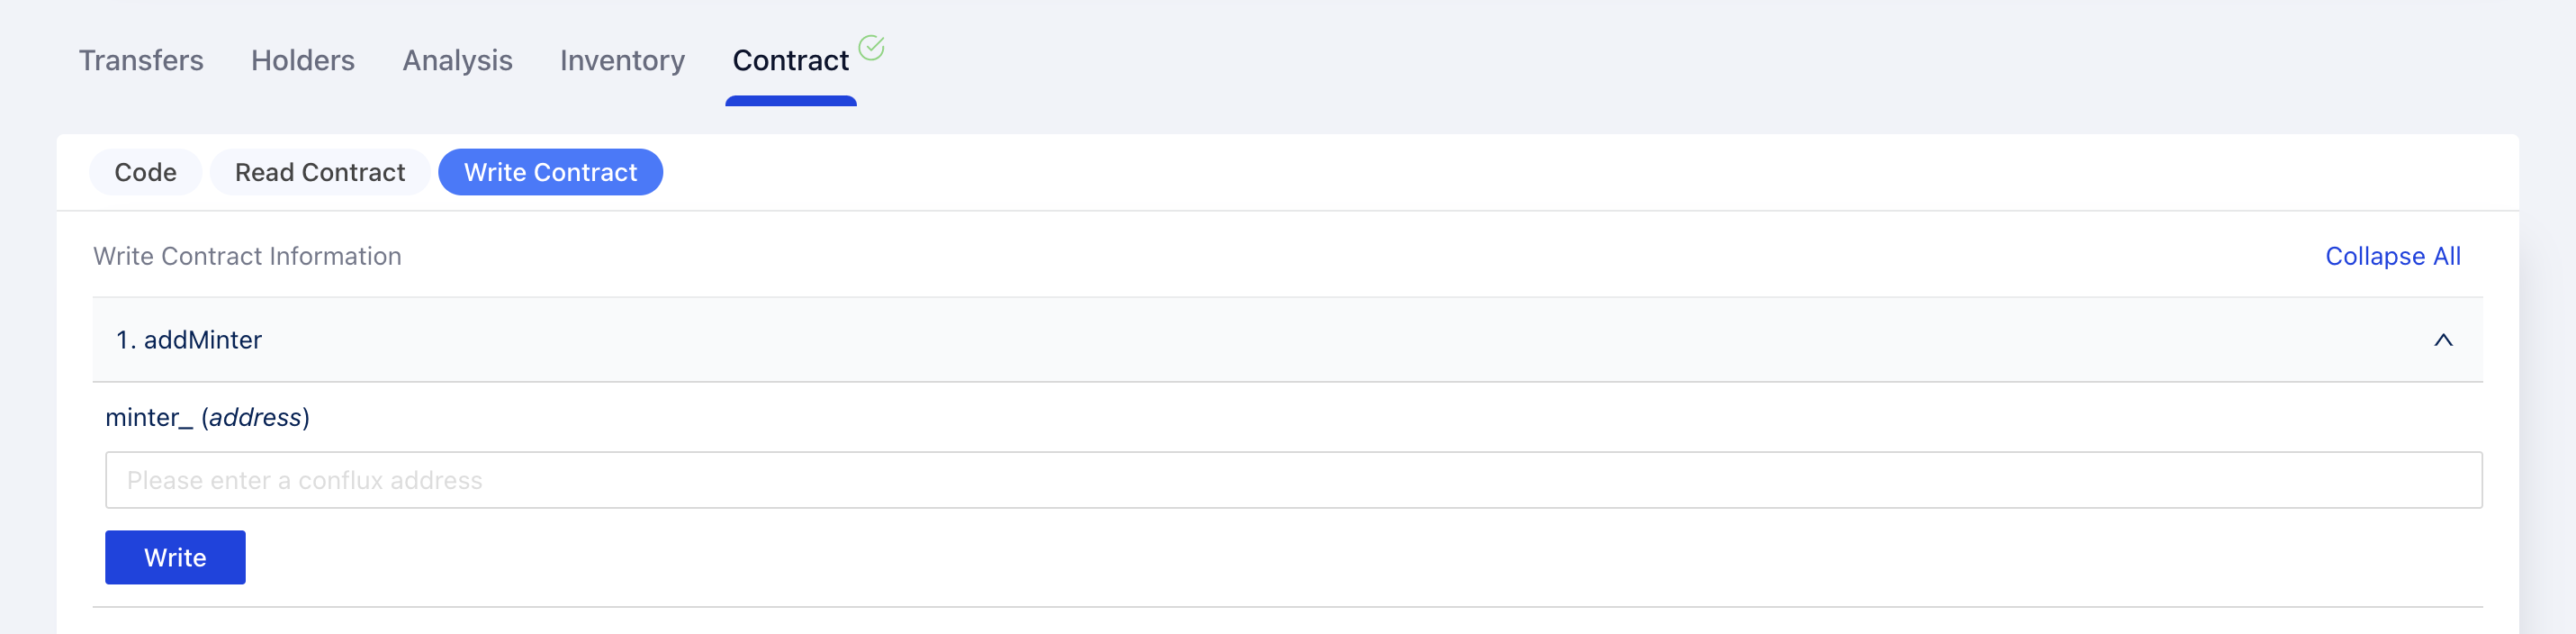
Write Contractto change the state of the contract
Input an address, and set this address as a minter with permission to mint nft. This operation requires a connection between ConfluxScan and Fluent Wallet. The account connected must be the administrator of the contract (admin, i.e. the creator of the contract). It will invoke Fluent wallet to send the transaction when you click Write .
Interact via js-conflux-sdk
Run the node.js script and interact with contracts via js-conflux-sdk. Check the complete official SDK document Conflux-SDKs.
// First, import abi file of the contract
const abi = require('./contract-abi')

// Import Conflux from js-conflux-sdk
const { Conflux } = require('js-conflux-sdk')

// Protect the private key by storing it in the .env file and importing by dotenv
const dotenv = require('dotenv')
dotenv.config()

// Create Conflux object and pass args according to the network
const conflux = new Conflux({
    url: 'https://main.confluxrpc.com',
    networkId: 1029,
})

// Receive the private key stored in the .env file. And create account by invoking addPrivateKey function
const pk = process.env.PRIVATE_KEY
const account = conflux.wallet.addPrivateKey(pk)

// Set batchAddItemByAddress as an example. batch mint NFT and send them to multiple addresses
// Set receiving address list and NFT metadata uri list as args
let addressArr = ["cfx:aas6ettbcgrar1c7fvx745p2m7phz7c18edvfxepfn",]
let uriArr = ["metadata-uri",]

async function interact() {
    // Create contract object you are going to interact with. And set the contract's abi and address as args
    const contract = conflux.Contract({
        abi,
        address: 'cfx:ace7jmw43nfd0agmjnhzhvhg23m0wcax0y7su6hh5g'
    })
    /**
     * Invoke batchAddItemByAddress by contract object
     * And send the transaction on-chain by sendTransaction
     * The 'from' arg specifies account that sending this transaction and paying the gas
     * You can also specify the nonce, gasPrice and other args. Check the official document for more details
     */
    let receipt = await contract.batchAddItemByAddress(addressArr, uriArr).sendTransaction({
        from: account,
    })
    console.log(receipt)
}

interact()