In the blockchain space, understanding the fundamental concepts of nodes and their operations is crucial for anyone looking to delve deeper into the field. In every blockchain network, there are nodes, which serve as the backbone of its decentralized architecture. Among these, validator nodes hold a particularly crucial role, especially in maintaining the integrity and security of the network.
This article aims to explore the key concepts surrounding nodes and validator nodes, shedding light on their technical intricacies, and the crucial roles they play in supporting and ensuring the continuity of these networks.

What are Validator Nodes?
Validator nodes are specialized nodes in a blockchain network responsible for validating transactions and blocks. Unlike Proof-of-Work (PoW) systems, where miners solve complex mathematical problems to add new blocks, Proof-of-Stake (PoS) systems rely on validators to propose and verify new blocks based on their stake in the network. These nodes ensure the security and integrity of the blockchain by following the protocol's consensus rules.
While validator nodes are crucial in securing the network, various other types of nodes perform different roles to maintain and secure the blockchain network, including:
-
Full Node: This node plays a crucial role in maintaining the blockchain's integrity by storing the entire history of the blockchain and validating transactions and blocks according to the network's consensus rules. They ensure the blockchain remains secure and consistent by downloading and storing all blockchain data, validating incoming transactions and blocks, if any transaction contains an error, the full node automatically rejects it.
-
Light Node: Light nodes, also known as light clients, do not store the entire blockchain; instead, they only keep the headers of blocks and depend on full nodes for the remaining data. This makes them more lightweight and significantly reduces their storage and computational power requirements. Light nodes are responsible for verifying transactions using block headers and requesting transaction data from full nodes when necessary.
-
Mining Node: These nodes are specific to PoW blockchain systems and are responsible for performing the computational work needed to solve cryptographic puzzles. This process enables them to create new blocks on the blockchain. Once a new block is created, miner nodes validate it and propagate it throughout the network. For their efforts, miner nodes earn rewards, incentivizing them to continue contributing to the blockchain's maintenance and security.
What Sets Validators Nodes Apart from Other Nodes
One of the most important aspects that sets validator nodes apart in PoS systems is staking. Validator nodes are required to stake a significant amount of cryptocurrency as collateral. This staked amount plays a crucial role in determining their likelihood of being selected to validate the next block; the more they stake, the higher their chances. Conversely, other types of nodes operate independently of the staking process and are not required to stake any cryptocurrency to function.
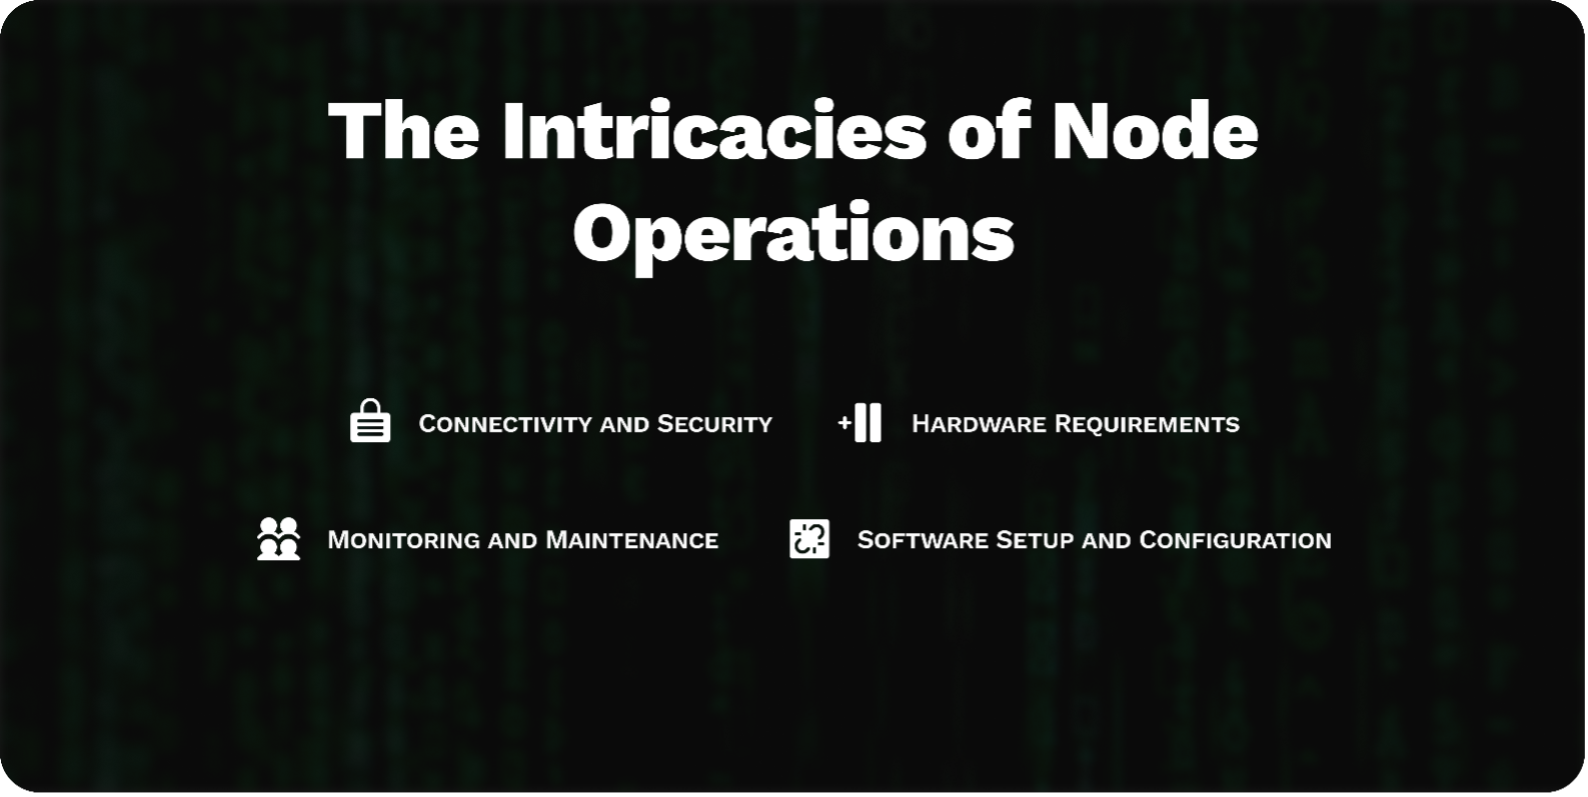
The Intricacies of Node Operations
Running a node or a validator node is not rocket science, however, to successfully run any kind of node requires technical expertise. Here is an overview of the operational management.
-
Software Setup and Configuration: The first step toward running a node is setting up and configuring the appropriate blockchain node software on a secure server. The server must meet the system requirements (e.g., memory, storage, CPU). Some common software options are Geth (for Ethereum) Parity (now OpenEthereum), and so many other clients for different blockchains. This software allows the node to connect and interact with the network, download blocks, and participate in consensus activities.
-
Hardware Requirements: When setting up blockchain nodes, particularly validator nodes, it is important to consider hardware requirements. This process requires a reliable and robust CPU, sufficient Memory (RAM), and ample storage capacity to meet the demand of blockchain operations.
-
Connectivity and Security: To maintain a blockchain node, a stable internet connection with high uptime is critical. This is because nodes need constant and steady communication with the network for block propagation, transaction validation, and consensus. Additionally, strong security measures such as firewalls and secure coding practices are important to protect nodes from malicious attacks.
-
Monitoring and Maintenance: Ensuring a seamless running of nodes requires continuous monitoring of nodes’ health and performance, regular software updates, system maintenance, and staying informed of network upgrades.
Advanced Considerations
As you begin to journey deeper into node operations, several advanced considerations come into play, and you must familiarise yourself with these concepts.

-
Slashing Penalties: This is a system of punishment known as slashing (e.g., double-signing, downtime, etc). This is applied when a validator acts dishonestly, and when this happens, the validator may risk losing part of their stake. Having a proper understanding of slashing conditions and mitigating risk is very important.
-
Governance Participation: Validators are allowed to participate in on-chain governance, voting on proposed changes and network upgrades.
-
Rewards and Incentives: The efforts of validators in securing the network and processing transactions are rewarded with newly minted tokens or transaction fees paid by users for including their transactions in blocks.
Running a Node or Validator Node Using Autonity Blockchain as an Example
To understand how to run a node or validator node on a blockchain, let's use the Autonity blockchain, as an example.
Validators are crucial to the Autonity network. They ensure the network's stability and security, which are essential for a decentralised system to thrive. Validators do this by participating in the proof-of-stake consensus mechanism. This allows them to earn profits from transaction fees and Autonity's stake inflation system.
To set up a validator node on Autonity, follow these steps:
Running a Node
Prerequisites
Before setting up an Autonity node, ensure your machine meets the following hardware specifications:
-
Operating System: Linux (Ubuntu 20.04 LTS recommended)
-
RAM: At least 8 GB (16 GB preferred)
-
CPU: 3.10 GHz with 8 CPUs (16 CPUs preferred)
-
Storage: At least 1024 GB
-
Network: Stable internet connection (200 Mbit/s recommended)
-
IP Address: Public-facing static IP address
Required Ports
Ensure the following ports are available
-
Required Port
- TCP/UDP 30303 (p2p communication)
-
Optional Ports
-
TCP 8545 (HTTP RPC)
-
TCP 8546 (WebSocket RPC)
-
TCP 20203 (consensus gossiping)
-
TCP 6060 (exporting metrics)
-
It’s crucial to secure your node using standard best practices such as firewalls and reverse proxies.
Step 1: Install Autonity
You have three options to install Autonity:
-
Pre-compiled Executable:
-
Download the latest release from the Autonity Releases Archive.
-
Create a directory and unpack the tarball.
-
Optionally move the binary to “/usr/local/bin”.
-
-
Building from Source:
-
Install Git, Golang (1.21+), a C compiler, and GNU Make.
-
Clone the Autonity repo: git clone https://github.com/autonity/autonity.git.
-
Checkout the release tag: “git checkout tags/v0.14.0 -b v0.14.0”
-
Build the client: “make all”
-
Optionally move the binary to “/usr/local/bin”.
-
-
Docker:
-
Install Docker and configure it to run as a non-root user.
-
Pull the Autonity image: “docker pull ghcr.io/autonity/autonity:latest”
-
Verify the image authenticity.
-
Step 2: Verify Installation
Run one of the following commands to verify:
-
For pre-compiled or source: “autonity version”
-
For Docker: “docker run --rm ghcr.io/autonity/autonity:latest version”
Once verified, you can configure and launch Autonity according to your needs.
Step 3: Run Autonity
-
Create Working Directories:
-
Create and enter a working directory for Autonity
-
Create a directory for data: “mkdir autonity-chaindata.”
-
-
Initialise and Start Autonity:
-
Initialise Autonity with necessary parameters such as the data directory, network connection settings, and API configurations.
-
Replace <IP_ADDRESS> with your node’s host IP address, which can be found using an IP lookup service.
-
Optionally, specify <CONSENSUS_NAT> for NAT port mapping and <CONSENSUS_PORT_NUMBER> for the consensus channel port if the default values are not suitable.
-
Use appropriate flags for other testnets, e.g., “--bakerloo”.
-
Step 4: Running Autonity Using Docker
-
Create Directories:
-
Create and enter a working directory
-
Create a directory for chaindata
-
-
Start the node:
- Set the Docker configuration and the arguments for connecting Autonity to a network.
Step 5: Stop Autonity
To stop the Autonity Go Client, press “CTRL-C” and wait for it to exit. This ensures a safe shutdown and prevents state store corruption.
Step 6: Connect to Your Node
You can now connect to your node using aut from your local machine. This step assumes you have already installed “aut” on your local machine.
-
Configure using “aut”:
-
Edit the “rpc_endpoint” entry in your “.autrc” file to match your node’s IP: o rpc_endpoint = http://XX.XX.XX.XX:8545/
-
For WebSocket (If you chose to expose the Web Socket endpoint on your node) the URL will be in the form ws:XX.XX.XX.XX:8546/
-
-
Use “aut node info” to check the connection.
- The response should include various details about the node, such as eth_accounts, eth_blockNumber, eth_gasPrice, eth_syncing, eth_chainId, net_listening, net_peerCount, net_networkId, web3_clientVersion, admin_enode, and admin_id. The admin_enode entry should display the external IP of your host machine at the end.
Here are some example queries to familiarise yourself with aut and the Autonity network:
-
Get the block number: aut block height
-
Get the maximum consensus committee size: aut protocol get-max-committee-size
-
Get all nodes in the consensus committee: aut protocol get-committee
-
List the set of registered validators: aut validator list
-
Check the auton balance of an account: aut account balance <_addr>
-
Check the Newton balance of an account: aut account balance --ntn <_addr>
Once your node is properly set up, you may consider making it a validator node to help secure the network and earn rewards.
Running a Validator Node
Prerequisites
Ensure you have the following
-
Autonity Go Client running with open ports for node p2p communication.
-
Autonity Oracle Server running with a funded account for data price reports.
-
Autonity Utility Tool (aut) configured on your local machine.
-
A funded account to pay for transaction gas costs and manage the validator.
Register as a Validator
Step 1: Generate proof of ownership
Run the "autonity --generate-proof" command on the host with the Autonity Go Client to generate proof of node ownership. If using Docker, run the equivalent Docker command.
Step 2: Connect and Query
-
Ensure “aut” connects to the node: “aut connect --node-url ”
-
Query for the enode URL: “aut node enode”
-
Compute the validator address from the enode string.
Step 3: Retrieve Consensus Public Key
-
Inspect the “autonitykeys” file to get the consensus public key using the “ethkey” command.
-
Retrieve the consensus public key.
Step 4: Submit Registration Transaction
-
Submit a transaction to register the node as a validator. This transaction should include the enode, oracle, consensus key, and proof.
-
Ensure your “.autrc” configuration file points to the keyfile for the treasury account.
Step 5: Confirm Registration
Check the validator list to confirm registration and verify the validator details using the “aut validator info” command.
Troubleshooting
If you encounter errors indicating an invalid proof, it suggests a mismatch in keys or addresses. Verify using the “verifypop” command. Confirm no key mismatch by inspecting the “autonitykeys” file and checking that values correspond correctly.
Pause and Reactivate a Validator
Prerequisites
Ensure you have:
-
Autonity Go Client registered as an active validator.
-
Configured instance of the Autonity Utility Tool (aut) for submitting transactions.
-
Validator's treasury account funded with Auton (ATN) for gas costs.
Note: Changes to a validator's state take effect at the end of the current epoch before the committee selection for the next epoch.
Pause Validator
-
Use the “validator pause” command with the validator identifier address.
-
Enter the passphrase when prompted. A transaction hash will be returned upon success.
-
Verify the pause status using “validator info” with the validator identifier address, which should return a state property of 1 (paused).
Reactivate Validator
-
Use the “validator activate” command with the validator identifier address.
-
Enter the passphrase when prompted. A transaction hash will be returned upon success.
-
Verify the reactivation status using “validator info” with the validator identifier address, which should return a state property of 0 (active).
Change Validator Commission Rate Prerequisites
Ensure you have:
-
Autonity Go Client registered as a validator (either active or paused).
-
Configured instance of the Autonity Utility Tool (aut) for submitting transactions.
-
Funded validator's treasury account for gas costs.
Change Rate
-
Use the validator change-commission-rate command with the validator identifier address and the new rate value. Specify the rate as a decimal between 0-1 (e.g., 0.078 for 7.8%).
-
Enter the passphrase for the key file. A transaction hash will be returned upon success.
-
Verify the updated rate using validator info with the validator identifier address, which will return the validator metadata including the new commission rate.
Note: Commission rate changes are subject to the same unbonding period constraints as staking transitions and are applied at the end of the epoch when the unbonding period expires.
Migrate Validator
Prerequisites
-
Autonity Go Client: Running and registered as a validator.
-
Autonity Utility Tool (aut) Configured for transactions.
Step 1: Pause Validator
Verify that your validator node is not in the active consensus committee using “aut protocol get-committee".
Step 2: Update the enode URL
Update the enode URL with the new IP/Port address by calling the “updateEnode()” function, specifying the validator identifier address and the new enode URL.
Step 3: Verify enode Update
Verify the updated enode using “aut validator info --validator".
Step 4: Migrate and Reactivate Validator
-
Migrate the node to the new environment with the updated IP/Port configuration.
-
Start the validator and reactivate it following the standard procedures.
-
The validator will then resume an active state and can rejoin the consensus committee if selected.
For migrating a node to a new instance, follow the steps in the "Migrate Autonity" guide on the autonity documentation, ensuring to pause the validator before migration and reactivate it afterward. Fully decommission the original node installation.
Conclusion
Nodes and validator nodes are essentially the lifelines of any blockchain network. Their critical role in maintaining security, smooth operation, and integrity cannot be overstated. If you wish to actively participate in the blockchain ecosystem, it is crucial to understand the roles and responsibilities of these nodes. Whether you are operating nodes on the Autonity network or any other network, engaging in this process will provide you with the essential knowledge needed to thrive in the ecosystem.
References
Blockchain Facts: What Is It, How It Works, and How It Can Be Used. Investopedia 2024
Light, Full, and Master Nodes: Definition, Differences. Investopedia, 2024
Validator Selection: Navigating the Validator Selection Process in Proof of Stake Systems. FasterCapital22024
Blockchain Nodes — What Are They and How Do They Work? Business2Community 2023
Mastering the Pillars of Blockchain: A Deep Dive into Validator Nodes and Staking. Redswitches 2024
Autonity Documentation - Register as a Validator
Autonity Documentation - Autonity Blockchain 2024