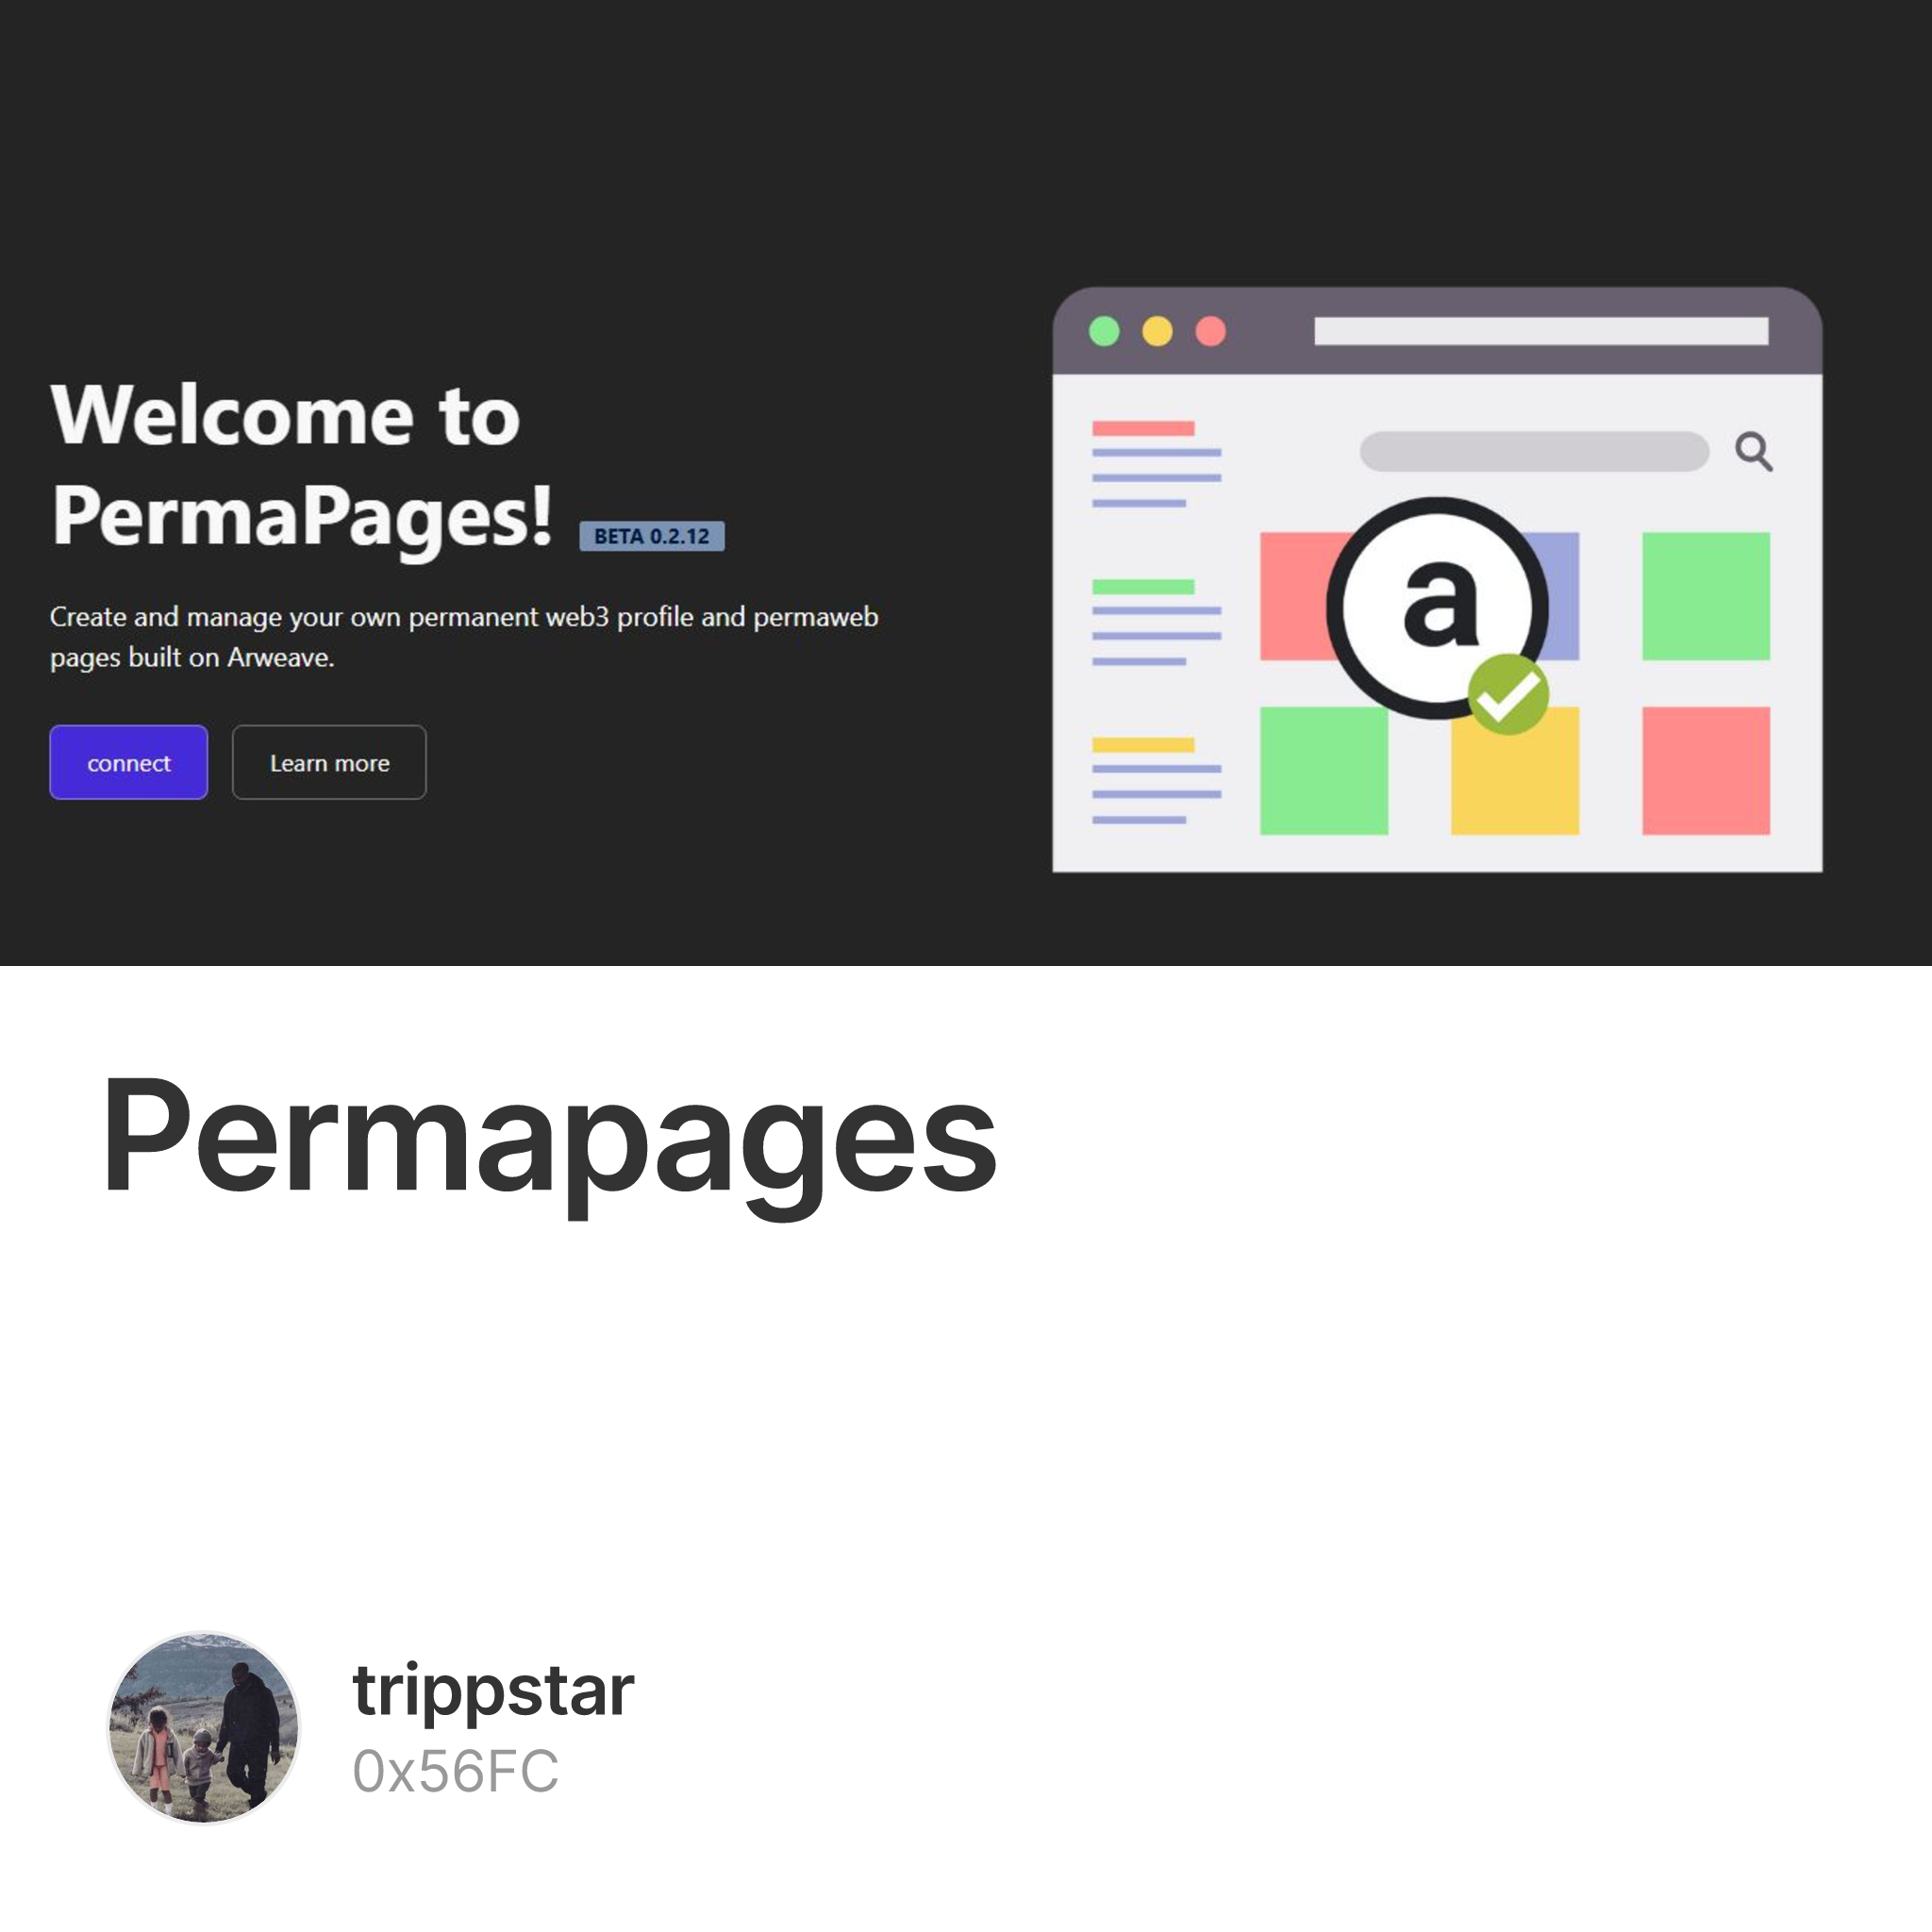
Imagine having total control and ownership over a web page or blog post with a personalized name that lasts forever. This is what Permapages is about, a decentralized Web3 service powered by the Arweave network that allows storing information or data online forever. Web3 is all about decentralized access to the internet and Permapages ushers users into this service without using technical know-how like developers. Upon creation with an Arweave wallet, you’re issued a Web3 profile, access to webpages and blog post creation, and user-friendly domains (thanks to the Arweave Name System).
Permapages is a free-for-all, easy-to-access Web3 decentralized innovation that allows both newbies and oldheads to access Web3 services, from profiles to webpages, all with the use of an Arweave wallet. Developers and non-developers can access this service and create web pages and blog posts. Technical skills can be deployed in the creation of pages through the use of Javascript and markdowns for non-developers.
There’s more to just content creation than what Permapages offers, users can also receive tips for content created through Permapages by toggling on the Weavemail option making creators open to offers and critical inputs on their content. NFT owners aren’t left out as their collections uploaded on Opensea can be highlighted through widgets on pages created on Permapages. Permapages offers an all-round experience to look forward to in a Web3 platform.
To own or use the Permapage platform is easy and can be done anywhere in the world, anytime and anyway. All you'll need to do is follow the following steps:
Step 1
Go to your PC/local computer and type the URL: https://permapages.app/
Step 2
Click on the connect button, prompting a pop-up for the need for an Arweave wallet to continue.
Step 3
Click on the Arconnect option to install the extension on your local browser
Step 4
After installation, create an account by saving the mnemonic phrase and adding a personal password and you're all set.
Step 5
Head back to the Permapage home and connect your newly created wallet.
Step 6
Click on the account header of the Permapage site, where you'll create your Web3 profile, adding a profile picture, header, bio, and social media links.
Step 7
After profile creation, click on the Pages header and the Create New Web Pages button to start.
Step 8
Fill in the blank page with your desired content either with the use of Javascript or markdowns
Step 9
You can also toggle on the ability to add your profile to your webpage, NFTs, change the themes, etc. in the advanced options section.
Step 10
Upon completion, click the Publish button at the bottom right side of the page where you'll add the name, description, and topics of the webpage.
Step 11
Click submit and your newly created webpage will appear under the Pages section of your profile.
To add a custom domain to your newly created page, follow these steps:
Step 1
Head over to the ArNS website; https://arns.app/
Step 2
Type in the domain name in the search bar to check if available
Step 3
Connect your Arweave wallet and pay for a domain name for the duration period you desire
P.S. Your duration choice determines the price of the tlO coins.
Step 4
Add the TXN ID of the Permapage created to your custom domain to have access to it anytime.
The creation of webpages, especially in this Web3 era, hasn't been better and seamless. Permapages offers creators the tools to have their content experience timelessness and originality at the same time.

