Introduction
In the world of blockchain, being able to communicate between different blockchains is becoming increasingly important. Wormhole is a powerful tool that makes sending messages from one blockchain to another easy. This guide is designed to give you a quick, hands-on introduction to using Wormhole with Remix IDE, focusing on testnets so you can practice without any risk.
In this guide, we will deploy smart contracts on two networks and send and receive messages across these networks—all done from your browser using Remix, an online IDE that requires no setup. By the end of this guide, you’ll understand the basics of cross-chain messaging and be ready to explore more advanced applications. Whether new to blockchain or looking to expand your skills, this guide will help you start with Wormhole effortlessly.
Preparation
For this example, we will use Celo and BNB testnets
Ethereum Wallet
First, make sure you have a non-custodial Ethereum-compatible wallet like MetaMask, Rainbow, Trust Wallet, or a similar option.
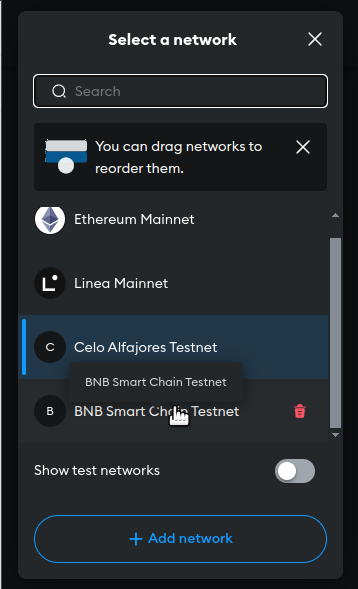
Add Testnet Networks to Wallet
For this example, we will use the Celo and BNB testnets. Let's prepare your wallet to use them. Go to each one of the below links, connect your wallet, and add the chains:
Get Tokens from Faucets
Finally, get tokens from the testnet faucets to fund your transactions:
Deploying Smart Contracts
Step 1: Open Remix IDE
- Navigate to Remix IDE in your browser.
Step 2: Create a New File
-
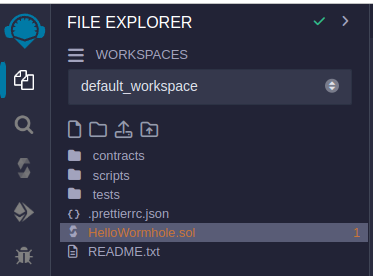
In Remix, click on the "File Explorers" tab.
-
Click on the "📄" button to create a new file.
-
Name the file
HelloWormhole.sol.
Step 3: Paste the Smart Contract Code
- Open the newly created file and paste your smart contract code into it.
// SPDX-License-Identifier: UNLICENSED
pragma solidity ^0.8.13;

import "wormhole-solidity-sdk/interfaces/IWormholeRelayer.sol";
import "wormhole-solidity-sdk/interfaces/IWormholeReceiver.sol";

contract HelloWormhole is IWormholeReceiver {
    event GreetingReceived(string greeting, uint16 senderChain, address sender, address senderContract);

    uint256 constant GAS_LIMIT = 50_000;

    IWormholeRelayer public immutable wormholeRelayer;

    string public latestGreeting;

    constructor(address _wormholeRelayer) {
        wormholeRelayer = IWormholeRelayer(_wormholeRelayer);
    }

    function quoteCrossChainGreeting(
        uint16 targetChain
    ) public view returns (uint256 cost) {
        (cost, ) = wormholeRelayer.quoteEVMDeliveryPrice(
            targetChain,
            0,
            GAS_LIMIT
        );
    }

    function sendCrossChainGreeting(
        uint16 targetChain,
        address targetAddress,
        string memory greeting
    ) public payable {
        uint256 cost = quoteCrossChainGreeting(targetChain);
        require(msg.value == cost);
        wormholeRelayer.sendPayloadToEvm{value: cost}(
            targetChain,
            targetAddress,
            abi.encode(greeting, msg.sender), // payload
            0, // no receiver value needed since we're just passing a message
            GAS_LIMIT
        );
    }

    function receiveWormholeMessages(
        bytes memory payload,
        bytes[] memory, // additionalVaas
        bytes32 senderContractBytes, // address that called 'sendPayloadToEvm' (HelloWormhole contract address)
        uint16 sourceChain,
        bytes32 // unique identifier of delivery
    ) public payable override {
        require(msg.sender == address(wormholeRelayer), "Only relayer allowed");

        // Parse the payload and do the corresponding actions!
        (string memory greeting, address sender) = abi.decode(
            payload,
            (string, address)
        );
        latestGreeting = greeting;
        address senderContract = address(uint160(uint256(senderContractBytes)));
        emit GreetingReceived(latestGreeting, sourceChain, sender, senderContract);
    }
}
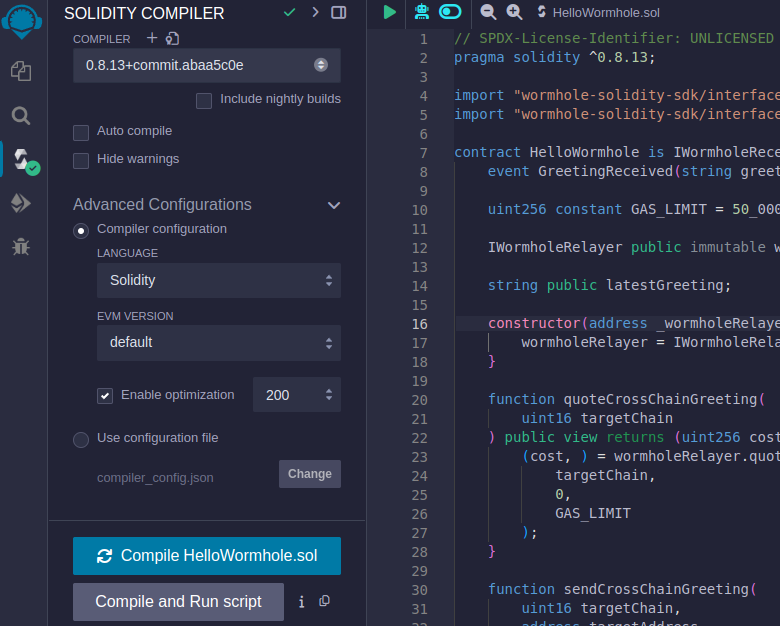
Step 4: Set Up Compiler and Optimization
-
Go to the "Solidity Compiler" tab on the left.
-
Select the compiler version to 0.8.13
-
Select “Advanced Configurations” and Enable "Optimization".
-
Click on the "Compile HelloWormhole.sol" button.
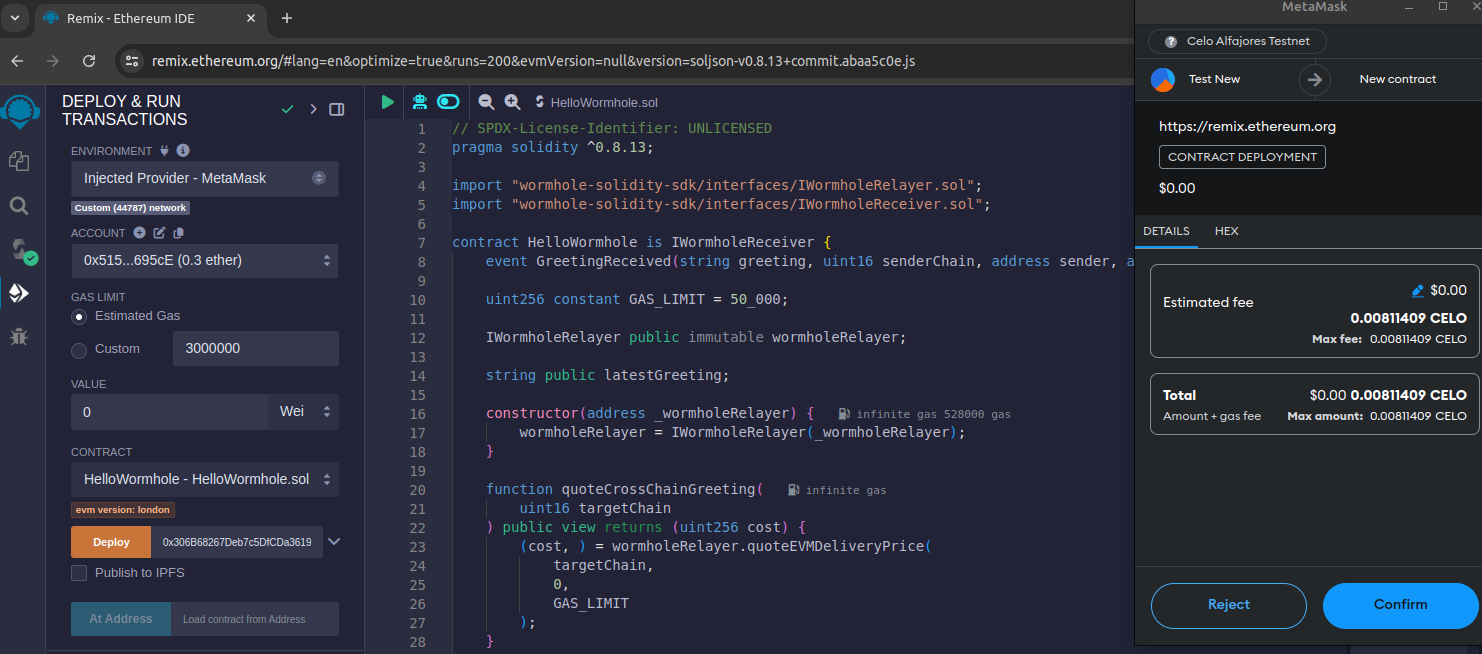
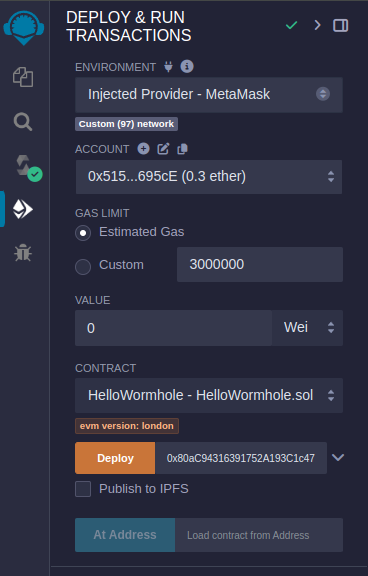
Step 5: Deploy on the First Testnet
-
Go to the "Deploy & Run Transactions" tab.
-
Select "Injected Web3" as the environment (this will connect to your MetaMask).
-
Choose the Celo testnet from your MetaMask.
-
Enter the Celo testnet relayer address
0x306B68267Deb7c5DfCDa3619E22E9Ca39C374f84in the deployment field. -
Click on the "Deploy" button.
-
Sign the transaction with your wallet
All WormHole addresses can be found here
When the transaction is confirmed, click on metamask’s notification and go to the block explorer. Take note of the address of the created contract.
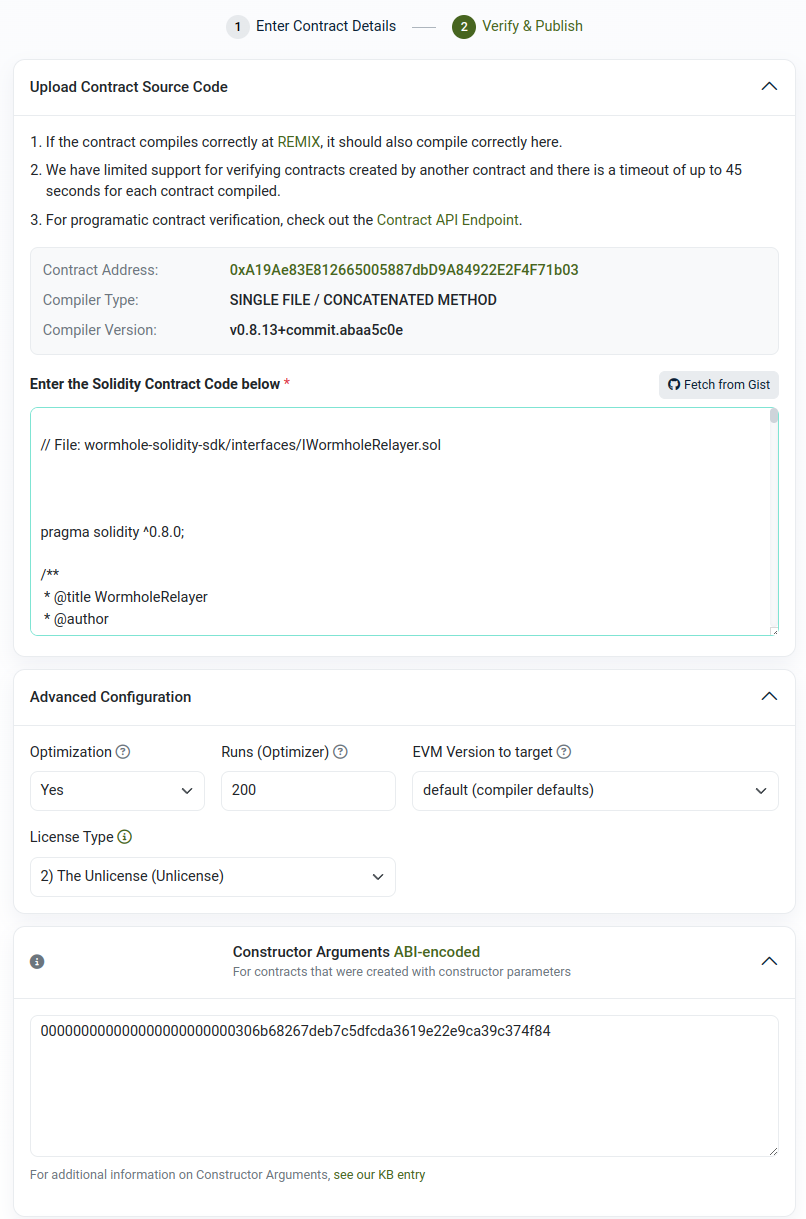
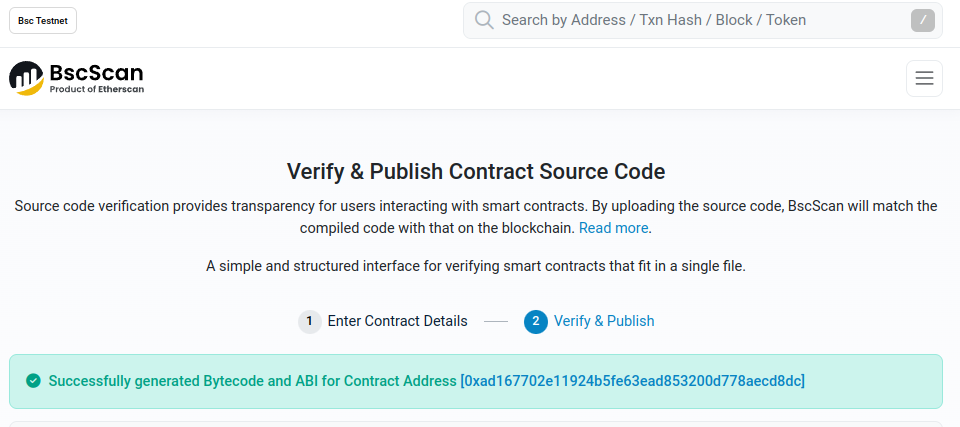
Step 6: Verify the Contract on the Explorer
-
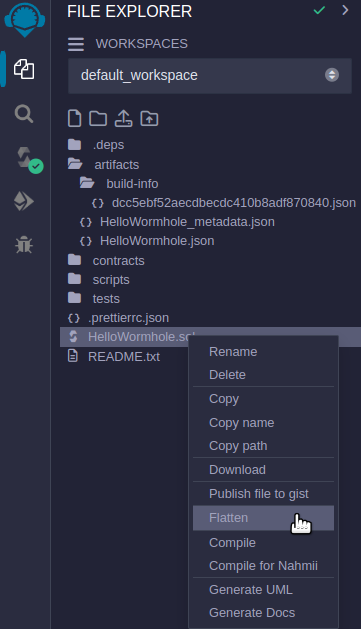
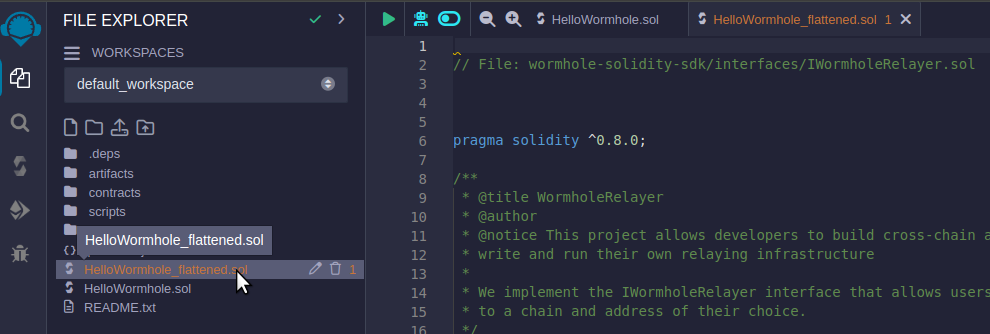
Once deployed, flatten the file by clicking on the file and selecting "Flatten" in the "File Explorer" tab.
-
Copy the flattened code.
-
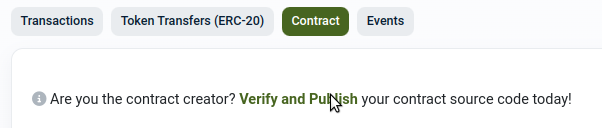
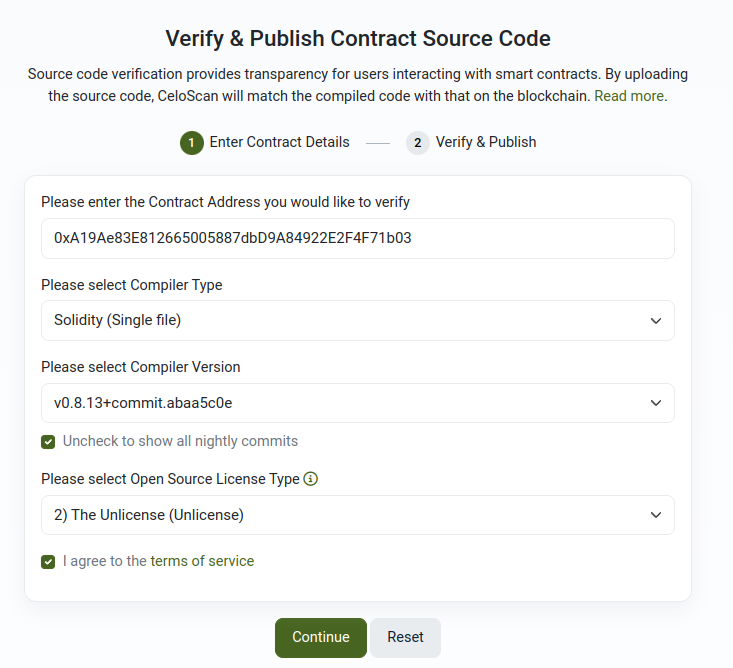
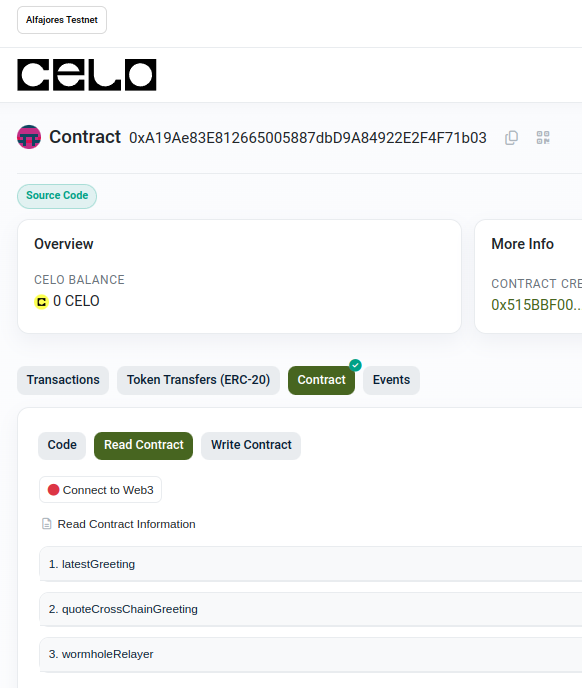
Go to the Celo testnet explorer and verify the contract using the copied code.

Now that we have the verified contract we can execute contract functions directly from the browser and the block explorer:
Step 7: Repeat Deployment on the Second Network
-
Switch your MetaMask to the BNB testnet.
-
Repeat steps 5 and 6 to deploy and verify the contract on the BNB testnet using the BNB testnet relayer address
0x80aC94316391752A193C1c47E27D382b507c93F3.
Interacting with Deployed Contracts
Now that we have deployed the contract on two chains, it is time to start the communications of them. We will send messages from one network and we’ll see it reaching the other one.
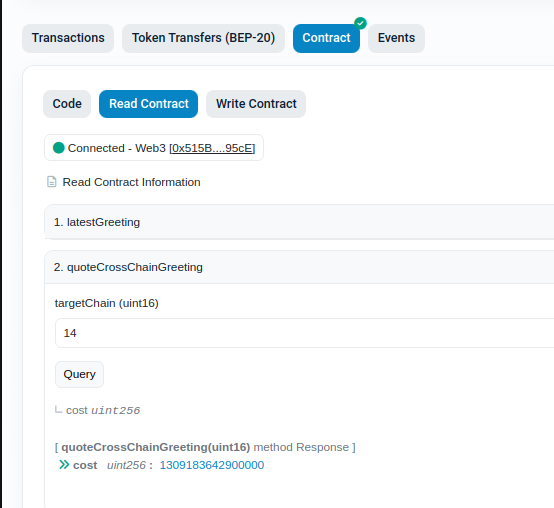
Step 8: Sending a Cross-Chain Message
-
Go to BSC Explorer and the deployed contract. e.g. here
-
Connect your wallet
-
Expand the “quoteCrossChainGreeting” panel, enter as “targetChain” the chain ID of Celo (14 according to this ), and press “Query”. This will return the cost of the message transfer to the Celo chain
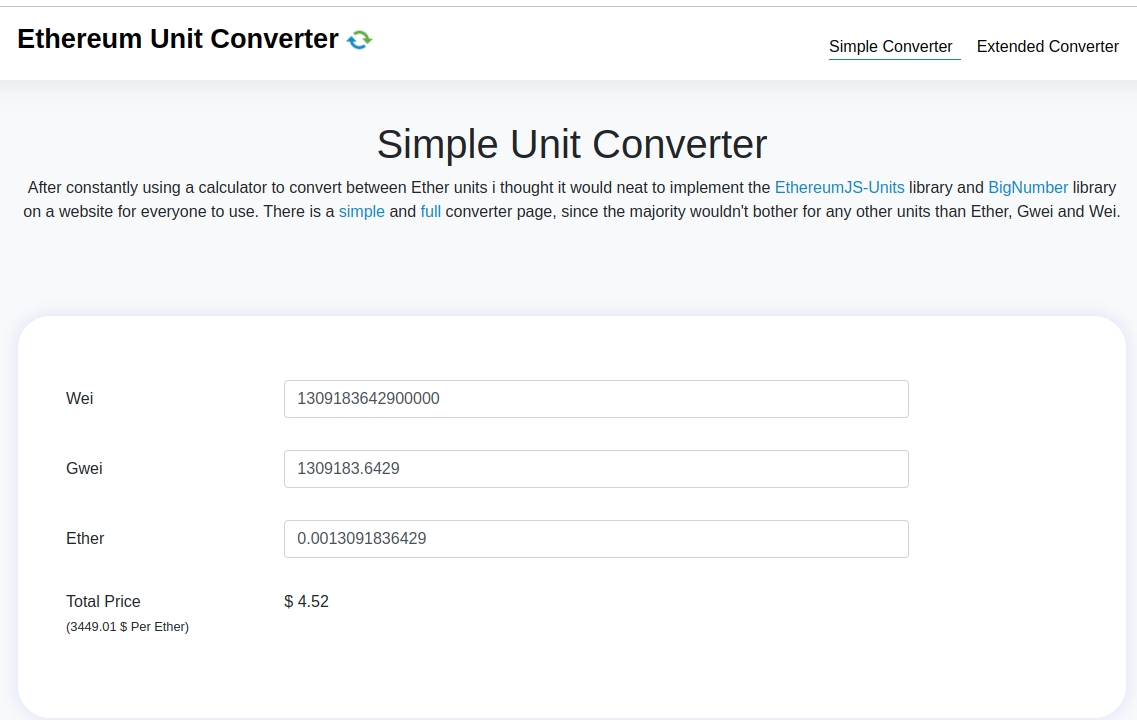
-
Convert the cost from wei to eth using ETH Converter.
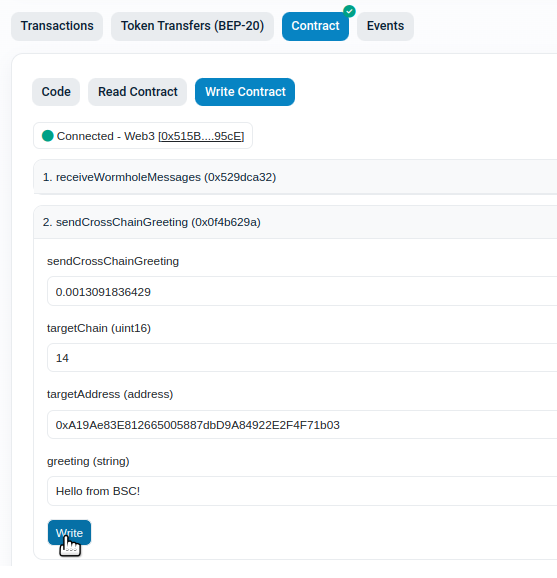
-
Switch to “Write Contract” tab.
-
Expand the “sendCrossChainGreeting” and enter the following values:
-
payableAmount(ether): the converted to Ether amount of the transfer cost
-
targetChainId: the ID of the chain we want to reach and in our case is “14” for Celo
-
targetAddress: the contract on the Celo network that we had deployed
-
greeting: Any random string message that you want to send. e.g.: “Hello from BSC!”
-
Step 9: Observing the Event Emitted on the Other Network
-
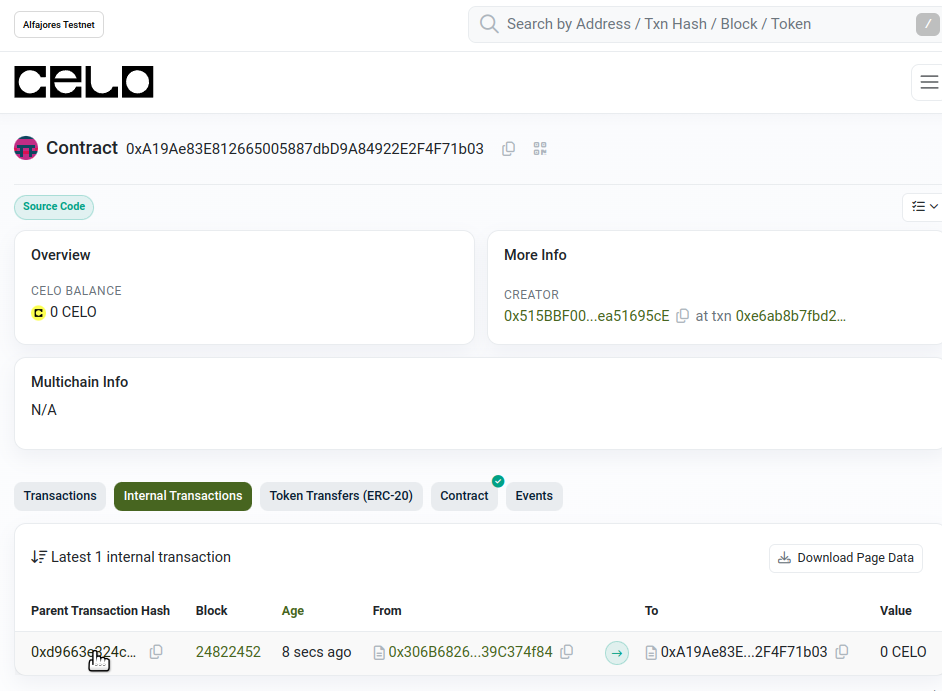
Go to your deployed contract on Celo Explorer and hit a few times “refresh” until you see the “internal transactions” tab
-
Open the latest internal transaction
-
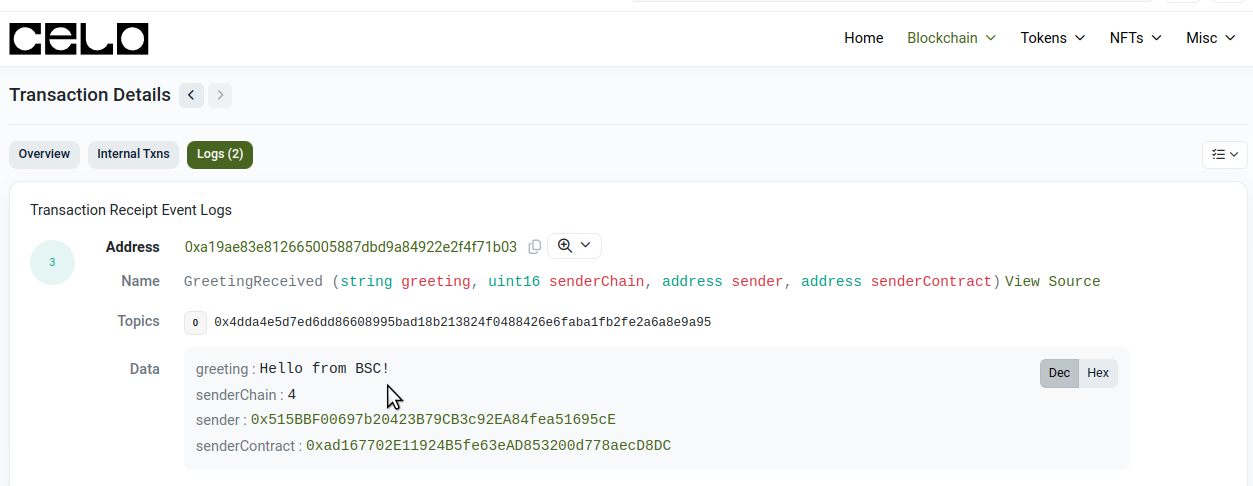
Open the “Logs” tab
-
Check the emitted event that proves that an action done in BSC network reached the Celo network and note the values that we have available
-
Now you can send with the same way back a message from Celo to BSC
-
Go back to the source code and check again the interaction of the “sendCrossChainGreeting” function on one chain, and the “receiveWormholeMessages” function on the other.
Wrap-Up
Congratulations! You have successfully deployed smart contracts on both the Celo and BNB testnets, and you have sent and received cross-chain messages using Wormhole. This hands-on experience has given you a solid foundation in cross-chain messaging, showcasing the potential of interoperability between different blockchain networks.
If you want to just send messages without deploying the contracts, you can use the samples provided in this article. The contracts are deployed and available for interaction at:
As a next step, I highly recommend diving deeper into the capabilities of Wormhole by exploring the official Wormhole documentation. The guide includes an explanation for this example and provides a Forge template to help you get started. There, you can find more detailed guides and tutorials to further enhance your understanding and skills. Keep experimenting, and soon you'll be building more complex and powerful cross-chain applications. Happy coding!