
The Nexus Network is shaping the future of verifiable computation by building a hyper-scale supercomputer for AI, blockchain, and privacy-enhancing technologies.
By running a Nexus Node, you contribute to a decentralized system that powers trustless, high-speed computation—paving the way for a Verifiable Internet.
With $25M+ in funding from Silicon Valley’s top VCs and a rapidly expanding ecosystem, Nexus is at the forefront of zero-knowledge (ZK) technology, AI/ML, and hyperscale blockchain infrastructure.
Now, you can be part of this groundbreaking movement by deploying a Nexus Node on RapidNode.
Follow this step-by-step guide to set up your Nexus Node:
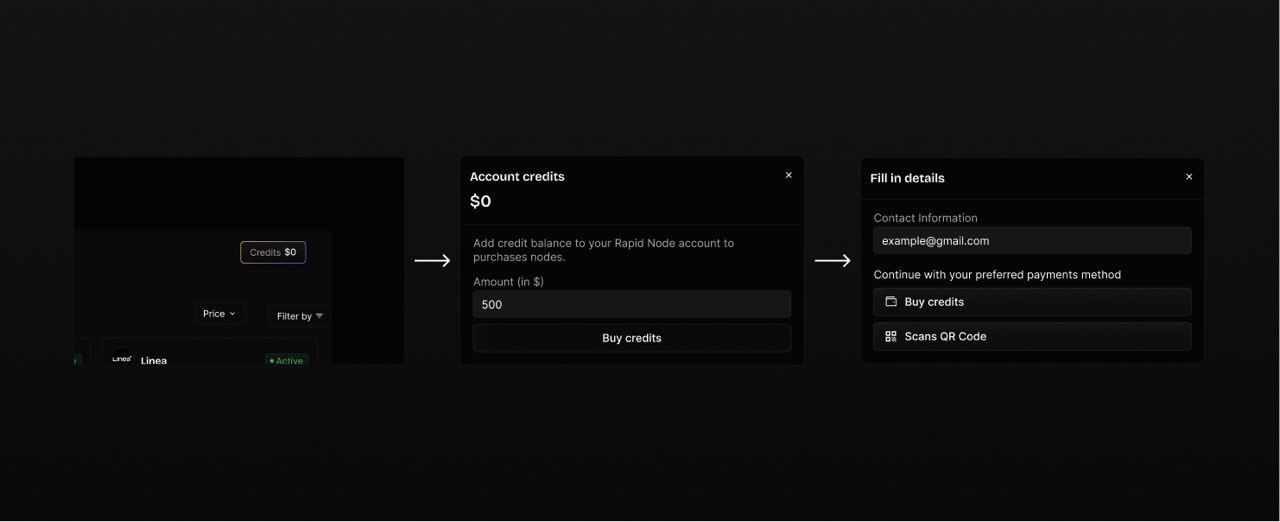
Step 1: Log In to RapidNode & Add Credits 💰
-
Sign Up or Log In to your RapidNode account. If you don’t have one, sign up here.
-
Go to the Wallet section and add credits to ensure uninterrupted node operation.
Step 2: Purchase a Nexus Testnet II Node 💳
-
On your RapidNode dashboard, navigate to the dashboard.
-
Select Nexus Testnet II from the available options.
-
Confirm the purchase and complete the transaction.

Step 3: Signup/Login on Nexus Testnet II
-
Go to app.nexus.xyz
-
Choose one of the following sign-up options:
-
If you ran a node previously, log in with the same verified email to load your previous points. A wallet address will be generated, but it is not needed for now.
-
If you are a new node runner, you can sign up via email or connect an existing wallet. As a new user, you will start with 0 points.
-
-
Navigate to the Nodes section.
-
Click Add Node → Add CLI Node.
-
Now copy your Node ID.
⚠️ IMPORTANT: If you see dEfAuLT1, this is NOT a valid Node_ID. Keep trying until you see a new string!

Step 4: Enter Your Node_ID in RapidNode
-
Click "Add Inputs" in your Nexus Testnet II subscription.
-
Paste your Node_ID and click Deploy Node.
🔴 This step is MANDATORY to activate your node.

Step 5: Monitor Your Node
Once your node status is “deployed”, you can monitor your node's performance:
-
Track your node status and NEX Points on Nexus Dashboard.
-
Stay updated on Nexus Testnet II incentives & future upgrades.

Congratulations! 🎉
You’ve successfully deployed your Nexus Testnet II Node on RapidNode!
Stay informed and join the Nexus Discord and follow Nexus on Twitter for updates and support.
If you need any assistance or have questions, feel free to visit our Discord channel or check out our the FAQ section on the our website.
Happy Deploying! 🚀