
Elixir Network is a versatile network that enhances liquidity in orderbook exchanges. It's cross-chain and composable, enabling orderbook DEXs to seamlessly incorporate it into their fundamental infrastructure. To date, it boasts nearly 30 integrations with leading DEXs.
The project's valuation has reached $800 million following its latest funding round, which saw participation from investors like Mysten Labs (creators of SUI), Arthur Hayes, and Manifold, among others.
As of now, you have the option to operate an Elixir Testnet v2 Validator. While this task is technically complex, we simplify the process for you.
So, let’s start with the guide ✨
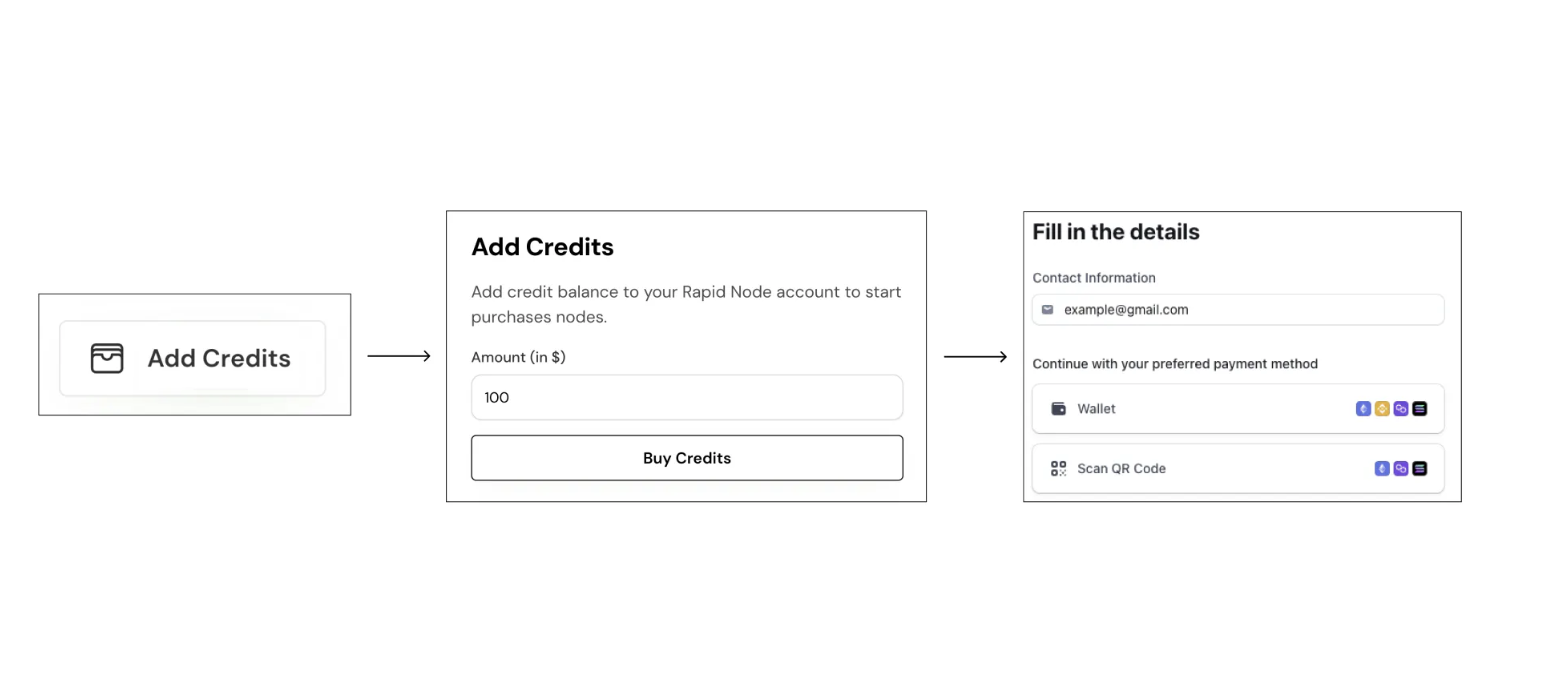
Step 1: Log In To Rapid Nodes & Add Credits
-
Signup and login to the dashboard: Here
-
Add Credits and confirm the payment.
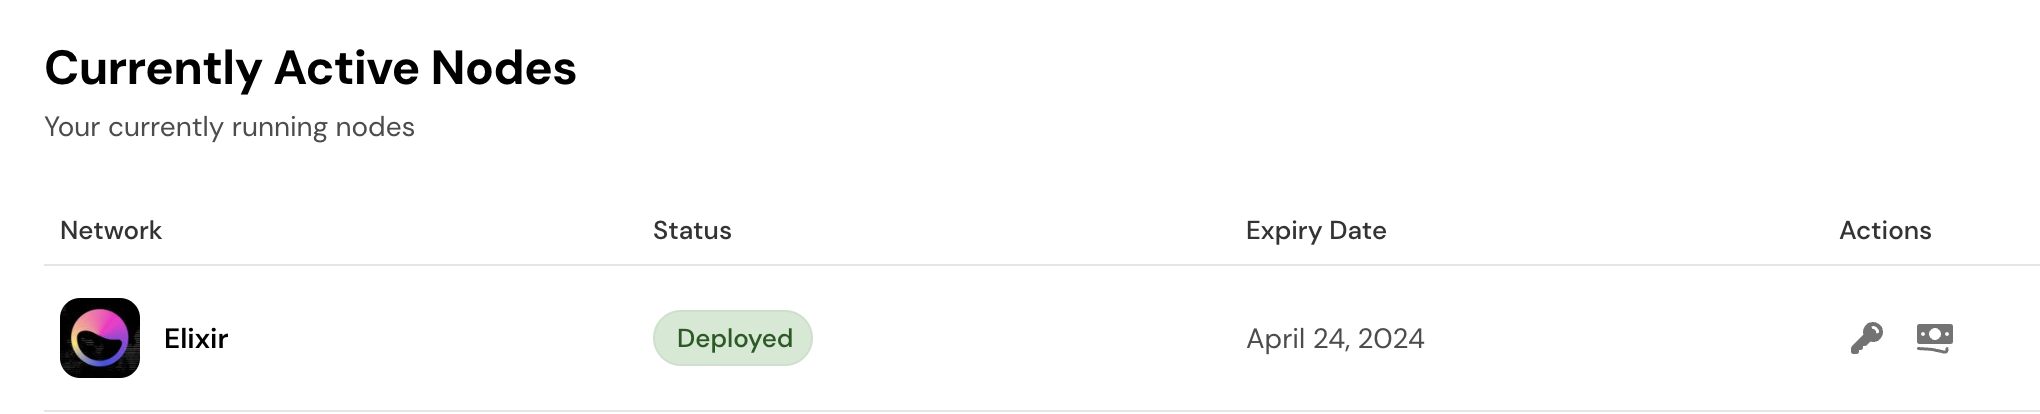
Step 2: Buying Elixir Node
-
Now, navigate to the dashboard, select "Elixir," and buy the node for your desired duration.
-
Then, go to the “Active Nodes” section to verify if your node has been purchased.
-
If it is deployed, proceed to the next step; if not, allow some time for deployment.
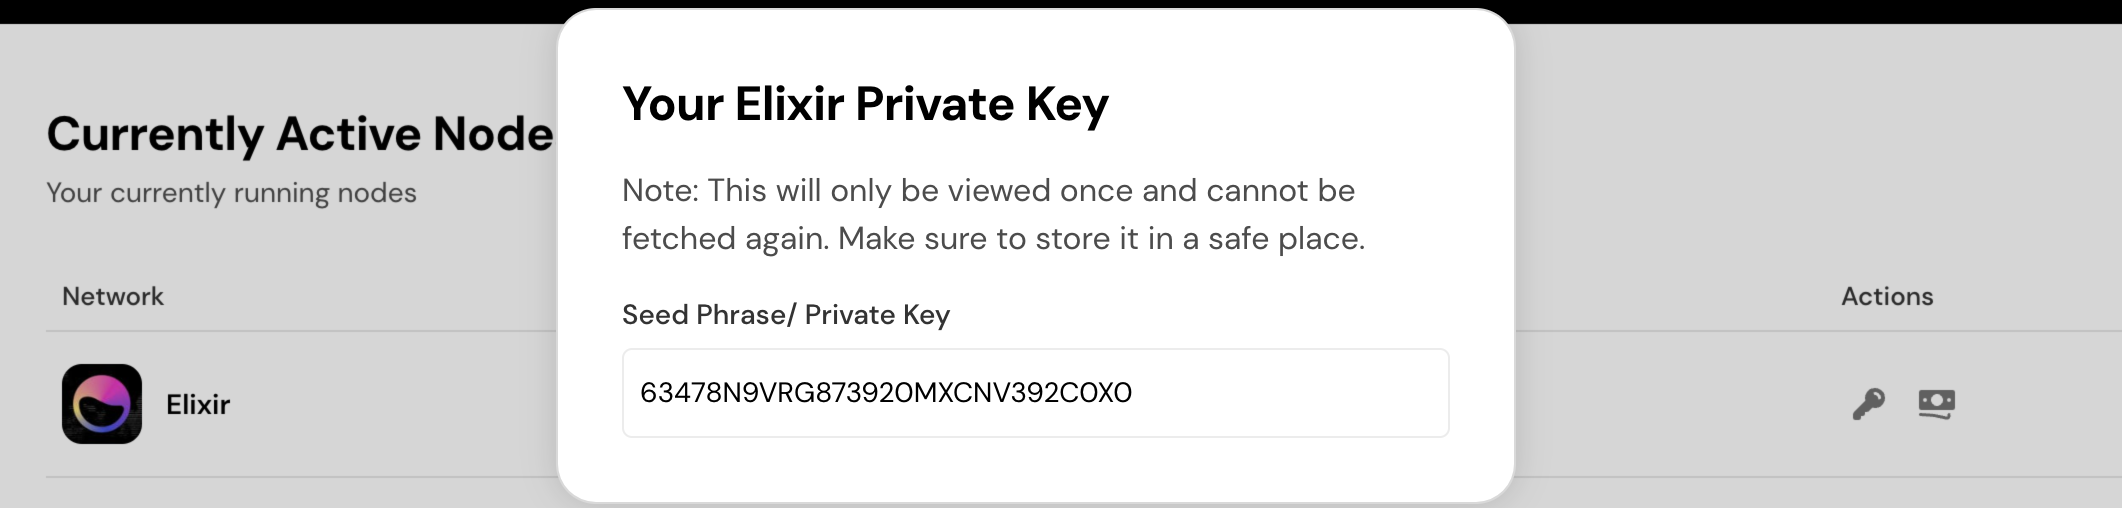
Step 3: Retrieving the Private Key & Importing It into MetaMask.
-
Once your node is deployed, click on the "Private Key" button to view your private key.
-
Then, import this private key into your MetaMask wallet.
Step 4: Enable Uptime Kuma Monitoring
-
Upon deployment, an Uptime-Kuma icon will appear in your “Active Nodes” tab.
-
If this is your first encounter with Uptime-Kuma, simply continue to the next steps.
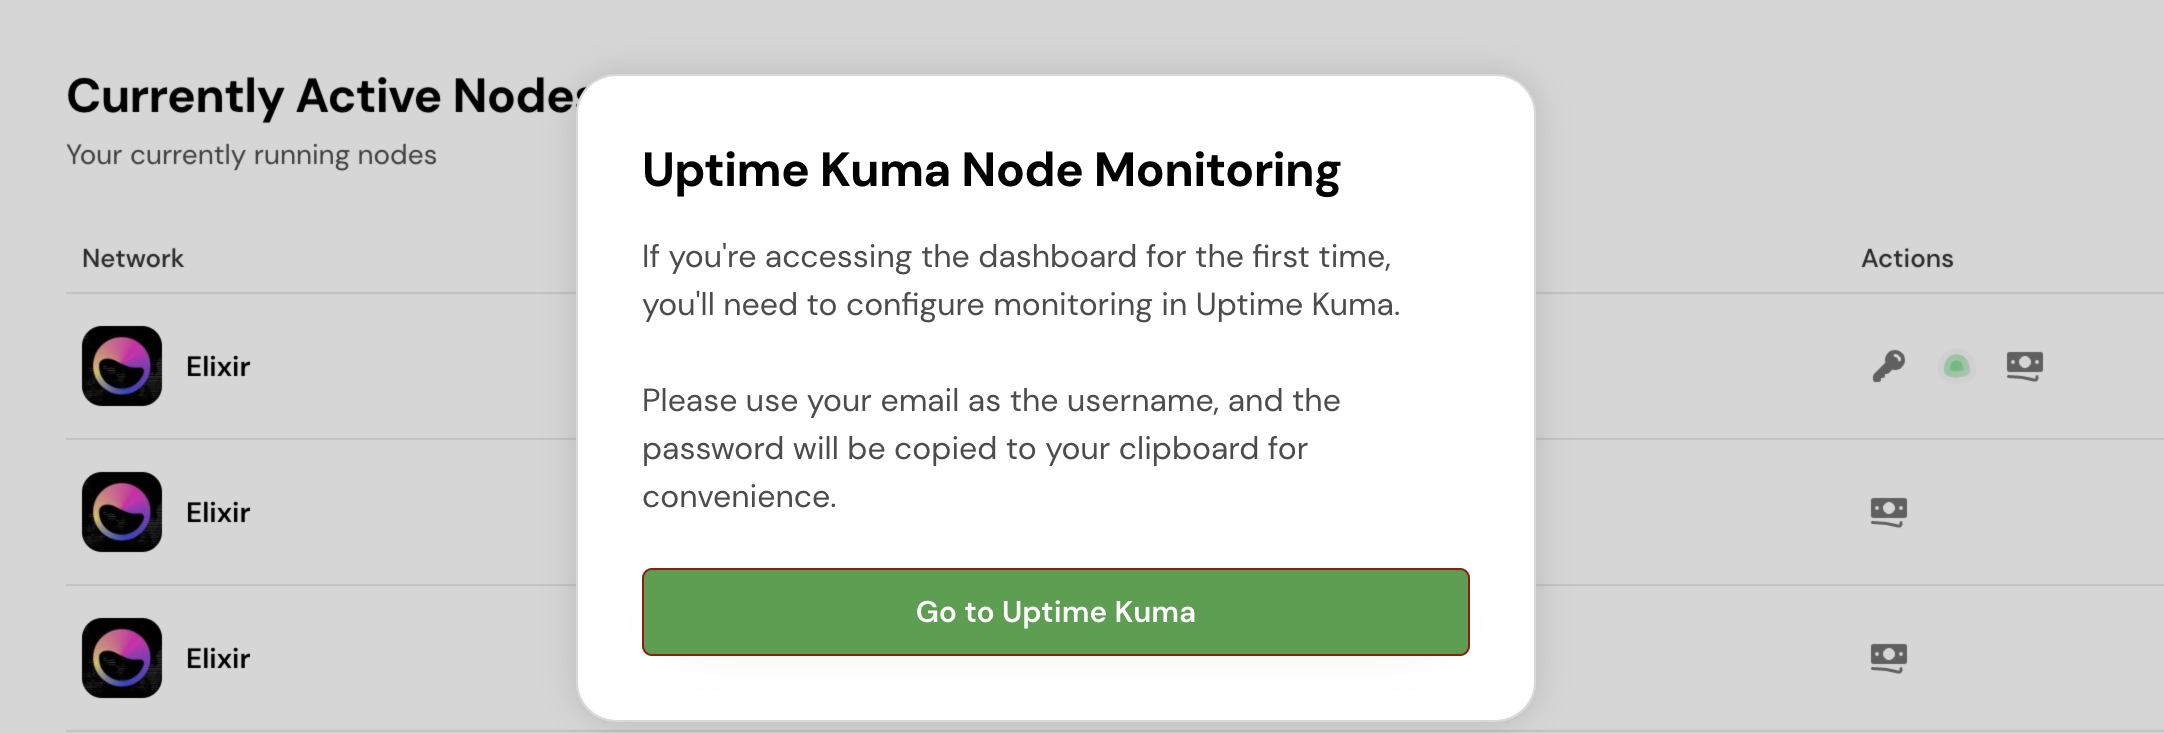
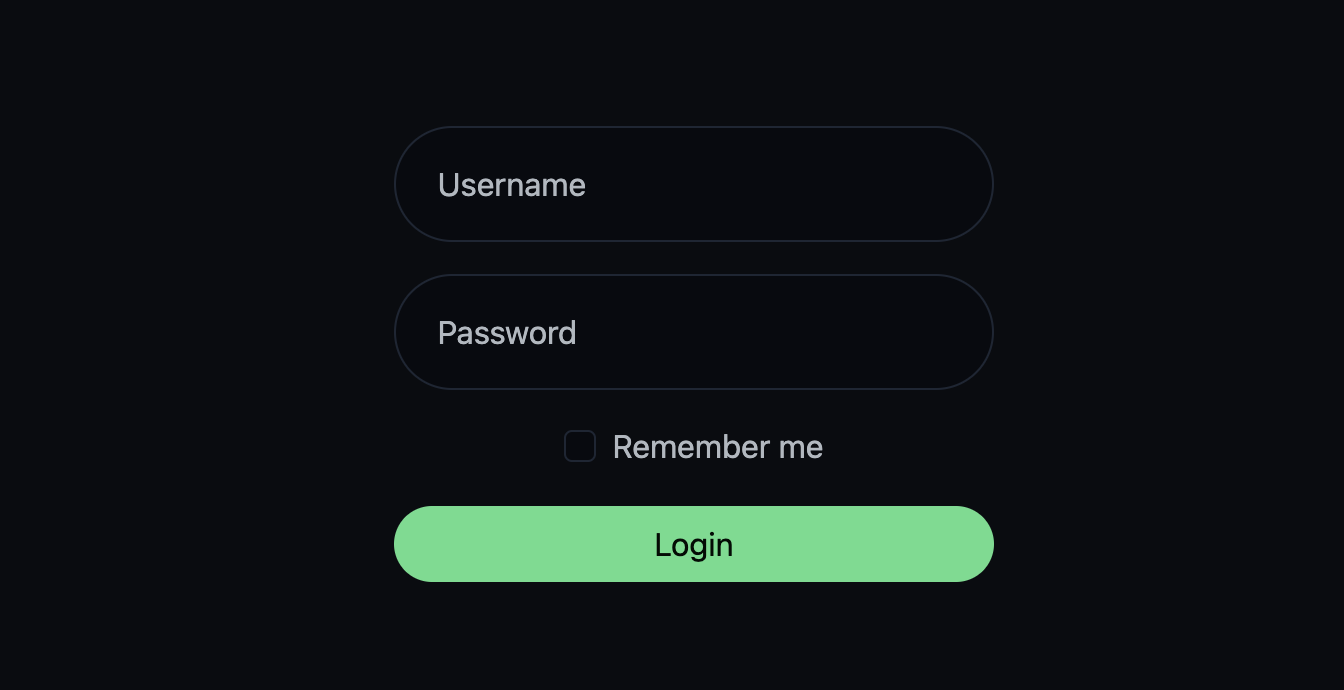
Step 5: Setting up Uptime Kuma For Monitoring Elixir Node
Enter your username (which will be your email address) and the password (already copied to your clipboard).
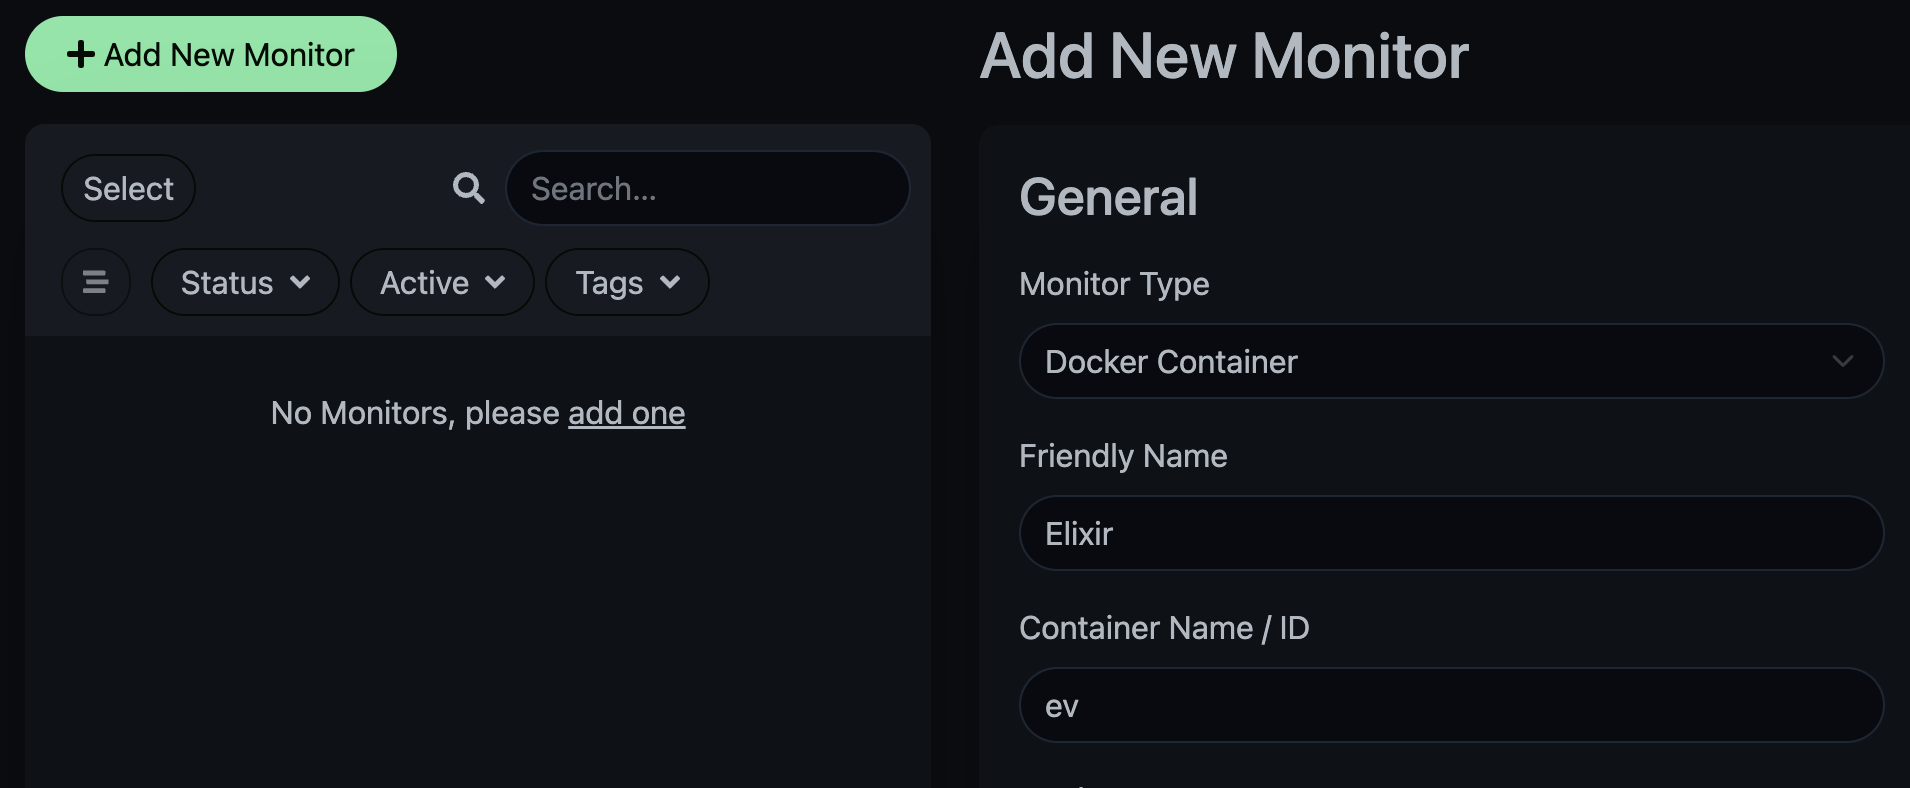
Step 6: Create a New Monitor
Log in and set up a new monitor with these specifications:
-
Monitor Type: Docker Container
-
Friendly Name: Elixir
-
Container Name/ID: ev
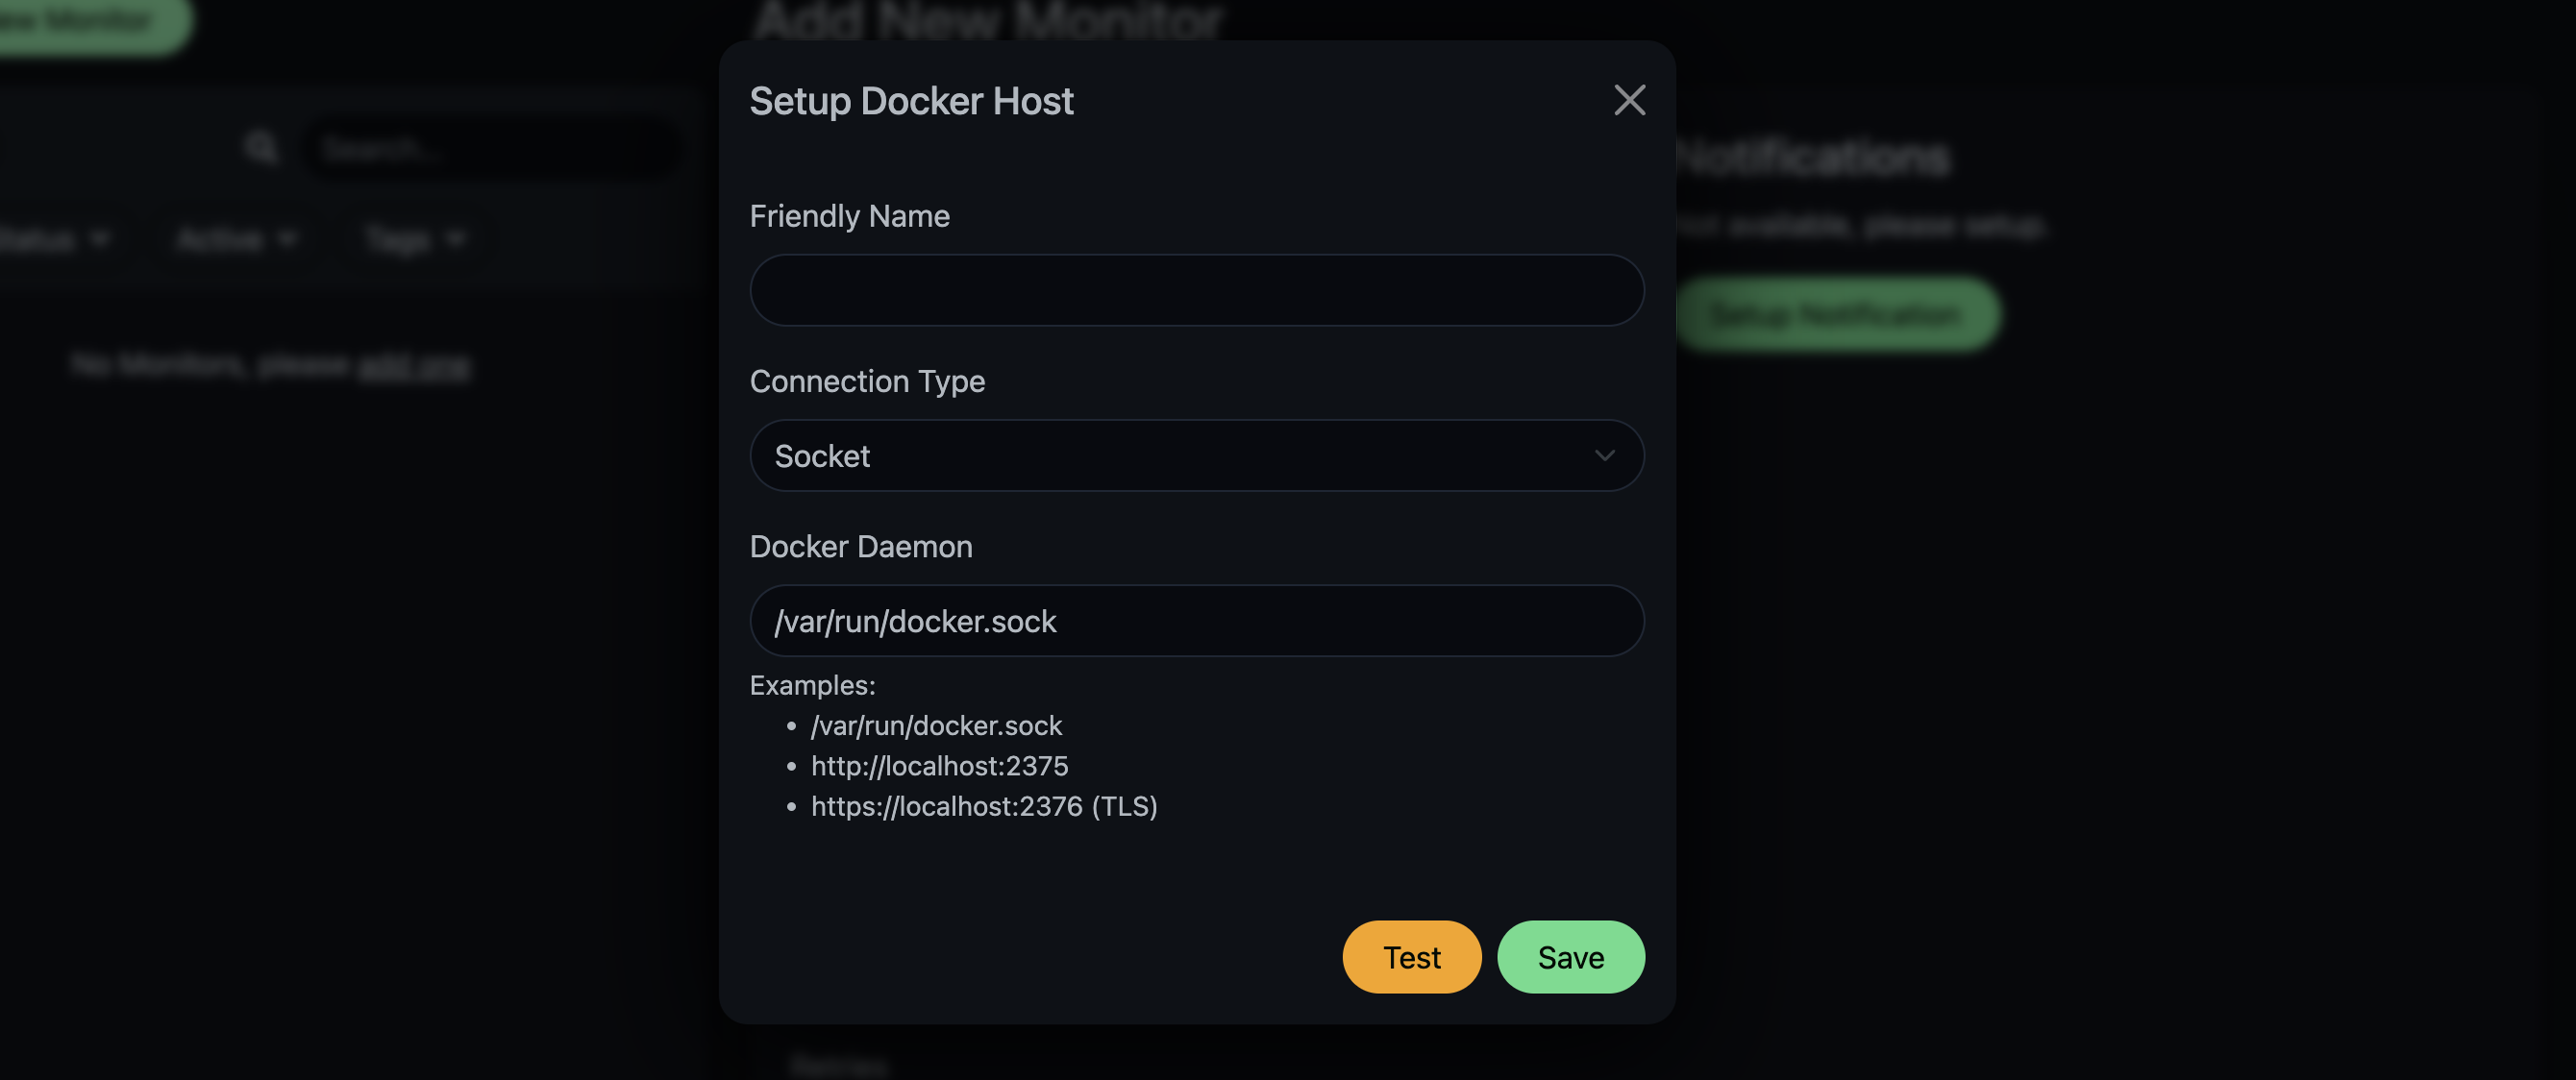
Step 7: Setup a Docker Host
Follow these steps to set up a Docker host:
-
Enter a Friendly Name: Elixir
-
Test the connection to ensure it's successful.
-
Save your settings.
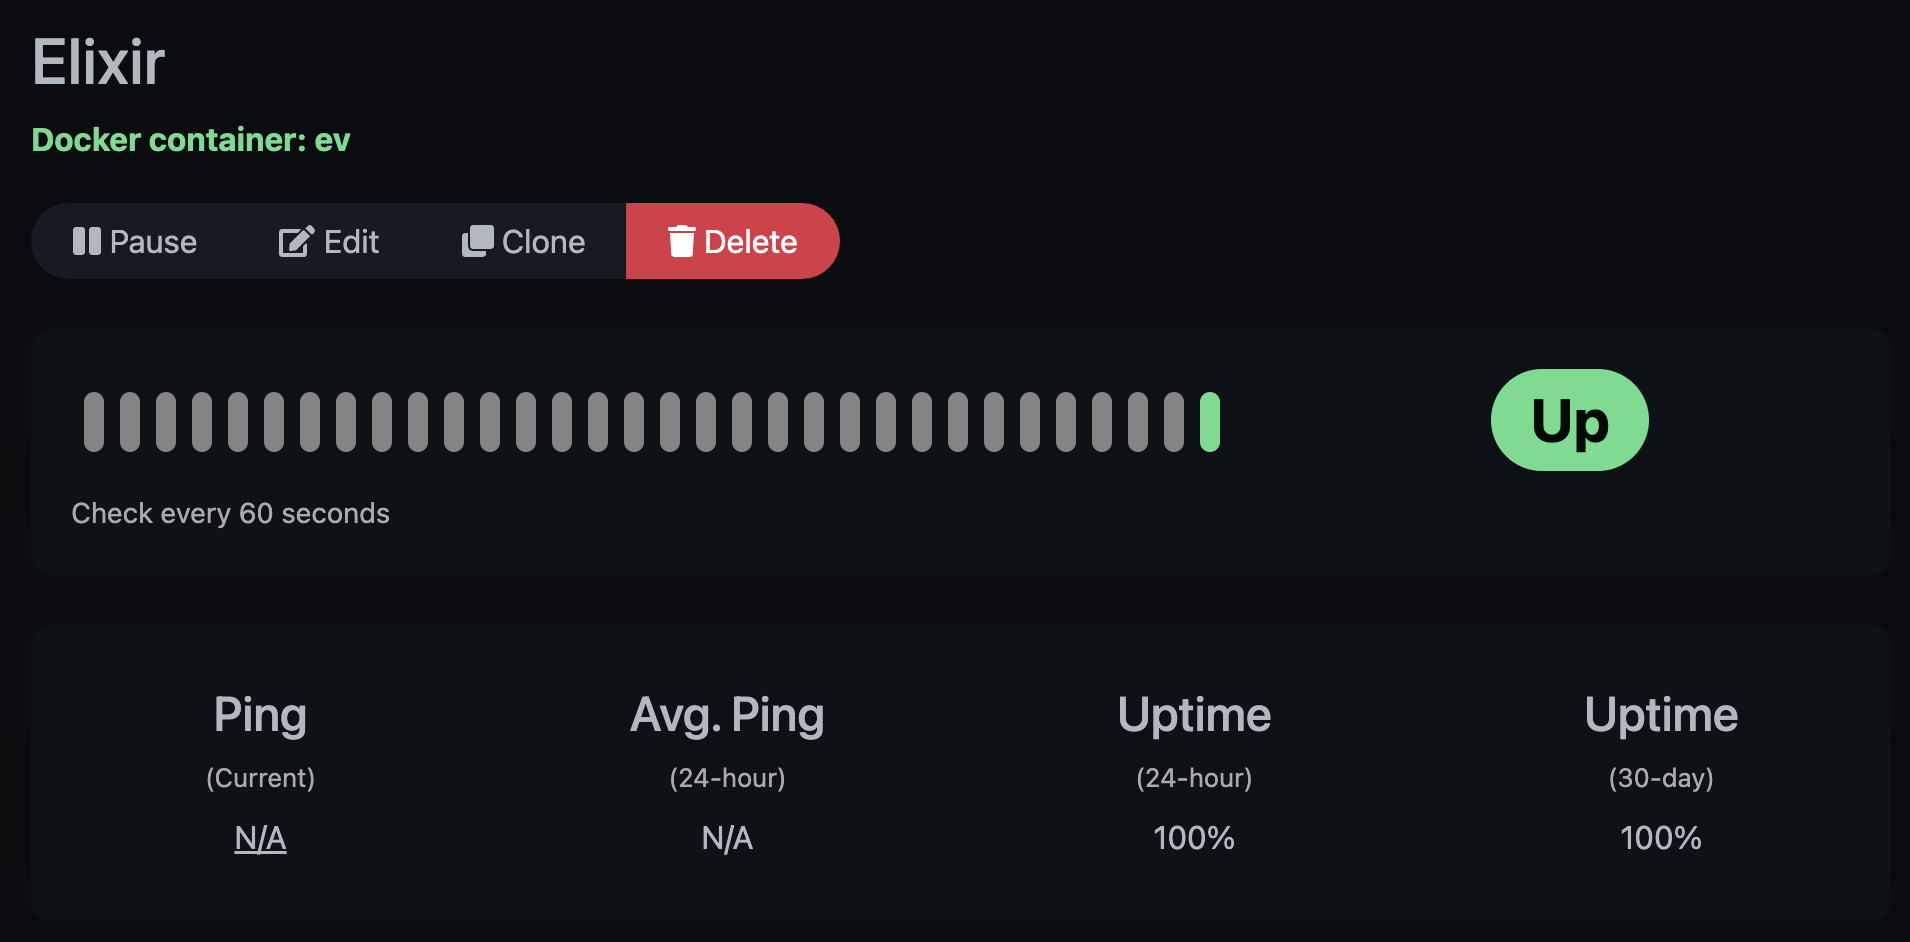
Step 8: Save your Monitor
After configuration, save your monitor to begin tracking the performance of your Elixir Node.
This concludes the setup guide. Ensure that your Node remains operational and stay alert for any further instructions or updates from the Elixir Team.