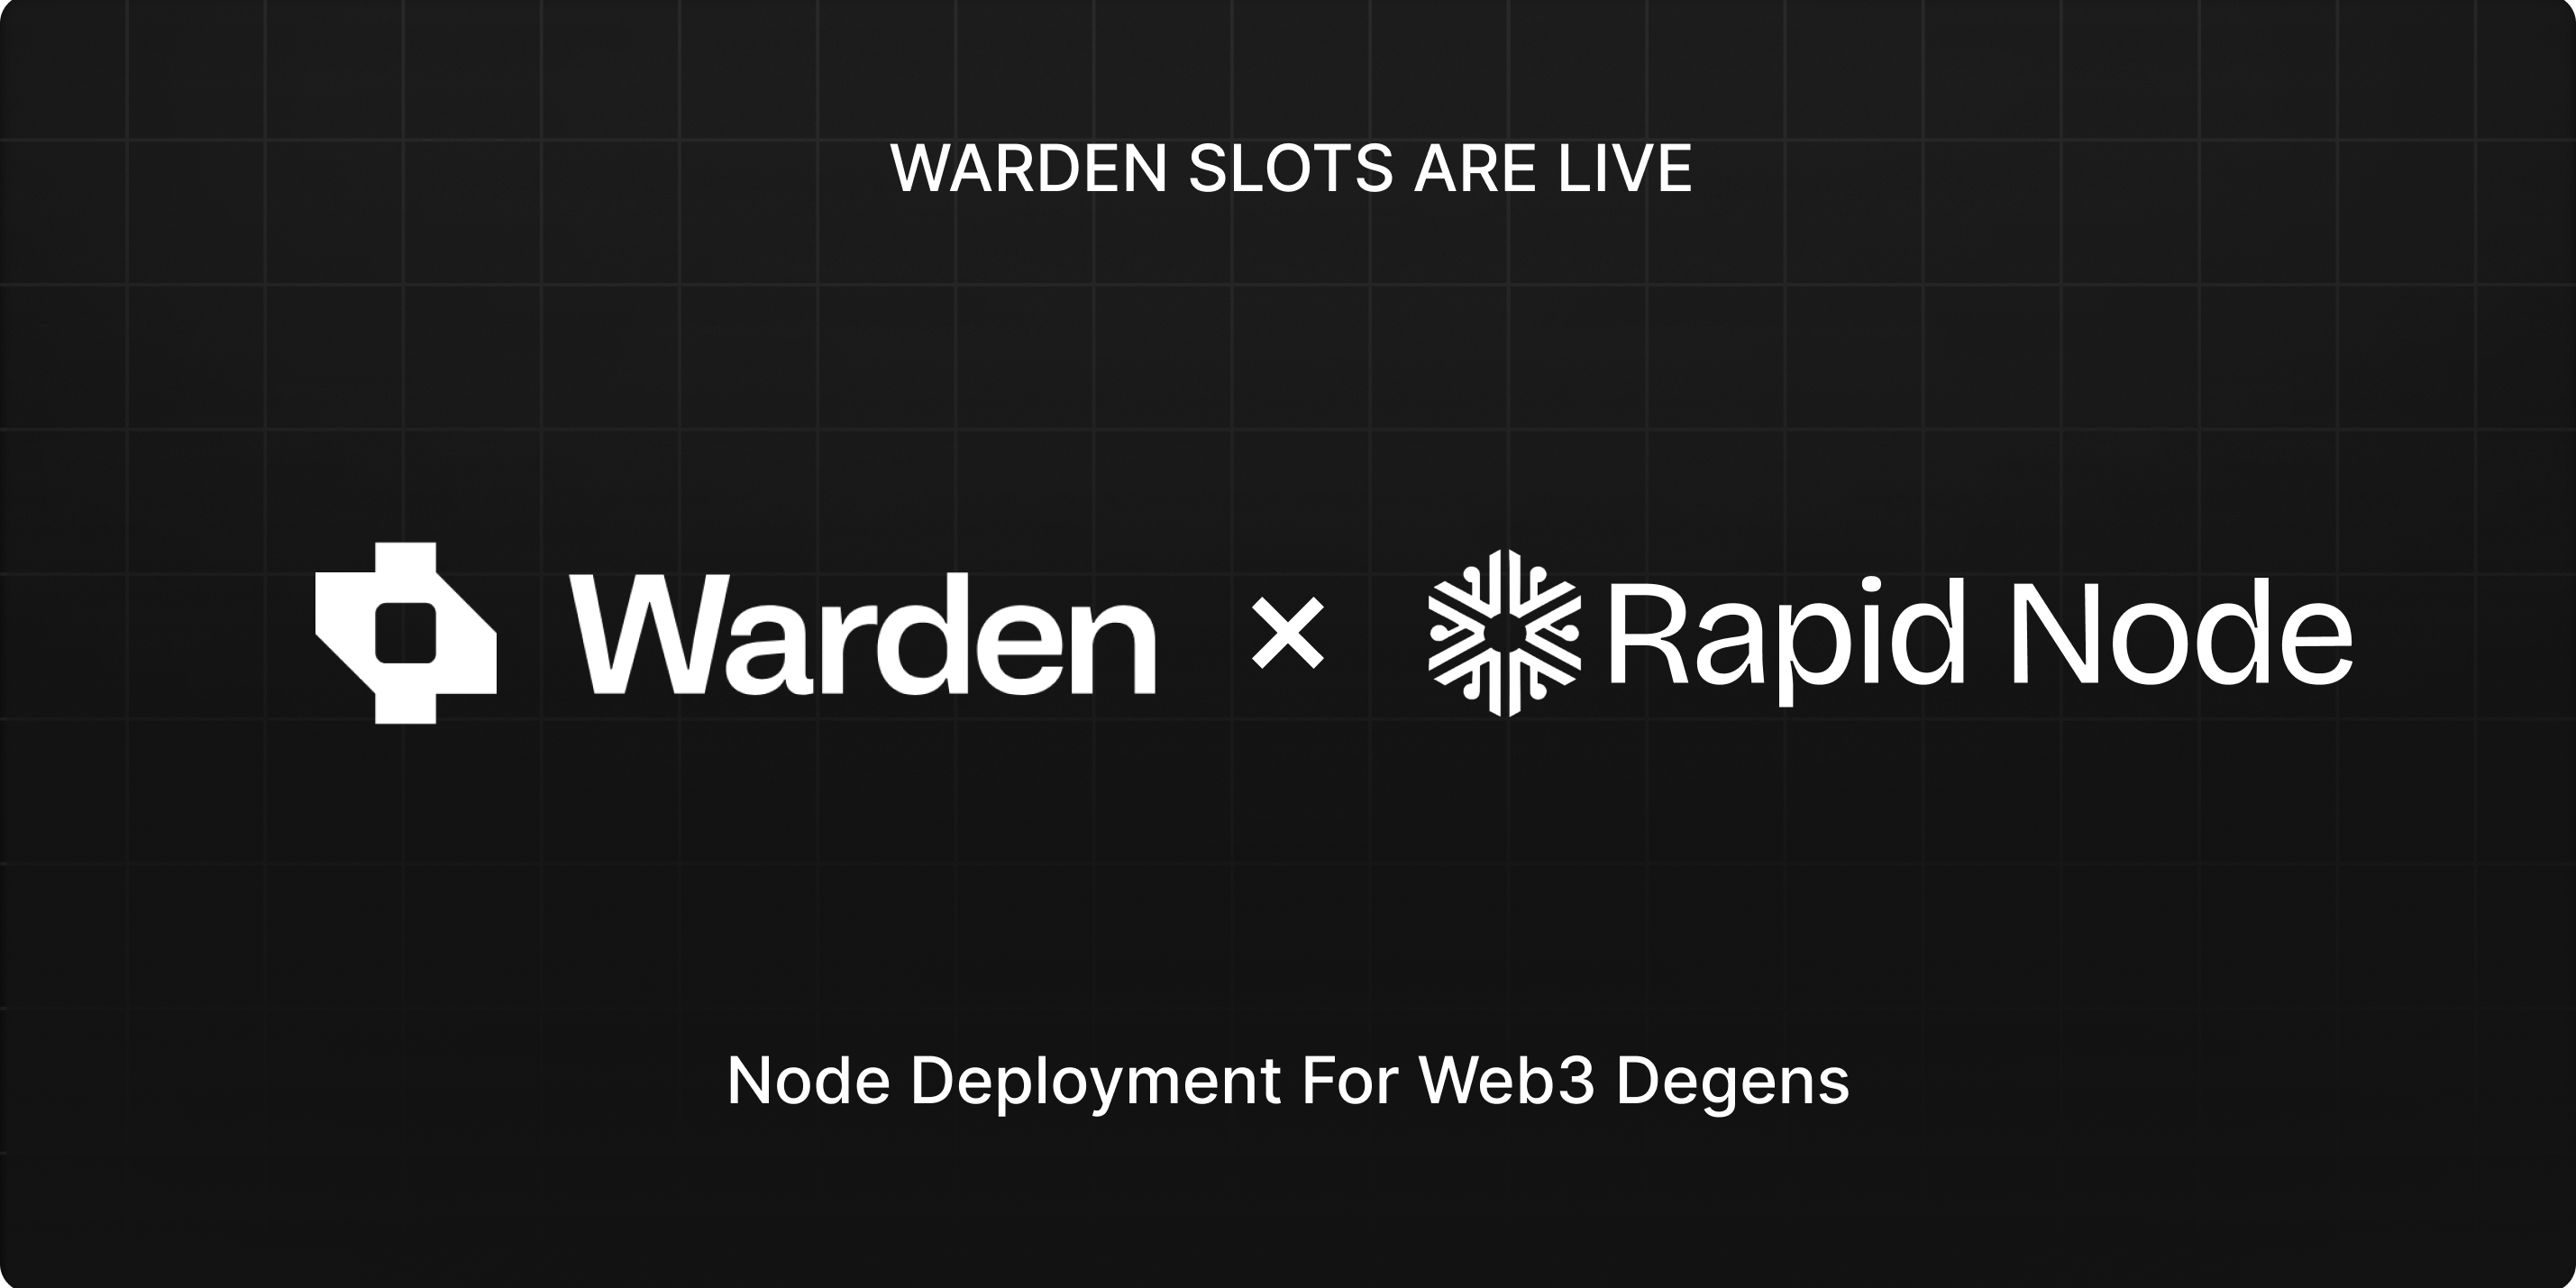
RapidNode is thrilled to announce support for running a Warden node with just a single click!🚀
Warden Protocol is an intent-centric blockchain protocol built on the solid foundation of the Cosmos SDK. It is designed to enable multiple execution layers for seamless interoperability, modular key management and account aggregation.
It enables seamless communication between different blockchains through its modular, intent-based design.
Let’s get you started on setting up your own validator node for the Warden Network!
Step 1 - Get Ready with Rapid Nodes Create a RapidNode Account:
Head over to our platform and sign up for an account Fund Your Account with credits to purchase the node.

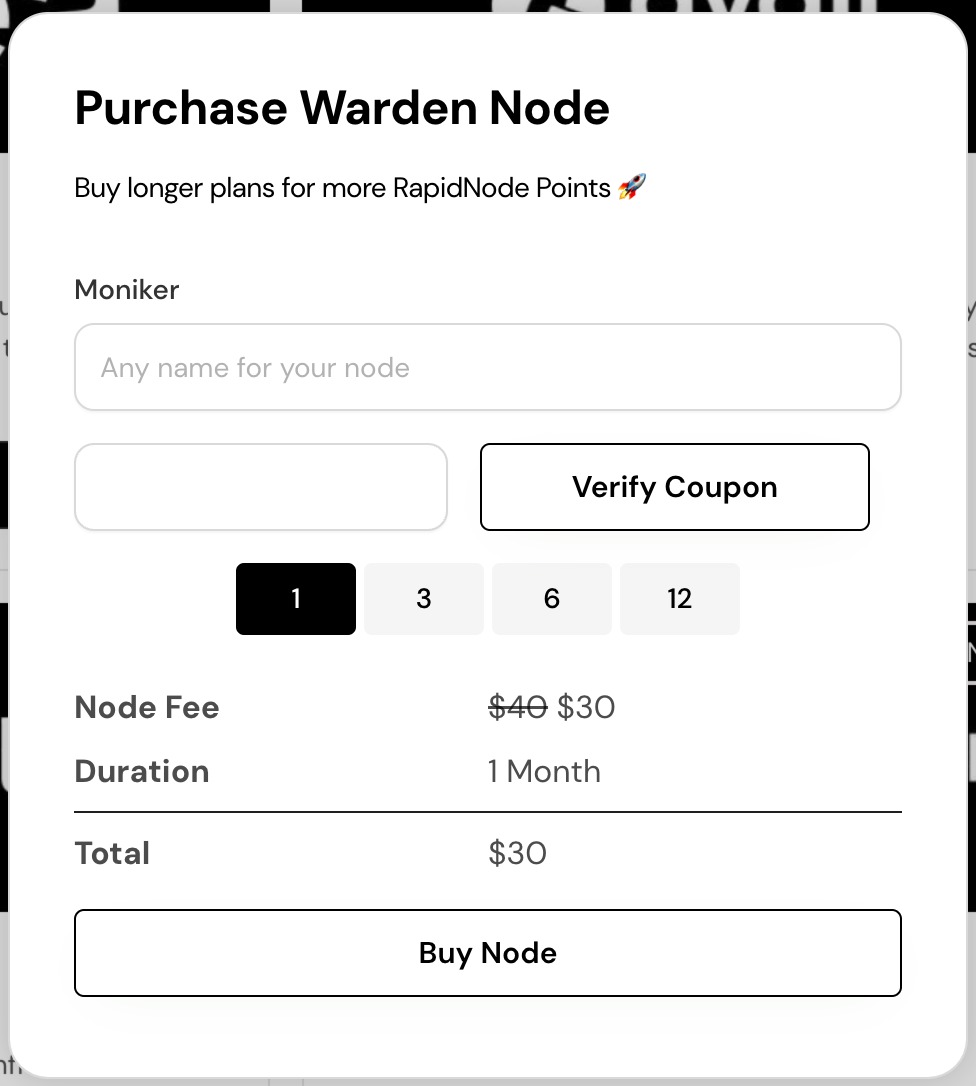
Step 2 - Purchasing Warden node
-
Head to your Rapid Nodes dashboard.
-
Select "Warden" and choose your desired rental duration.
-
Confirm your purchase
-
Monitor the "Active Nodes" section to verify deployment.
Step 3: Grab Your Keys
Once your Warden node is up and running on Rapid Node, you'll need to retrieve some key information:
-
Wallet Address: Use this address to interact, send and receive tokens.
-
Seed Phrase: This phrase will be used to import your account into a compatible wallet, allowing you to interact with the Warden network.

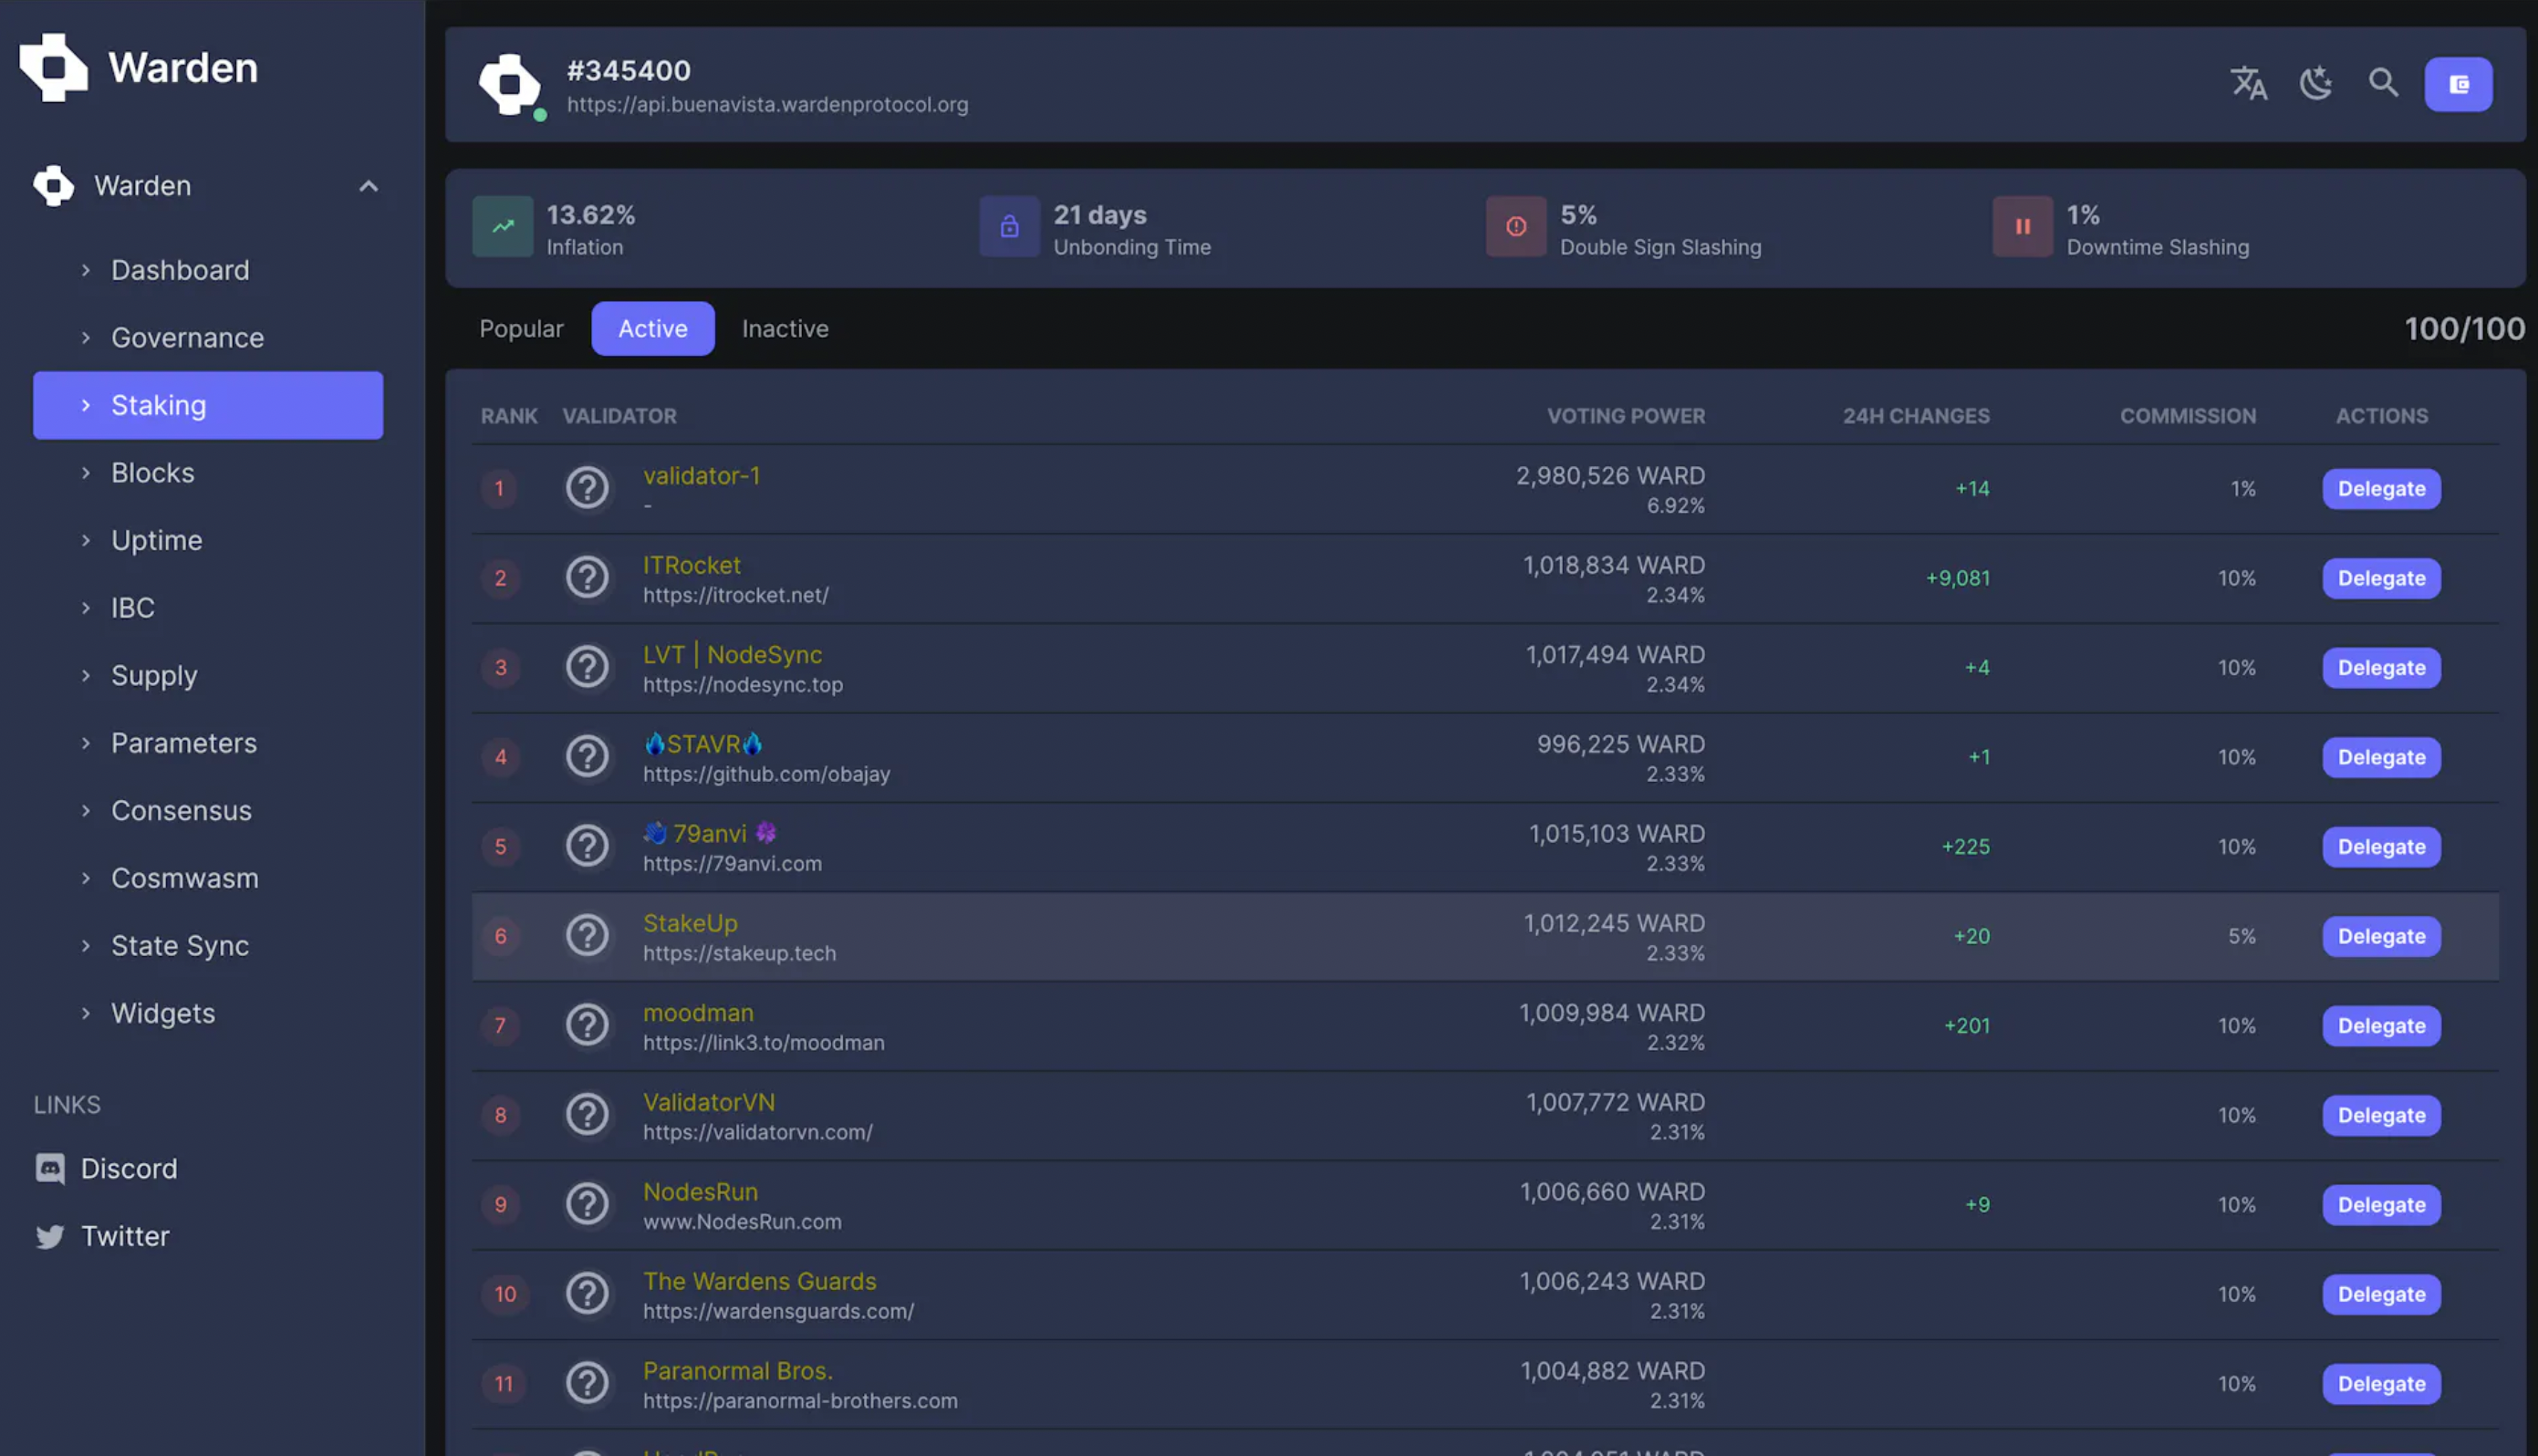
Step 4: Monitor Your Node Deployment
Once deployed, your validator should become visible here on the list.
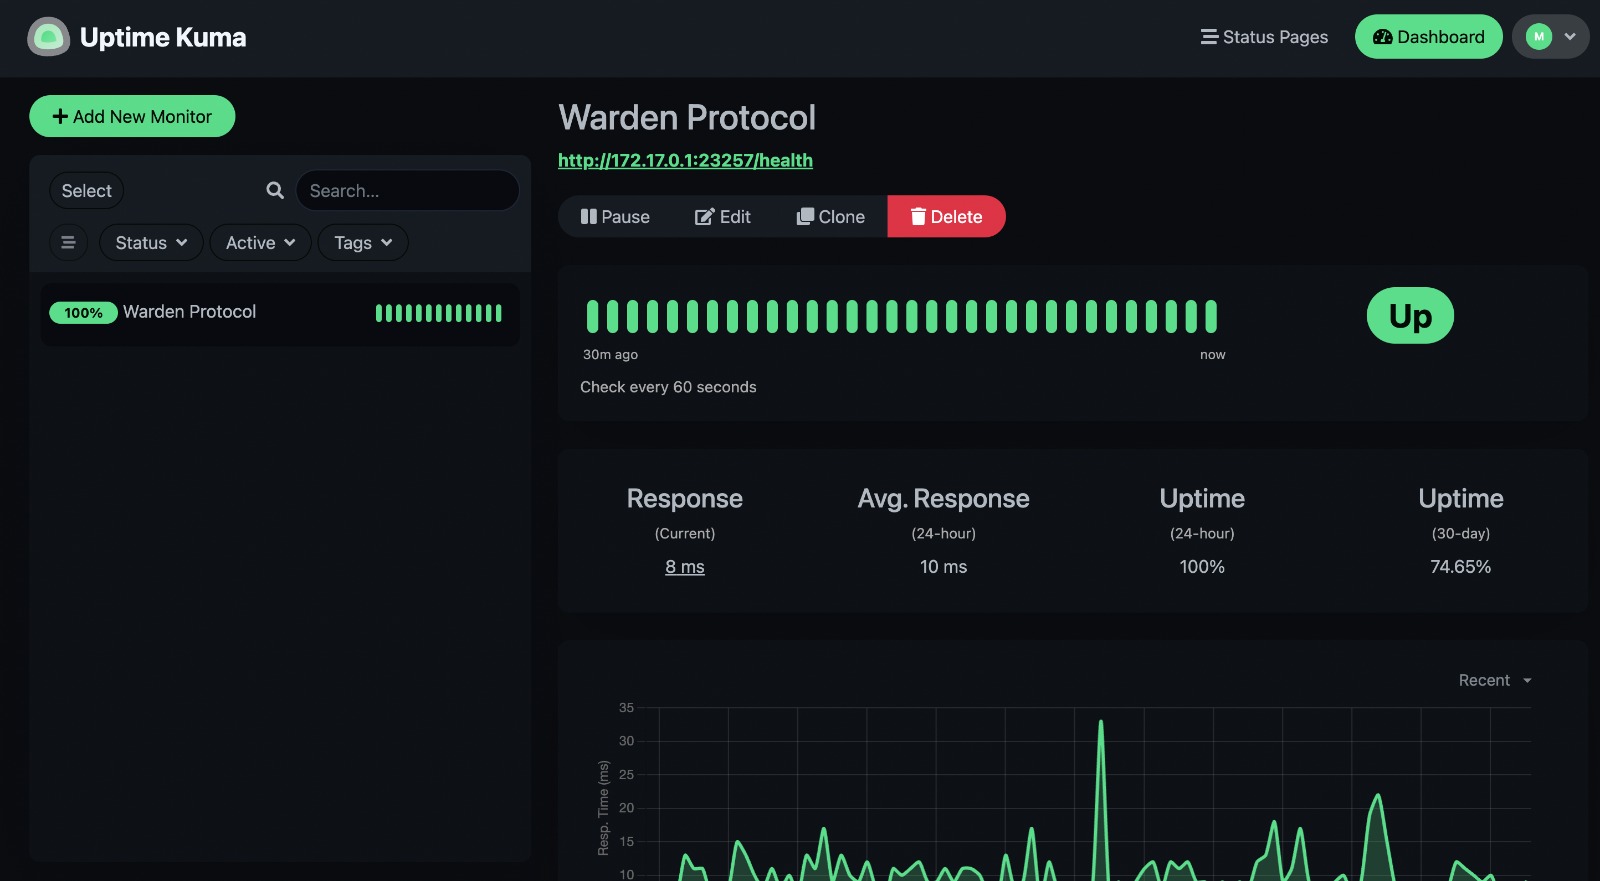
Along with this you can also monitor your Node Deployment by going to Uptime Kuma. Your login credentials will be revealed then.
Thank you for setting up your node! You're now an active participant of the Warden Network.
If you have any questions or need further assistance, please don't hesitate to reach out to our discord.
We're excited to have you on board, happy deploying!🥳