
Vitalik Buterin talked in this article about the possible application of Layer 3, mentioning Starkware's work in this regard: if L2s are used to achieve greater general-purpose and trustless scalability, L3s find application in custom scalability systems with custom features (i.e., privacy) or in validiums.
Validiums are systems that use SNARKs to verify computation but delegate the data availability function to a third party. They are less secure solutions than rollups, but significantly cheaper and can find applications in enterprise blockchain solutions, according to Vitalik.

He elaborates further, but let's focus on one important aspect: it is possible to add additional Layers that serve functions other than scalability, which can fulfill customized functionalities.
When we talk about blockchains, functionality refers to the ability to support various applications. The EVM (Ethereum Virtual Machine) serves as the execution engine for smart contracts and is the most widely adopted standard in the development of dApps even outside the Ethereum world as there are EVM-compatible or EVM-equivalent chains. However, EVM has limitations in terms of supporting extensive functionality to dApps. Therefore, two solutions exist:
-
replace the EVM with superior virtual machine systems (some candidates are MoveVM and FuelVM);
-
enhance the EVM with a complementary extension.
The second approach is certainly the less radical and more impactful one, as it allows adding a stack in the form of an extension, pushing the EVM beyond its design limits while retaining its advantages.
Artela Network is in fact pushing in this direction.
What’s Artela Network?
Artela Network has developed a new programmable module - Aspect - that takes its name from aspect-oriented programming, a programming paradigm that aims to increase modularity by allowing the separation of cross-cutting issues. Aspect allows developers to inject additional logic to process-related transactions into their entire lifecycle, beyond the smart contract itself.
The execution environment of Aspect extensions runs on the WASM Virtual Machine. All of this allows testing of new possibilities about on-chain functionalities like runtime protection for smart contracts, on-chain automation, lighter implementations of EIPs, and more, while maintaining EVM-equivalence.

Artela Network's Public Testnet has been active now since March 15, 2024, let's see today how to participate and who knows, maybe turn out to be eligible for some rewards!
In July 2023 they raised $6M from some VCs such as Shima Capital, Big Brain Holdings, SevenX Ventures, and Dispersion Capital.

Don’t forget to subscribe on Mirror to stay tuned to all future articles.
Artela Node Installation - Step-by-Step Guide
To begin the procedure, you need a computer with any Linux distro installed, Ubuntu 22.04 or later will do, an SSD with +200 GB and a fast Internet connection. It’s required to use 22.04 version or newer versions, otherwise your node won’t be installed correctly.
For those without resources capable of supporting a validator node at home, you can fall back on VPS (Virtual Private Server) solutions, that is, you can rent a virtual server.
There are several solutions, which I recommend below:
-
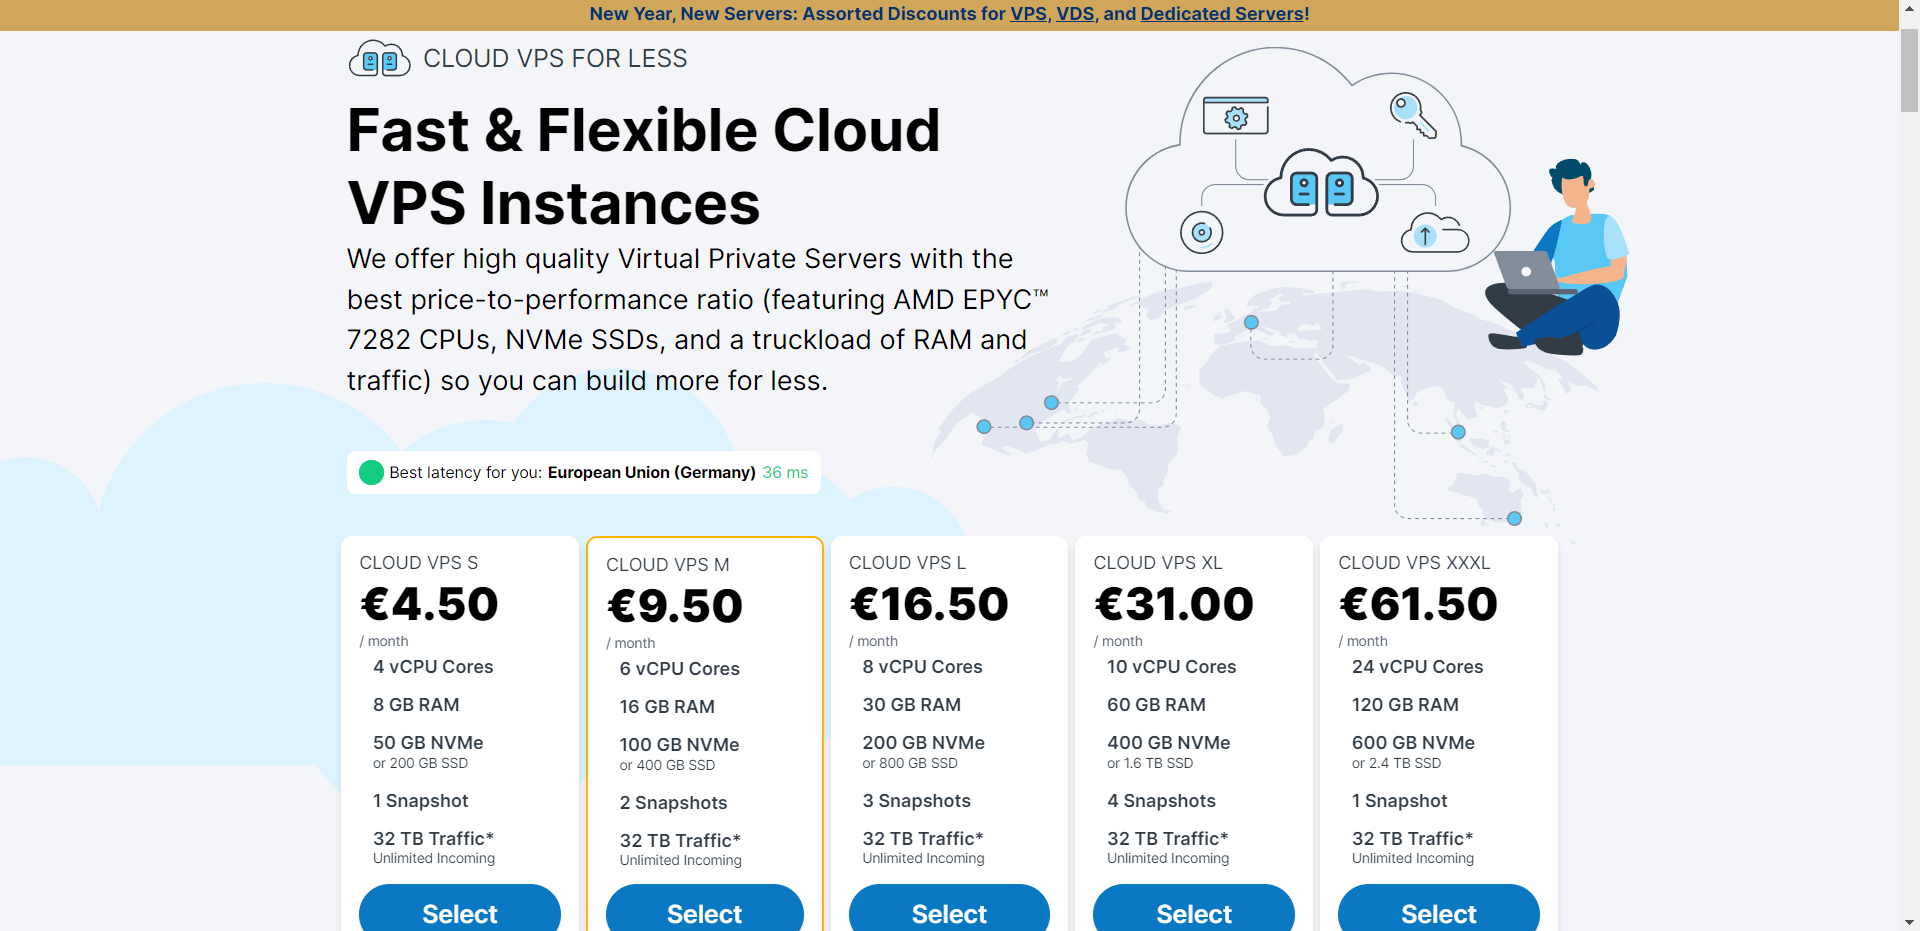
Contabo, I recommend the Cloud VPS M model, with 6 vCPU Cores, 16 GB RAM, 400 GB SSD SATA3;
-
Aeza, I recommend at least the VIEs-3 or PARs-3 model, with 4 vCPU Cores, 8 GB RAM, 120 GB NVMe. This is a Russian VPS service and payment by credit/debit card is not possible from many Western countries, but payments in crypto (BTC, BEP20, ERC20, TRC20, DASH, LTC, XMR...) are possible.
After payment is made, you will receive the IP address to access.
If operating from Windows, open Windows Powershell and launch the following command, entering your IP address instead of IP_ADDRESS:
ssh root@IP_ADDRESS
Give confirmation to save ED25519 key fingerprint to the list of known hosts, available at C:\Users\WINDOWS_USER\.ssh and enter the password of your VPS.
If you have done everything correctly, the following screen will appear:

⚠️ Disclaimer ⚠️: Launch every command one by one. Entering more commands together could break the installation process or bring to fatal errors.
Now enter the following commands and execute them:
# Preparation
sudo apt update -y
sudo apt upgrade -y
sudo apt install curl git make wget jq lz4 build-essential unzip gcc -y
Install Golang
# Install Golang
sudo rm -rf /usr/local/go
curl -Ls https://go.dev/dl/go1.21.5.linux-amd64.tar.gz | sudo tar -xzf - -C /usr/local
eval $(echo 'export PATH=$PATH:/usr/local/go/bin' | sudo tee /etc/profile.d/golang.sh)
eval $(echo 'export PATH=$PATH:$HOME/go/bin' | tee -a $HOME/.profile)

go version
# go version go1.21.5 linux/amd64
Download Artela binary files and configure the service, check if the latest version is v0.4.7-rc6:
# Set variables
echo "export MONIKER="0xOuterGod"" >> $HOME/.bash_profile
echo "export ARTELA_CHAIN_ID="artela_11822-1"" >> $HOME/.bash_profile
echo "export ARTELA_PORT="30"" >> $HOME/.bash_profile
source $HOME/.bash_profile

# Download binary files
cd $HOME
git clone https://github.com/artela-network/artela && cd artela
git checkout v0.4.7-rc6
make install

# Configure and initialize the app
artelad config node tcp://localhost:${ARTELA_PORT}657
artelad config keyring-backend os
artelad config chain-id artela_11822-1
artelad init $MONIKER --chain-id artela_11822-1
Download genesis.json and addrbook.json files and configure them as follows:
# Download genesis.json & addrbook.json
wget -O $HOME/.artelad/config/genesis.json https://testnet-files.itrocket.net/artela/genesis.json
wget -O $HOME/.artelad/config/addrbook.json https://testnet-files.itrocket.net/artela/addrbook.json

# Configure seeds & peers
SEEDS="8d0c626443a970034dc12df960ae1b1012ccd96a@artela-testnet-seed.itrocket.net:30656"
PEERS="5c9b1bc492aad27a0197a6d3ea3ec9296504e6fd@artela-testnet-peer.itrocket.net:30656,13db40d2414b94a7aa112b5f0ad4e5db9cecd85e@[2a03:4000:4a:f20:58db:a3ff:fecf:350e]:26656,844377056c31f227cfb0759c29df9f239c284386@209.145.48.72:45656,28c6ff1859a00798be435dbb7c225539070a4245@31.169.73.194:29656,635fda81fe7aedcc755f29069a09afbc852e475f@143.198.70.161:26656,2812341c57f60bb41850787dc0e580f49df747d3@94.103.86.112:26656,412e10bed8ea78a6e53049e13203d800edcfb4c5@165.154.224.44:26656,e95a746ad42eb2b2cec8a4af68d65bcb45f48825@89.58.16.102:26656,887a45dca2fbbe73e7c8bcf836d81a3c2e4cfa53@37.60.229.253:30656,f5e7b2e9fc232222ed4c5fe282124a5fe0b91590@207.180.202.175:26656,df31e029240ab2940cfd4df8f13617227fcf08d8@135.125.97.162:11656"
sed -i -e "s/^seeds *=.*/seeds = \"$SEEDS\"/; s/^persistent_peers *=.*/persistent_peers = \"$PEERS\"/" $HOME/.artelad/config/config.toml

# Configure custom ports in app.toml
sed -i.bak -e "s%:1317%:${ARTELA_PORT}317%g;
s%:8080%:${ARTELA_PORT}080%g;
s%:9090%:${ARTELA_PORT}090%g;
s%:9091%:${ARTELA_PORT}091%g;
s%:8545%:${ARTELA_PORT}545%g;
s%:8546%:${ARTELA_PORT}546%g;
s%:6065%:${ARTELA_PORT}065%g" $HOME/.artelad/config/app.toml

# Configure custom ports in config.toml
sed -i.bak -e "s%:26658%:${ARTELA_PORT}658%g;
s%:26657%:${ARTELA_PORT}657%g;
s%:6060%:${ARTELA_PORT}060%g;
s%:26656%:${ARTELA_PORT}656%g;
s%^external_address = \"\"%external_address = \"$(wget -qO- eth0.me):${ARTELA_PORT}656\"%;
s%:26660%:${ARTELA_PORT}660%g" $HOME/.artelad/config/config.toml

# Configure pruning
sed -i -e "s/^pruning *=.*/pruning = \"custom\"/" $HOME/.artelad/config/app.toml
sed -i -e "s/^pruning-keep-recent *=.*/pruning-keep-recent = \"100\"/" $HOME/.artelad/config/app.toml
sed -i -e "s/^pruning-interval *=.*/pruning-interval = \"50\"/" $HOME/.artelad/config/app.toml

# Configure minium gas price, prometheus and disable indexer
sed -i 's|minimum-gas-prices =.*|minimum-gas-prices = "0.025art"|g' $HOME/.artelad/config/app.toml
sed -i -e "s/prometheus = false/prometheus = true/" $HOME/.artelad/config/config.toml
sed -i -e "s/^indexer *=.*/indexer = \"null\"/" $HOME/.artelad/config/config.toml

# Create service file
sudo tee /etc/systemd/system/artelad.service > /dev/null <<EOF
[Unit]
Description=Artela node
After=network-online.target
[Service]
User=$USER
WorkingDirectory=$HOME/.artelad
ExecStart=$(which artelad) start --home $HOME/.artelad
Restart=on-failure
RestartSec=5
LimitNOFILE=65535
[Install]
WantedBy=multi-user.target
EOF

# Download latest snapshot and wait for synchronization
artelad tendermint unsafe-reset-all --home $HOME/.artelad
if curl -s --head curl https://testnet-files.itrocket.net/artela/snap_artela.tar.lz4 | head -n 1 | grep "200" > /dev/null; then
  curl https://testnet-files.itrocket.net/artela/snap_artela.tar.lz4 | lz4 -dc - | tar -xf - -C $HOME/.artelad
    else
  echo no have snap
fi

# Enable & start the service
sudo systemctl daemon-reload
sudo systemctl enable artelad
sudo systemctl restart artelad
Now we are ready to create/recover a wallet. Remember, do not use a wallet where you’re holding your crypto on Cosmos ecosystem but use a dust wallet or a brand new wallet:
# If you want to create a new wallet, remember to save your seed phrase
artelad keys add wallet

# If you decide to restore a wallet you already have, launch instead this
artelad keys add wallet --recover

# Set wallet & valoper addresses as variables
ARTELA_WALLET_ADDRESS=$(artelad keys show wallet -a)
ARTELA_VALOPER_ADDRESS=$(artelad keys show wallet --bech val -a)
echo "export ARTELA_WALLET_ADDRESS="$ARTELA_WALLET_ADDRESS >> $HOME/.bash_profile
echo "export ARTELA_VALOPER_ADDRESS="$ARTELA_VALOPER_ADDRESS >> $HOME/.bash_profile
source $HOME/.bash_profile
It’s time to request a faucet on Artela Network’s Discord server. In order to get the EVM address for faucet request, launch on your Powershell terminal the following command:
artelad debug addr $ARTELA_WALLET_ADDRESS
In order to get the faucet, launch the command $request EVM_ADDRESS. Return to the terminal screen and continue with the launch of the validator node:
# Check sync status. If false then continue, otherwise wait full sync
artelad status 2>&1 | jq .SyncInfo

# Create a new validator node
artelad tx staking create-validator \
--amount 990000uart \
--from wallet \
--commission-rate 0.1 \
--commission-max-rate 0.2 \
--commission-max-change-rate 0.01 \
--min-self-delegation 1 \
--pubkey $(artelad tendermint show-validator) \
--moniker $MONIKER \
--details "<Replace the text between quotes with your description>" \
--chain-id artela_11822-1 \
--gas auto --gas-adjustment 1.5 \
-y

# If you want to delegate more tokens, redelegate to yourself
artelad tx staking delegate $(artelad keys show wallet --bech val -a) 1000000uart --from wallet --chain-id artela_11822-1 --gas auto --gas-adjustment 1.5 -y

# If you want to delegate tokens to another validator node, launch
artelad tx staking delegate <insert the VALOPER_ADDRESS> 1000000uart --from wallet --chain-id artela_11822-1 --gas auto --gas-adjustment 1.5 -y

# Monitor your validator node with this command
artelad status 2>&1 | jq .ValidatorInfo
Congratulations, you have successfully completed the installation of your node!

The guide you read is for educational purposes. Penumbra has not released any information about its tokenomics nor airdrop, so this is an educational content. If you like my work, I suggest you to subscribe and mint the entry in order to support my work.