
Embarking on your Web3 adventure has never been easier with Avatar Wallet by your side. This user-friendly platform not only bridges the gap between conventional users and the intricate realm of cryptocurrencies but also simplifies the experience. Offering a plethora of functionalities, from managing cryptocurrencies to navigating NFTs, Avatar Wallet stands as a beacon for both beginners and veterans in the crypto universe. This article provides you with a detailed walkthrough of Avatar Wallet’s key features, ensuring you make the most of its offerings.
1. Logging In
Navigate to avatarwallet.io. For seamless access, log in using your Google, Facebook, or Apple account.

2. Viewing Your Assets
A. Cryptocurrency Overview: Click on the “Crypto” tab to display your collection of cryptocurrencies.

Manage your display by selecting the “Manage Tokens” button. Here, you can incorporate mainstream or custom tokens. Please note that tokens are not visible if they are not added to your wallet, but they can still be received in the wallet without any issues. If you receive certain types of tokens via airdrops, they might automatically become visible in your wallet. You can choose to manually hide these tokens if you prefer.

B. Navigating NFTs: Access your NFTs by tapping on the “NFTs” tab.

3. Receiving Crypto
First, ensure that the asset you wish to receive is on a blockchain supported by Avatar Wallet.
To receive:
- Click “Receive”.

- Copy your wallet address or save its QR Code.

- Share the details with the sender.
4. Sending Crypto
Before transferring, ensure you have the recipient’s address and adequate funds. To send:
-
Tap “Send”.
-
Choose the token, and input the address and amount.

- Set transaction speed and confirm.
- Track via “View TxID on Blockchain Scan”.

5. Crypto Purchases
Avatar Wallet allows you to purchase cryptocurrencies using credit cards, facilitated through our partner vendors. To purchase:
-
Click “Buy”.
-
Choose Ramp Network as the vendor (more vendors will be added soon).
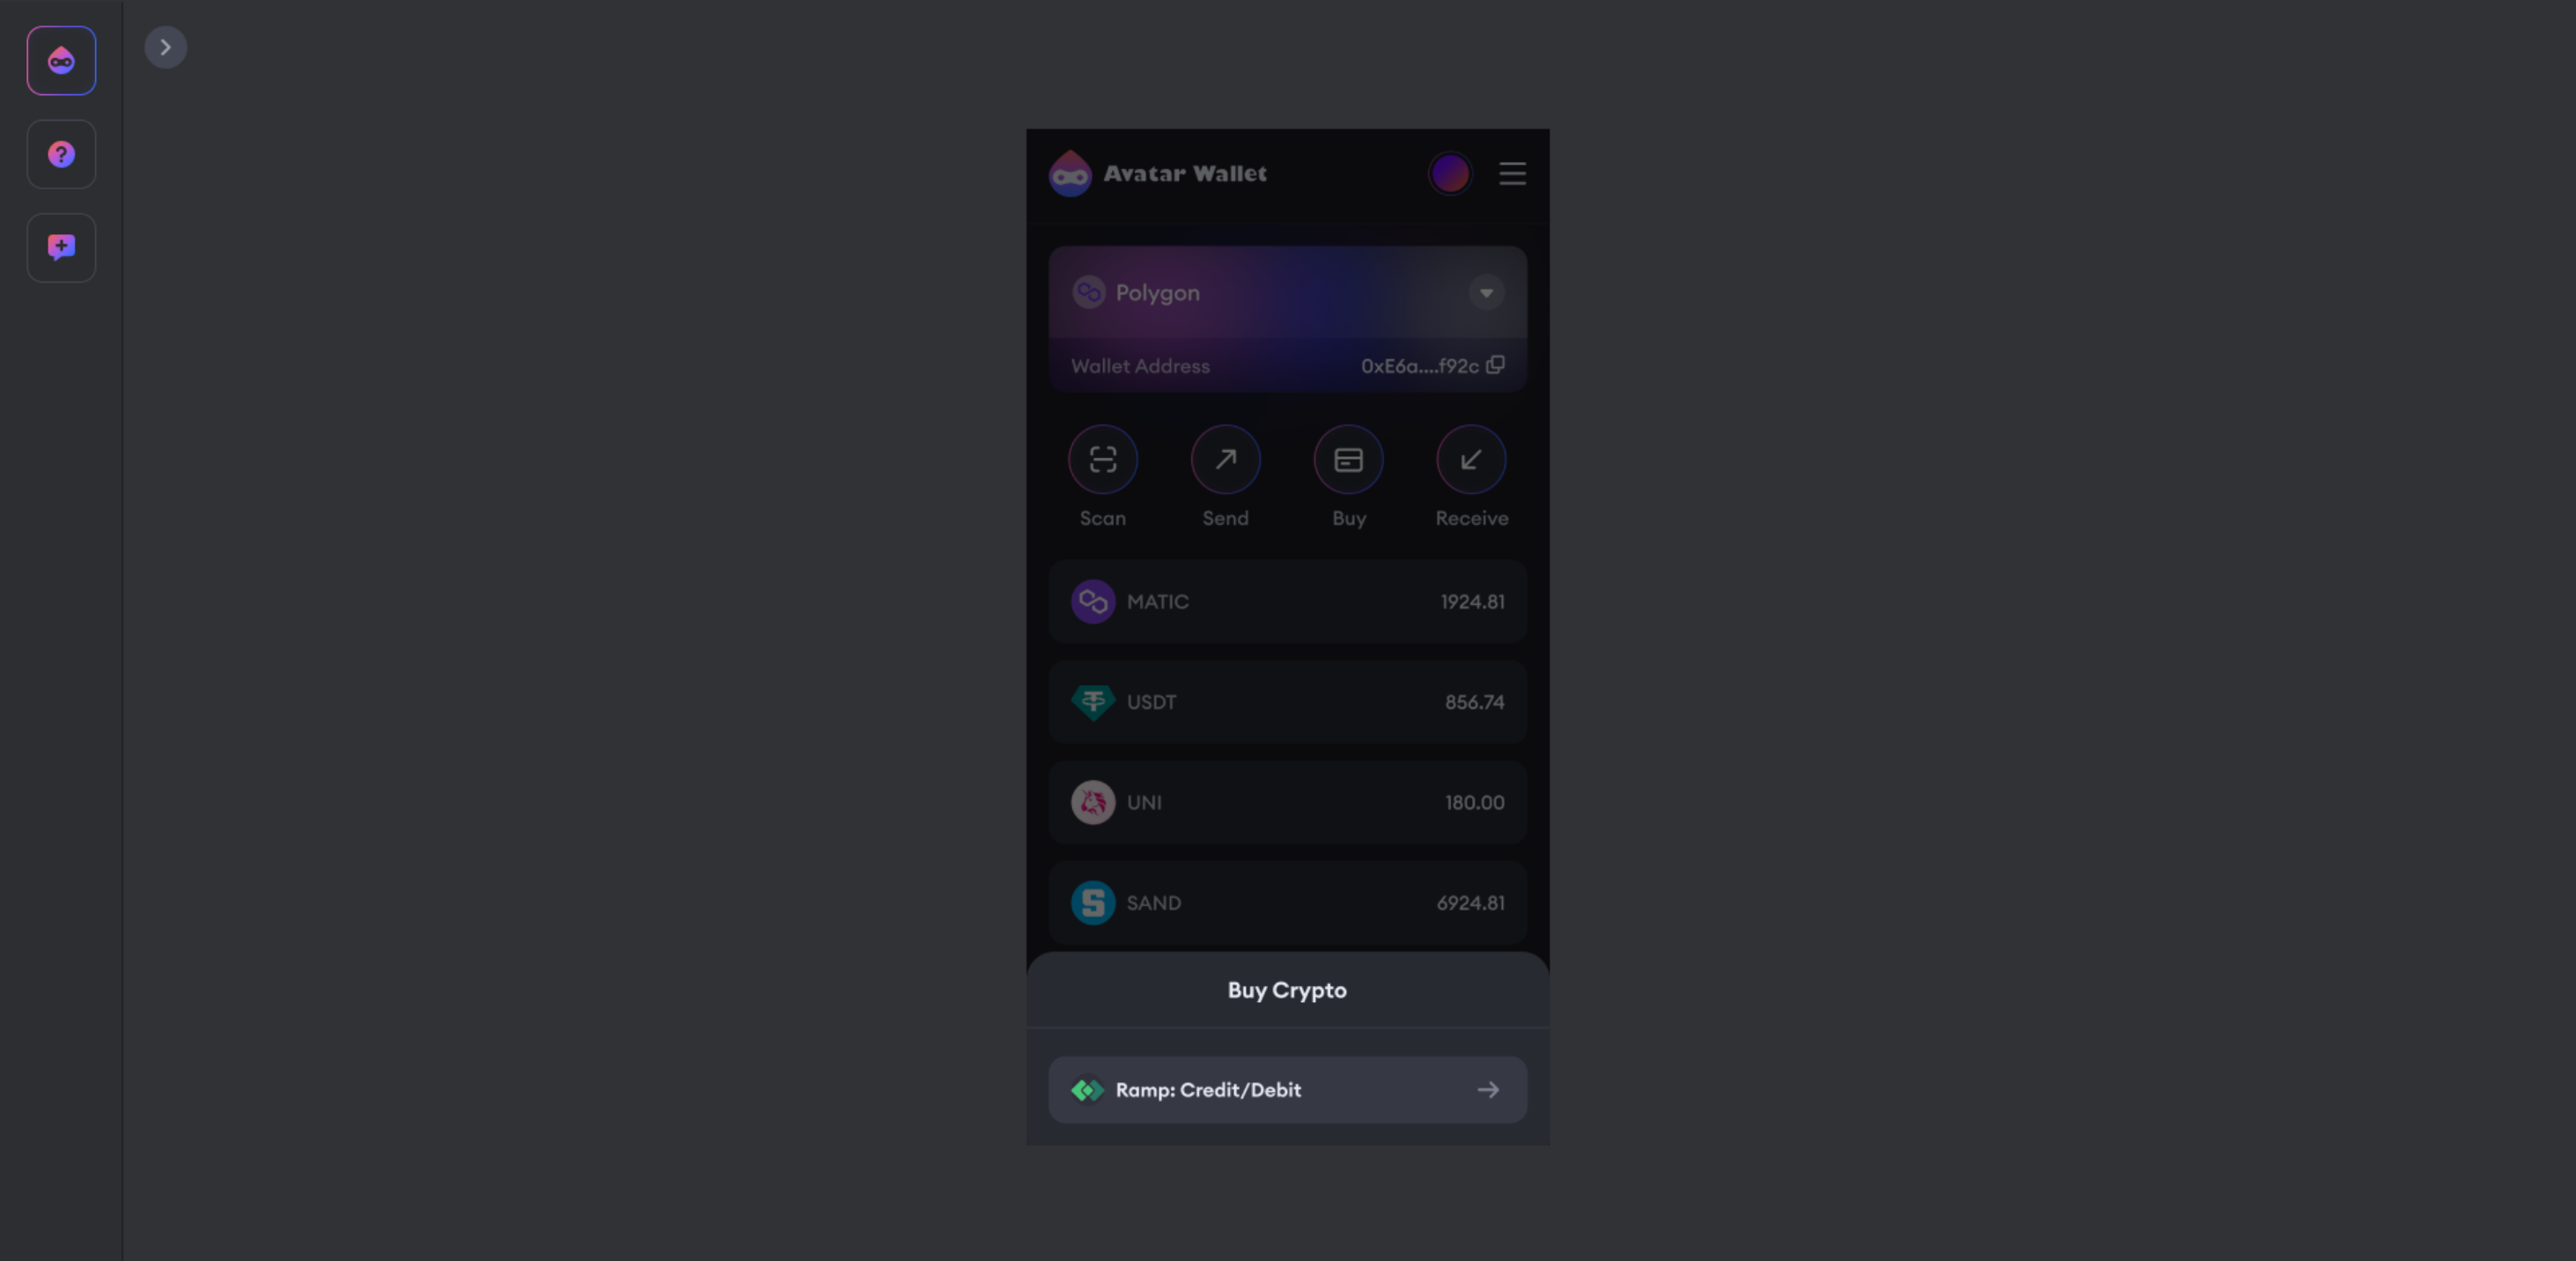
-
Set your fiat currency, country, and desired amount.
-
Follow the vendor’s process.
Please note that the cryptocurrency purchase service is managed by the vendor and Avatar Wallet never interacts with your assets during this process.
6. Reviewing Transactions
Monitor your blockchain activity records by selecting the “Transactions” tab. The records include your cryptocurrency transfers, NFT transfers, as well as your interactions with other smart contracts on the blockchain. It’s your personal ledger, offering full transparency and control over your blockchain activities.

7. The dApp Market
Explore cutting-edge dApps in the “dApp Market” tab. Click on a dApp to learn more.

8. Connect to dApps via WalletConnect
Expand your blockchain experience by connecting to external dApps like Uniswap and Opensea. To connect:
-
Open Avatar Wallet and log in.
-
Activate Wallet Connect by selecting “Scan”.

- On your desired dApp, find and tap the WalletConnect button. Either scan the QR code or copy the link.

- Click to paste the WalletConnect code you copied.

- Confirm the connection in Avatar Wallet.

Now, you’re set to explore the limitless potential of Avatar Wallet!
💎Feel free to join the talk on one of our channels: