What is Foxyproxy?
Foxyproxy is a browser extension that streamlines the process of managing proxies for web traffic. It allows users to configure, switch, and test various proxies directly from their browser, which is ideal for scenarios like data scraping, web privacy, or managing multiple accounts. It supports HTTP, HTTPS, and SOCKS proxies and integrates with browsers such as Mozilla Firefox and Google Chrome.
For more detailed content, please read:
Installation and Configuration
For Firefox
Step 1: Install Foxyproxy
-
Open Firefox and go to the Add-ons page.
-
Search for "Foxyproxy" in the search bar.

- Click Add to Firefox.

-
Confirm by clicking Add when prompted.

-
Once installed, the Foxyproxy icon will appear in the browser toolbar.
Step 2: Configure Proxy
-
Click the Foxyproxy icon to open the settings.

-
Select Options to access the configuration menu.

-
Click Proxy and then Add to add a new proxy.

-
Input the proxy address (e.g.,
proxy.example.com) and port number (e.g., 8080).- For proxies requiring authentication, enter the username and password.

-
For How to Generate Proxy From MoMoProxy, please click:
How To Generate Proxy From MoMoProxy
Get 1GB Data Traffic Free Trial of Residential Proxies from MoMoProxy Now!
-
Save the proxy configuration.
Step 3: Use the Proxy
-
After saving, the proxy will appear in the drop-down menu.
-
Select the proxy you wish to use.

-
Optionally, configure routing for specific traffic types (e.g., scraping or social media).
-
Your browser will route traffic through the selected proxy.
Step 4: Switch Proxies
-
Click the Foxyproxy icon in the toolbar.
-
Select the desired proxy from the list. Your browser will immediately switch.
Step 5: Test Proxy
-
Visit whatismyip.com to verify that your IP address has changed.

For Chrome
Step 1: Install Foxyproxy
-
Open Chrome and go to the Chrome Web Store.
-
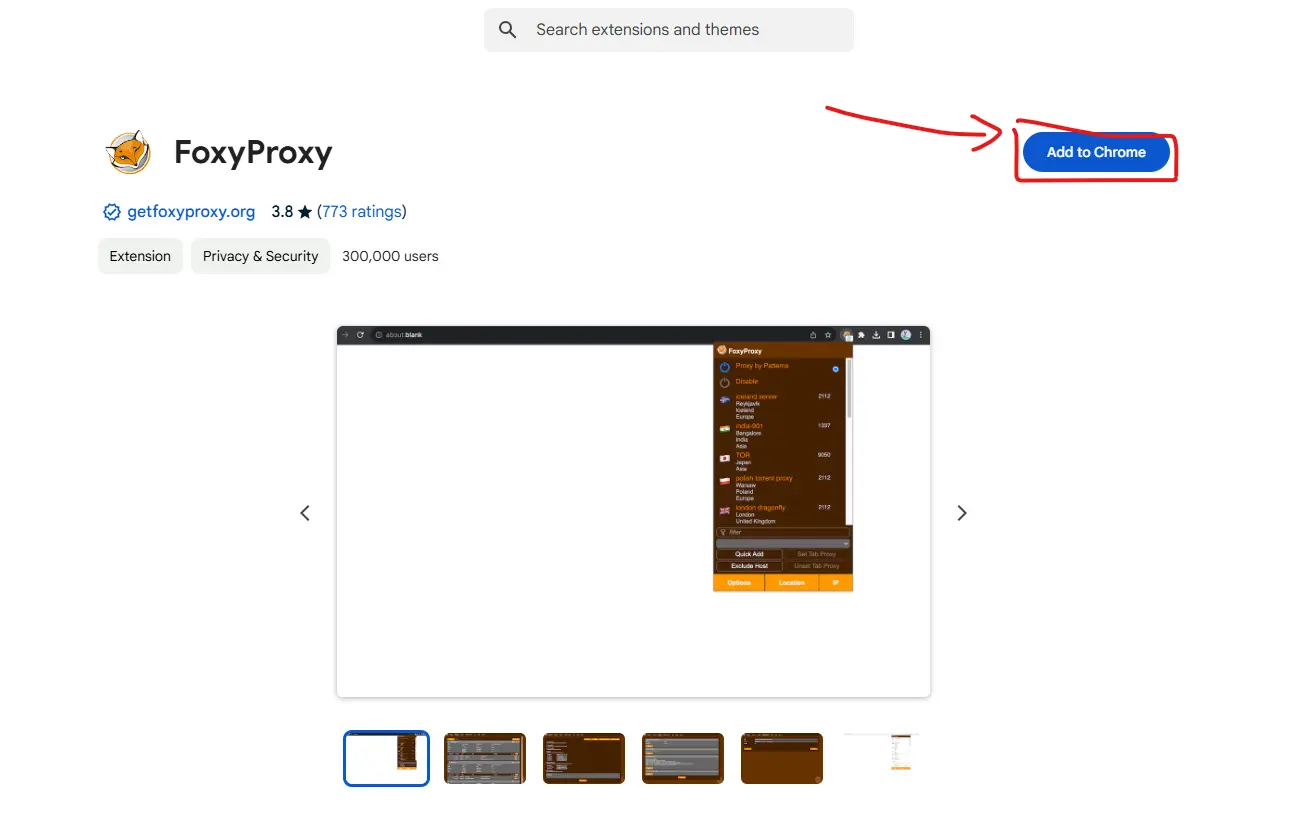
Search for "Foxyproxy".

-
Click Add to Chrome and confirm by clicking Add Extension.
-
Once installed, the Foxyproxy icon will appear in the browser toolbar.

Step 2: Configure Proxy
-
Click the Foxyproxy icon to enable the extension.

-
Go to Options to open the settings.

-
Click Proxies and then Add to add a new proxy.
-
Enter the proxy address and port number.
-
If authentication is required, provide the username and password.
-

-
-
Save the proxy configuration.
Step 3: Enable Proxy
-
After saving, the proxy will be listed in the Foxyproxy settings.

-
Select the proxy to route traffic through it.
Step 4: Switch Proxies
-
Click the Foxyproxy icon in the toolbar.
-
Choose the desired proxy from the list.
Step 5: Test Proxy
-
Visit ipinfo.io to check if your IP has changed to the proxy's IP.

Advanced Features
-
Managing Multiple Proxies: Foxyproxy allows you to manage multiple proxies, making it easy to switch between them for different tasks.
URL-based Proxying: You can route specific URLs or domains through different proxies, while the rest of the traffic uses the default connection.
Proxy Switching: Automatically switch proxies based on the websites you visit, perfect for tasks like data scraping to avoid detection.
Use Cases
-
Web Scraping: Rotate IPs to avoid detection.
-
Privacy Protection: Mask your real IP and encrypt traffic.
-
Bypass Geo-restrictions: Access region-locked content by using proxies from different countries.
-
Multiple Accounts: Use separate proxies to manage multiple accounts without raising flags.
Common Issues & Troubleshooting
-
Proxy is offline.
-
Verify the proxy address and port.
-
Check if the proxy requires authentication and ensure the username and password are correct.
-
Test the proxy with an external tool.
-
Ensure there are no conflicts with other extensions like VPNs.
-
-
Slow Speed.
- If the connection slows down, switch to a different proxy closer geographically or with better performance.
Conclusion
Foxyproxy is a powerful tool for managing proxies in your browser. Its intuitive interface, along with advanced features like proxy auto-switching and URL-based proxying, makes it an excellent choice for privacy, data scraping, and geo-restricted content access.
For more details, please click: