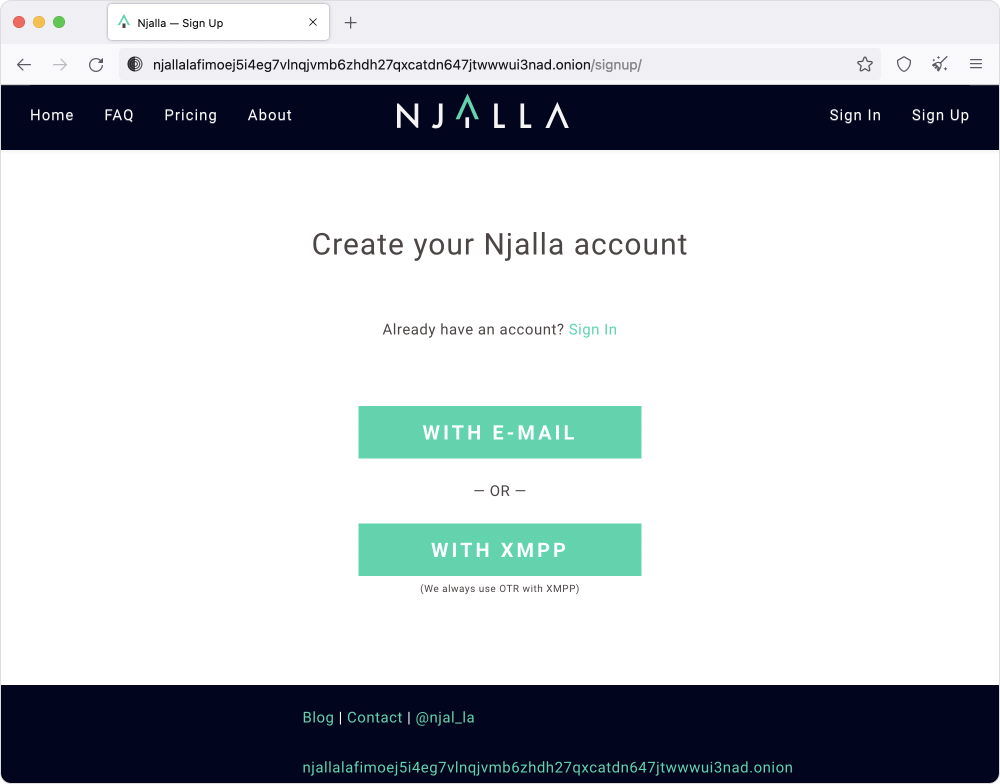
Step 1. Create a Njalla Account
Njalla is a “privacy-aware” domain registrar. Using a traditional domain registrar like GoDaddy to buy a domain like thisismyprivatewebsite.com requires that you provide your “name, address, telephone number, date of birth, email address, billing and payment information, and other data collected that could directly or indirectly identify you.” 😬
It doesn’t help that when we give out our personal information it always seems to get hacked. When you use Njalla, none of that applies. All you need is cryptocurrency. Go to their site and create an account.
Public website: https://njal.la/
Onion website: njallalafimoej5i4eg7vlnqjvmb6zhdh27qxcatdn647jtwwwui3nad.onion
Step 2: Find a Domain
Click on the “Domains” tab and search for a domain.
Njalla allows you to pay using Zcash, a private cryptocurrency. A premium domain costs around $20 USD per year, so we’ll send that much to our Njalla Wallet. Wait for the transaction to complete before navigating away from this page - I waited 5-10 minutes for the payment to be confirmed.

Step 3: Add a Server
Click on the “Servers” tab and add the package that meets your needs.

Step 4: Add Your SSH Key
Next, add an SSH key in the field at the bottom of the form.

Step 5: Deposit Funds
When you click "Checkout" you'll be taken back to your cart. Add funds to continue.
Njalla allows you to pay using Zcash, a private cryptocurrency. After sending the funds, wait for the transaction to complete before navigating away from this page - I waited 5-10 minutes for the payment to be confirmed.

Once you've completed the checkout process you'll be taken back to the "Domains" tab and will see a success message.

Step 6: Find Your Server's IP Address
Click on the "Servers" tab and look for its IP address.

Step 7: Install NGINX
Log in to your new server and install NGINX using this guide.

Step 8: Update Your Domain’s DNS Settings
Now, click on the "Domains" tab and click the "Manage" button next to your domain. On the "DNS Settings" subtab, update the "Content" field of the Type A DNS record with the IP address of your server. Click "Save Changes" when you’re done.

Step 9: Visit Your New Website
Enter your domain name into your browser and visit your new website!

🎉 Congratulations, you just launched a website and kept your “name, address, telephone number, date of birth, email address, billing and payment information, and other data collected that could directly or indirectly identify you” private!
Questions? Follow me on Twitter @glennsorrentino.