
In this article, we will learn to build a stateless and NFT gated web3 application using polybase, whal3s NFT validation utility, and react query.
A stateless application is an application that does not persist client data through sessions. It is isolated; no transaction is stored. It cannot reference its past state. It is dependent on third-party storage.
Statelessness allows for some efficiencies, including less complexity and efficient data caching, reducing the response time and improving performance.
Also, as there is no need for serverside sessions, scalability is never a problem making it easy to recover from failures.
With web3 technology, it is easy to implement stateless applications as there is no required backend because the blockchain provides a base for accessing provable information.
In some use cases, there may be a need to implement custom authentication flows using the SIWE standard while preserving the authentication state in a server. With possibilities of privacy-preserving decentralized database solutions like polybase, self-sovereign data management is achieved.
Polybase is a privacy-preserving decentralized database built on validity proofs technology powered by zk-STARKs.
It uses zk-rollups combined with native indexing to allow decentralized database rules, fast queries and scalable writes to IPFS.
There are no prerequisites to follow along with this article, but knowledge of Typescript and React is recommended.
Getting Started
NextJS is great. But for a lightweight react application, you should use VITE, and this is a small application; we are only building a simple task board.
Open your terminal and enter the following commands:
yarn create vite polybase-app --template react-ts

cd polybase-app
# install your dependencies
yarn
# run the development server
yarn dev
Then open localhost:5173/ on your browser to see the preview.
Next, install the required dependencies.
yarn add ethers@5.7 ethereumjs-wallet ethereumjs-util @tanstack/react-query @polybase/eth @polybase/client @whal3s/whal3s.js moment axios
Database Schema
The first thing we want to do is to model our database. We want to define the structure and the kind of data it accepts.
In polybase, tables are called collections, and there can be multiple collections under a namespace.
Polybase has similarities with Firestore and can be modelled just like writing plain javascript.
In the /src directory, create a new directory called polybase and add a new file schema.ts
// src/polybase/schema.ts

const schema = `
@public
collection Tasks {
    id: string;
    status: string;
    title: string;
    description: string;
    duration?: number[];
    priority?: string;
    creator: PublicKey;

    constructor (
      id: string,
      status: string,
      title: string,
      description: string,
      duration?: number[],
      priority?: string
      ) {
      this.id = id;
      this.status = status;
      this.title = title;
      this.description = description;
      this.duration = duration;
      this.priority = priority;
      if (ctx.publicKey)
        this.creator = ctx.publicKey;
    }

    update (
      title: string,
      description: string,
      duration?: number[],
      priority?: string
    )  {
      if (this.creator != ctx.publicKey) {
        throw error('invalid public key');
      }
      this.title = title;
      this.description = description;
      this.duration = duration;
      this.priority = priority;
    }

    setStatus(status: string) {
      if (this.creator != ctx.publicKey) {
        throw error('invalid public key');
      }
      this.status = status;
    }

    del() {
      if (this.creator != ctx.publicKey) {
          throw error('invalid public key');
        }
      selfdestruct();
    }

  }
`;

export default schema;
Above is a simple task collection where:
-
Each task will have a unique
id. -
The Constructor function lets you create a new task.
-
The signer, is set as the record owner.
-
Only the signer associated with a record can update, delete the task or change the status.
-
Each record can have optional fields.
-
@publicdirective allows anyone to read our records
Fields supported in polybase collections include string, number, boolean, bytes, arrays, mapping, publicKey, and Collection. A Collection is a reference to collections present in the same namespace.
Constants
Optionally, there are specific application data that never change through the lifespan of an application. I like to put them in a special file. But you are not required to do so.
In the /src directory, create a new folder constants and add a new file index.ts
// src/constants/index.ts

export const constants = Object.freeze({
    privKey: import.meta.env.VITE_PRIVATE_KEY,
    nftValidationKey: "",
    whal3sApiKey: import.meta.env.WHAL3S_API_KEY,
    namespace: "your db namspace",
})
Expose VITE_PRIVATE_KEY and WHAL3S_API_KEY in your .env file. Vite handles env variables via the special import.meta.env
Database Store
Following two pillars of Object Oriented Programming (Encapsulation and Abstraction), we want to create a store that contains all the logic needed to interact with our polybase collection. We do that because embeding the operations directly in our react code will be messy. Considering we will be using react query.
In the /src/polybase directory, add another file store.ts
// src/polybase/store.ts

class PolybaseStore {
    private static instance: PolybaseStore;

    private constructor() {
        // initialize
      }

    static getOrCreatePolybaseStore(): PolybaseStore {
        if (!PolybaseStore.instance) {
          PolybaseStore.instance = new PolybaseStore();
        }
        return PolybaseStore.instance;
      }
  }

const store = PolybaseStore.getOrCreateDbStore();
export type Store = typeof store;
export default store;
- Next, initialize a polybase instance.
// src/polybase/store.ts

import { Polybase } from "@polybase/client";
import { constants } from "../constants";

class PolybaseStore {
    ...
    private db: Polybase;

    private constructor() {
        this.db = new Polybase({
          defaultNamespace: constants.namespace,
        });
      }
    ...
  }
- Next, add a valid signer for polybase write operations.
In the docs, there are several ways to do this. However, for this application, it will be easier to use a private key.
// src/polybase/store.ts

import { toBuffer } from "ethereumjs-util";
import Wallet from "ethereumjs-wallet";


const ethWallet = Wallet.fromPrivateKey(
  toBuffer(constants.privKey)
);

// inside the PolybaseStore constructor
this.db.signer((data) => {
    return {
        h: "eth-personal-sign",
        sig: ethPersonalSign(ethWallet.getPrivateKey(), data),
      };
  });
- Next, create a polybase collection under your namespace. We can do it using the polybase SDK or the Polybase Studio in explorer.
Note we cannot read/write if we do not create a collection. When creating collections from the polybase explorer, you have to replace the namespace with the one from the explorer. Also, it is advisable to use polybase explorer when creating collection for IntelliSense and error-catching when writing your collection schema.
You can, however, replace the local schema with the one from the explorer after you are done, and call theapplySchemamethod using the SDK under a more readable namespace.
// src/polybase/store.ts

import schema from "./schema";

// inside PolybaseStore
private constructor(){
    ...
    this.init()
}

private async init() {
  await this.db.applySchema(schema);
}
Types
Polybase offers first-class support for Typescript, and as there is no way to define types inside the schema, it is efficient to use Typescript so we can be sure of the data we pass to polybase.
Optionally, you can separate all Type definitions to a different location for reusability.
In the /src directory, create a new folder types and add a new file index.ts
// src/types/index.ts

export interface ITask {
  id: string; // required
  status: "TODO" | "DOING" | "DONE"; // required
  title?: string;
  description?: string;
  duration?: number[];
  priority?: "LOW" | "MEDIUM" | "HIGH";
}
- Creating Records
// src/polybase/store.ts

import { ITask } from "../types";

// inside PolybaseStore
async create(data: ITask) {
    return await this.db.collection("Tasks").create(Object.values(data));
}
- Updating Records
// src/polybase/store.ts

// inside PolybaseStore
async update(key: string, data: ITask) {
  return await this.db
    .collection("Tasks")
    .record(key)
    .call("update", Object.values(data));
}
- Removing Records
// src/polybase/store.ts

// inside PolybaseStore
async remove(key: string) {
    return await this.db.collection("Tasks").record(key).call("del");
}
- Getting Records
// src/polybase/store.ts

// inside PolybaseStore
async get() {
    return await this.db.collection<ITask>("Tasks").get();
}
- Changing Status
// src/polybase/store.ts

// inside PolybaseStore
async changeStatus(key: string, status: string) {
   return await this.db
      .collection("Tasks")
      .record(key)
      .call("setStatus", [status]);
}
NFT Validation Utility
The next thing on our list is to add NFT gating to our application. We only want contributors who own our specific NFT to access our task board.
Using the whal3s NFT Validation utility, we can achieve that.
- First, create an account with whal3s.xyz
- In the left panel of your dashboard, click on
API Tokens, then create a newWhal3s API Keyby clicking oncreate your first API Token

-
Copy the API Key generated for you and add it to your environment variables
WHAL3S_API_KEY="your API key" -
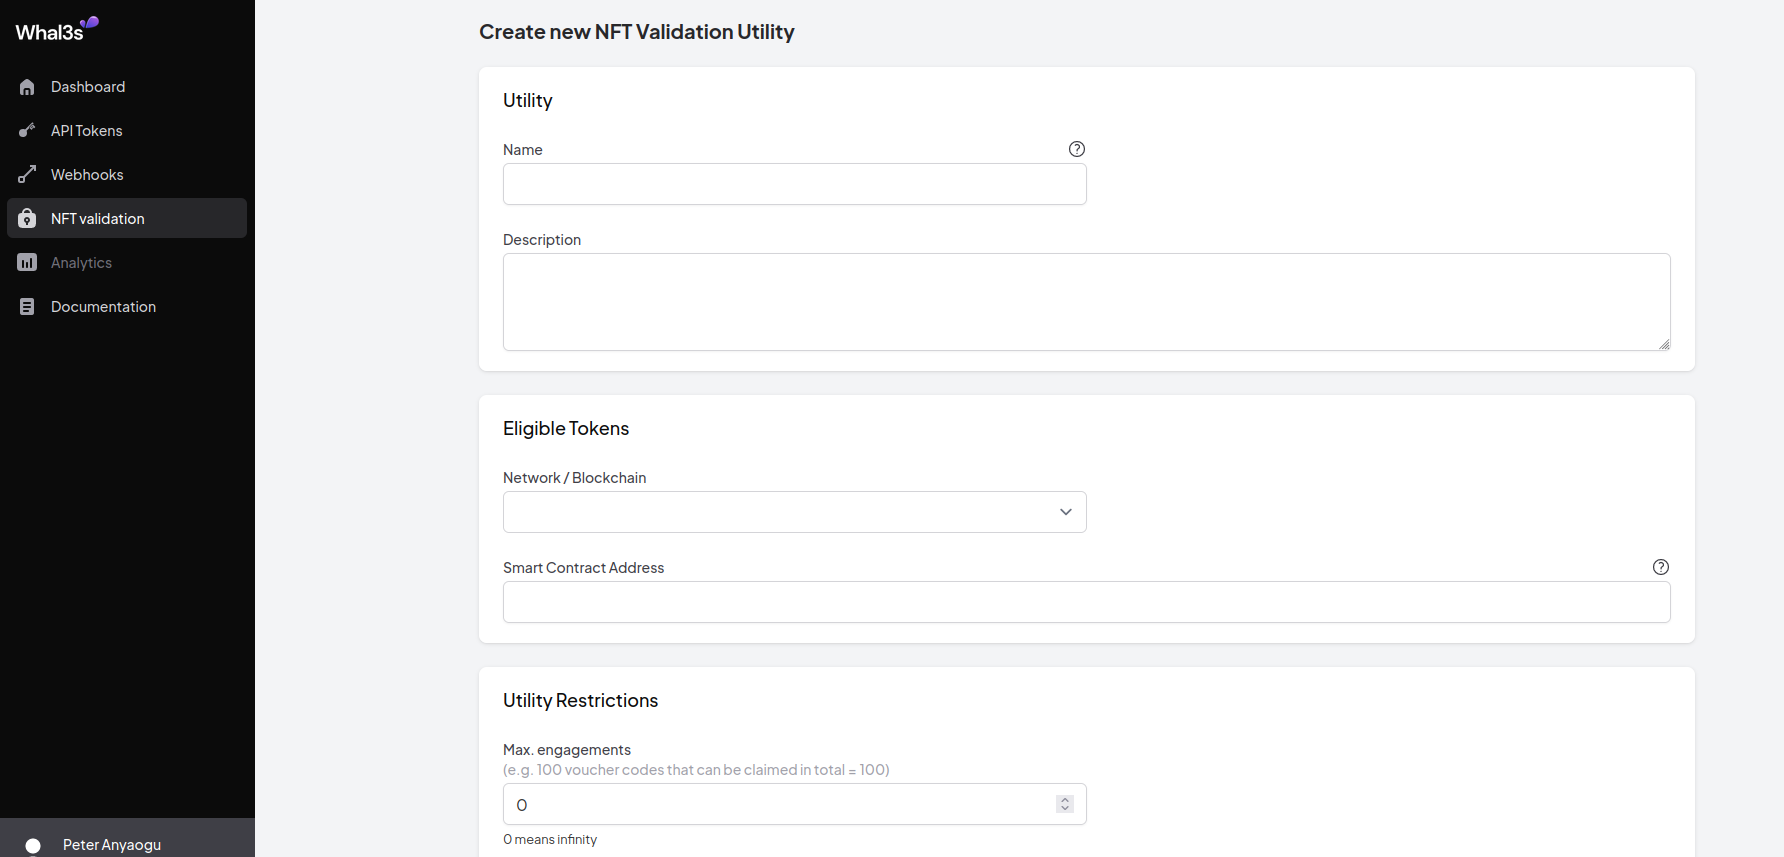
Also in the left panel of your dashboard, click on
NFT Validation, then create a new NFT Validation utility by clicking oncreate new NFT Validation Utility

-
Enter the name for your Utility, (you can call it anything), add a little description on what the utility will be doing.
-
Select the nework where the NFT smart-contract is deployed. (currently only ethereum and polygon is supported), then enter the address of the NFT smart-contract. You can ignore the remaining fields.
-
Click on save
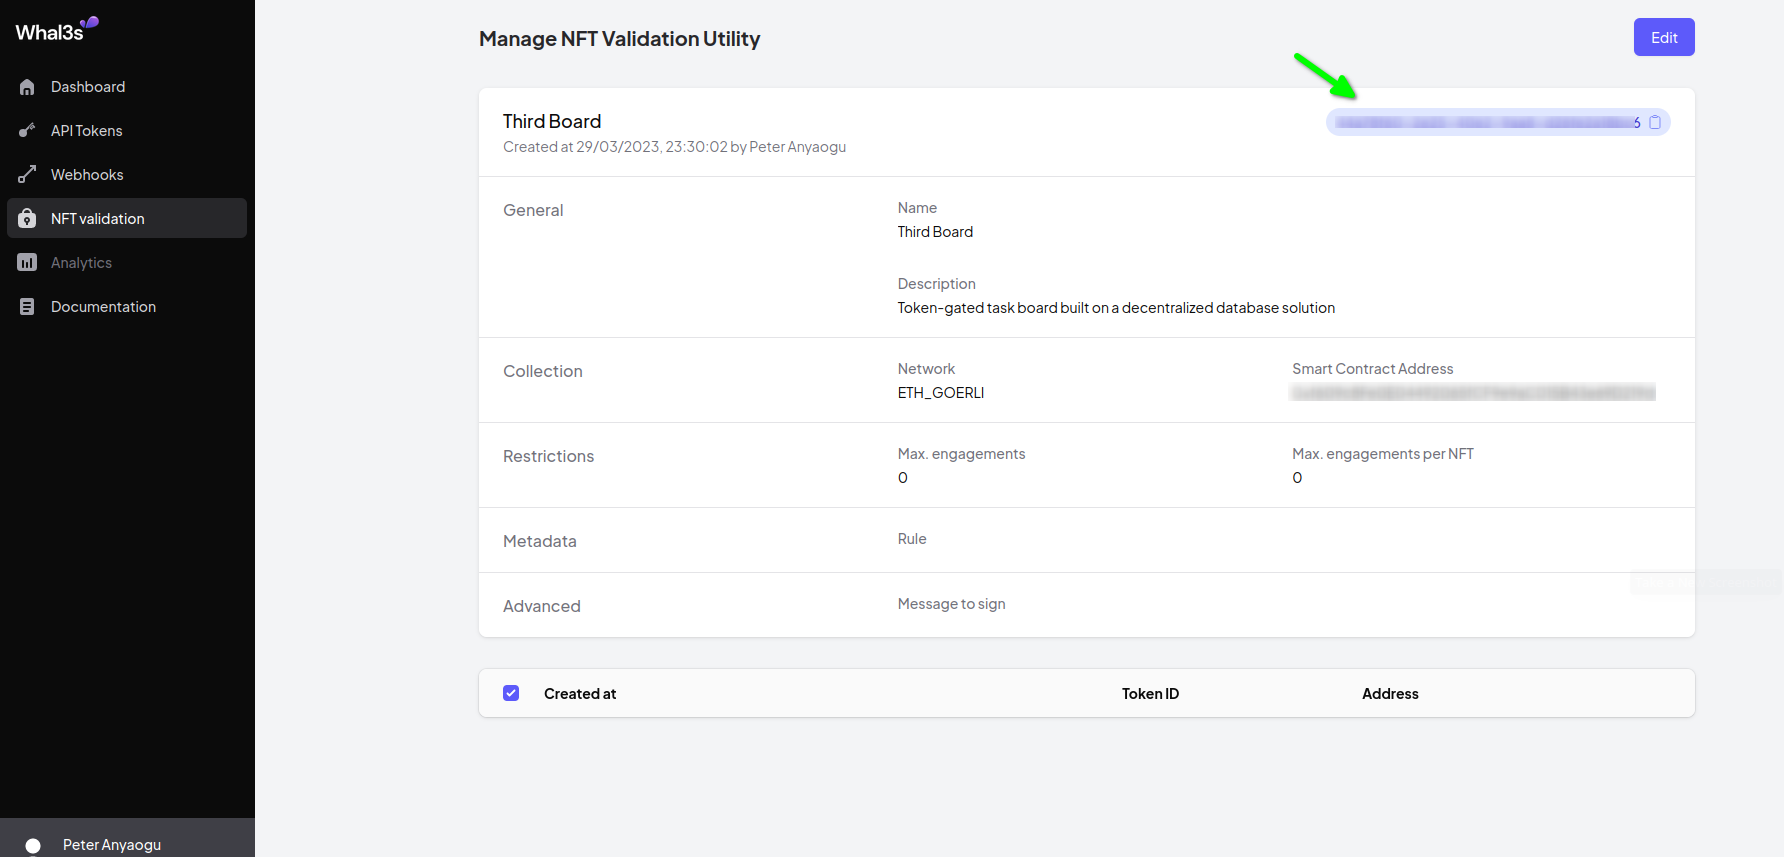
- Once the utility has been created, click on show and copy your NFT Validation Key at the top right corner and add it to
nftValidationKeyfield insrc/constants/index.ts.
you can leave it exposed as it does not hold a significant security level.
In the /src directory, create a new folder utils and add a new file gate.ts
// src/utils/gate.ts

import { WalletNftValidationResponse } from "@whal3s/whal3s.js/build/types/types/types-internal";
import axios from "axios";
import { constants } from "../constants";

const options = {
  headers: {
    accept: "application/json",
    authorization: `Bearer ${constants.whal3sApiKey}`,
  },
};

export async function validateWithWhal3s(address?: string) {
  return await axios
    .get<WalletNftValidationResponse>(
      `https://app.whal3s.xyz/api/v0/nft-validation-utilities/${constants.nftValidationKey}/wallet/${address}`,
      options
    )
    .then((response) => response.data);
}
What is going on here?
We are sending a get request to
whal3s.xyzasked it to lets us know if the address provided owns the NFT needed to access the task board UI.We pass the auth token alongside the request.
authorization: Bearer <whal3sApiKey>We let Axios know that the response will be of type
WalletNftValidationResponse
React Query
Without long explanations, React Query is the best way to perform state management and data fetching in a react application. Another way is to combine Axios with a chain of useState and useEffect hooks.
We will use react query to read and write data from our polybase store to leverage the transient state management in our front end.
React Query provides a useQuery hook for querying data or performing get operations. And a useMutation hook for writing data or performing post operations.
The most significant difference between query and mutation is the syntax. It serves as a distinction on the type of operation currently executed.
Again, place all providers in a separate file to simplify incrementally adding other providers.
In the /src directory, create a folder providers and add a new file root.ts
// src/providers/root

import { QueryClient, QueryClientProvider } from "@tanstack/react-query";
import { PropsWithChildren } from "react";

const queryClient = new QueryClient({
  defaultOptions: {
    queries: {
      refetchOnWindowFocus: false,
    },
  },
});

const RootProvider = ({ children }: PropsWithChildren) => {
  return (
    <QueryClientProvider client={queryClient}>{children}</QueryClientProvider>
  );
};

export default RootProvider;
Then wrap the application root with RootProvider
// src/main.tsx

import RootProvider from "./providers/root";

    ...
    <RootProvider>
        <App />
    </RootProvider>
    ...
Unique ID’s
Before we create our first query/mutation, we want to implement an id generator for our tasks because, in polybase, each record must have a unique primary key
In the src/utils directory, create a new file generateId.ts
// src/utils/generateId.ts

import { sha256, toUtf8Bytes } from "ethers/lib/utils";

// generates a unique id.
// possibility of a clash is less than 1/n^e18
export const generateId = (salt?: string) => {
  const gen = performance.now();
  const random = gen + Math.random().toString().slice(5) + salt;
  const id = random.replace(".", "").replace(" ", "");
  return "task-" + sha256(toUtf8Bytes(id));
};
-
We first generate a fixed-length string using
performance.now(). -
Then mix it up with a little entropy and a salt based on the data from the new task.
-
We get rid of spaces and periods.
-
We generate a
sha256hash of the string and prefix it with the wordtask-.
Queries
Our store has only one read operation, so we will only create a single useQuery hook. useQueries is more efficient if there are multiple read operations.
// src/App.tsx

import { useQuery } from "@tanstack/react-query";
import store from "./polybase/store";

function App() {
    const { isLoading, isSuccess, isError, data, refetch } = useQuery({
        queryKey: ["tasks"],
        queryFn: async () => await store.get(),
      });

    return <>poly-app</>
}

export default App;
we can now use it in our front end like this:
// src/App.tsx

return (
    <div>
    {
        isLoading && <p>loading ...</p>
        isError && (
        <div>
            <p>error getting tasks </p>
            <button onClick={refetch}>retry</button>
        </div>)
        isSuccess && <pre>{JSON.stringify(data, null, 2)}</pre>
    }
    </div>
)
Alternatively, you can use React Suspense and ignore the error and status states. But that will require more configurations.
Mutations
For our write operations, we want to make use of useMutation
// src/App.tsx

import { useMutation } from "@tanstack/react-query";
import store from "./polybase/store";
import { generateId } from "./utils/generateId";
import { ITask } from "./types";

functin App() {
    ...

    const createTaskMutation = useMutation({
        mutationFn: async (task: ITask) => {
          return await store.create(task);
        },
      });

    // no try/catch block.
    const onSubmit = (task: ITask) => {
        task = {
            id: generateId(task.title),
            ...task
        }
        const result = await createTaskMutation.mutateAsync(task);
        createTaskMutation.isError && console.log(createTaskMutation.error);
        console.log(result.data);
    }

    ...
}
Using the onSubmit callback, we can implement a form UI. Feel free to implement the remaining three mutations and design a Form UI yourself.
NFT Validation
The last piece left is to gate this application.
Using whal3s NFT Validation API, we can make it so that only our NFT owners can access the protected content.
// src/App.tsx
import { validateWithWhal3s } from "./utils/gate";
import { useQuery } from "@tanstack/react-query";

function App() {
    ...

    // validation states prefixed with "v" to avoid conflicts
    const { isError: vErr, data: vData, isSuccess: vSuccess } = useQuery({
        // each query should have a unique key
        queryKey: ["pass-gate"],
        queryFn: async () => await validateWithWhal3s("user address here"),
        retry: 5,
      });

    return (
        <div>
        {   vSuccess ?
            vData?.valid ? (
            ...
            ) : <p>you don't have access</p>
            : <p>please wait</p>
        }
        </div>
    )
}
Conclusion
In this article, we learnt how to use polybase and whal3s API to create an NFT-gated task board application. We understood the intricacies of React Query and how to leverage its transient state management in our application.
See here for the complete code.