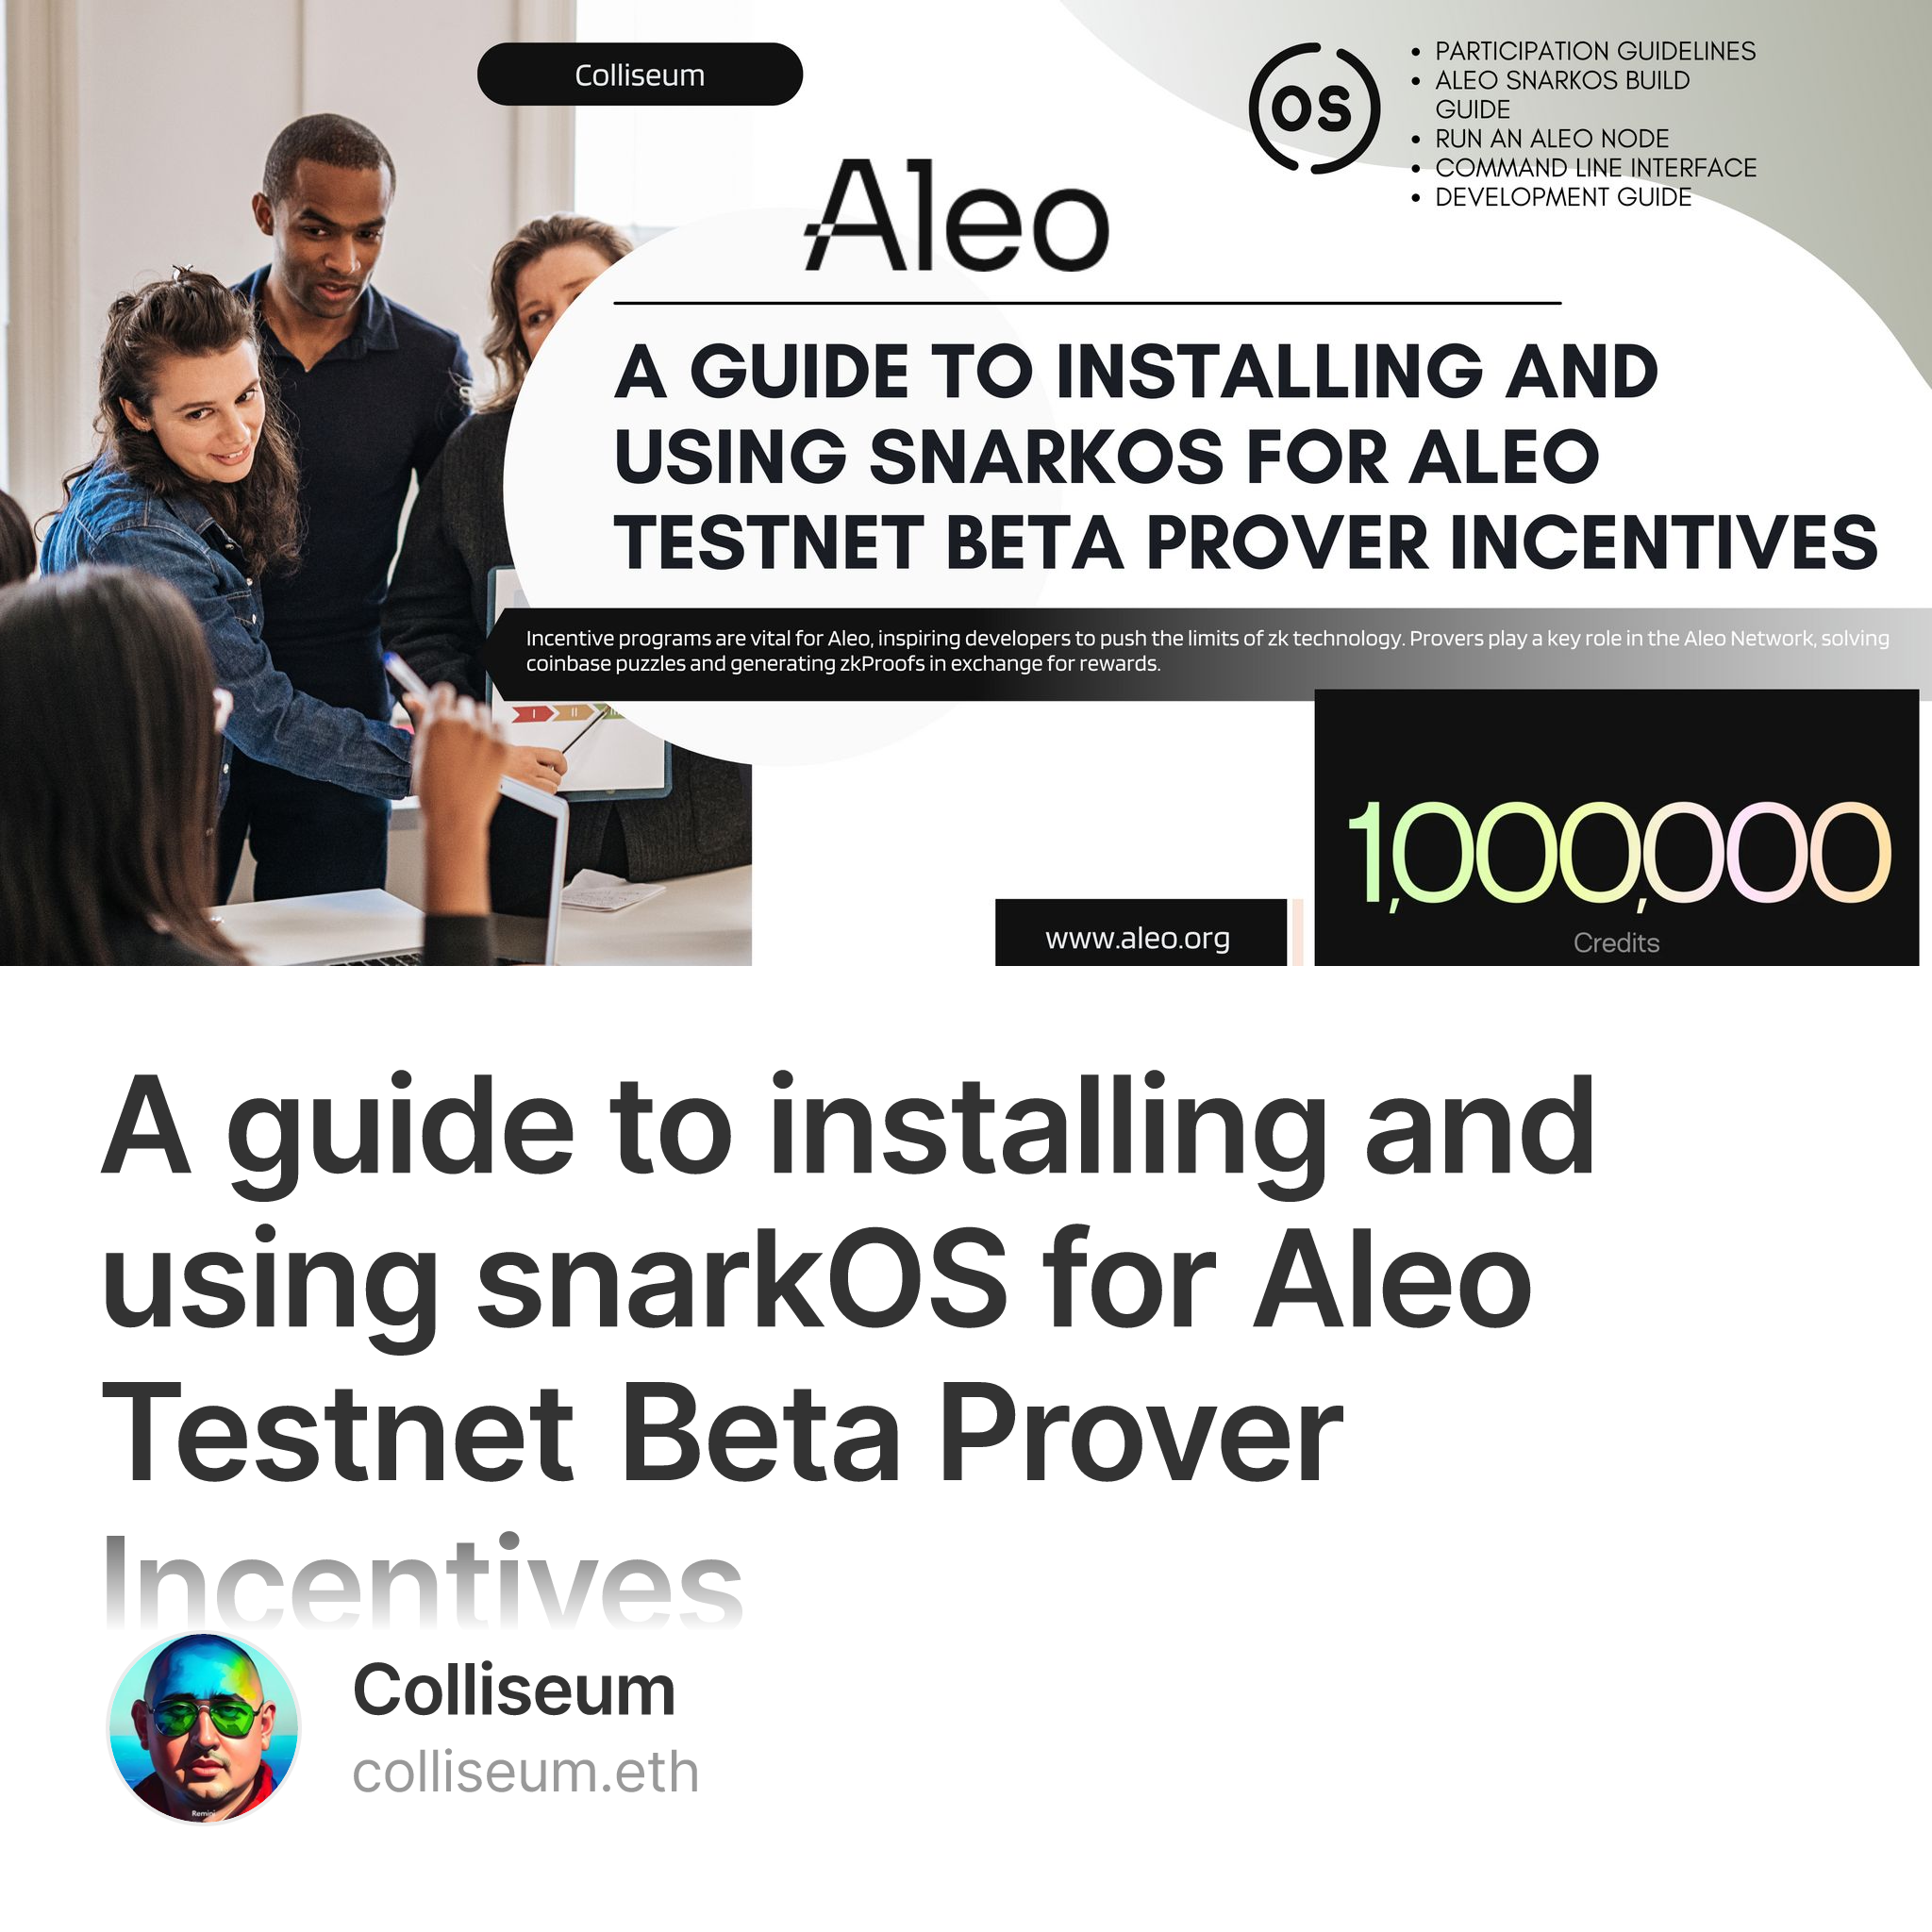
Hello, my name is Heorhii. In this guide, we'll walk through installing and using snarkOS for Aleo Testnet Beta Prover Incentives, aimed at developers interested in zk technology.
Incentive programs are vital for Aleo, inspiring developers to push the limits of zk technology. Provers play a key role in the Aleo Network, solving coinbase puzzles and generating zkProofs in exchange for rewards.
The final incentive program before the mainnet runs from July 1-15th. This program aims to validate the coinbase reward mechanism and the underlying puzzle. The Aleo Network Foundation will provide 1 million credits to provers. Each prover will earn mainnet credits proportional to the testnet credits they earn during this period. The minimum reward is 1,000 mainnet credits.

Participation guidelines:
-
Consumer-grade hardware may not be effective due to high competition.
-
Refer to the README in the Aleo Network Foundation snarkOS repository for more details.
-
The Aleo team will monitor activity to prevent cheating and reserves the right to withhold rewards for any reason.
snarkOS is a decentralized operating system for zk apps. It forms the backbone of the Aleo network, verifying transactions and storing encrypted state applications in a publicly verifiable manner.
Aleo snarkOS build guide.
Requirements:
-
OS: 64-bit architectures only, latest version for security
-
CPU: 32-cores (64-cores preferred for provers and validators)
-
RAM: 32GB for clients, 64GB for validators (128GB preferred)
-
Storage: 300GB for clients, 2TB for validators (4TB preferred)
-
Network: Symmetric, commercial, always-on with specified bandwidth
-
GPU: CUDA-enabled (optional for provers)
Installation. Ensure Rust v1.79+ is installed. Instructions can be found here.
-
Clone the GitHub repository:
git clone --branch mainnet --single-branch https://github.com/AleoNet/snarkOS.git -
Move into the snarkOS directory:
cd snarkOS git checkout tags/testnet-beta -
[For Ubuntu users] Run the helper script:
./build_ubuntu.sh -
Install snarkOS:
cargo install --locked --path .
Ensure ports 4130/tcp and 3030/tcp are open on your router and OS firewall.
Run an Aleo Node:
- Run an Aleo Client:
-
Follow the installation instructions.
-
Start a client node:
./run-client.sh
-
Run an Aleo Prover:
-
Follow the installation instructions.
-
Generate an Aleo account address:
snarkos account newSave the private key, view key, and address.
-
Start a proving node:
./run-prover.shEnter your Aleo private key when prompted.
Command Line Interface. To run a node with custom settings, refer to the options and flags available in the snarkOS CLI.
The full list of CLI flags and options can be viewed with snarkos --help:
snarkOS
The Aleo Team <hello@aleo.org>

USAGE:
    snarkos [OPTIONS] <SUBCOMMAND>

OPTIONS:
    -h, --help                     Print help information
    -v, --verbosity <VERBOSITY>    Specify the verbosity [options: 0, 1, 2, 3] [default: 2]

SUBCOMMANDS:
    account    Commands to manage Aleo accounts
    clean      Cleans the snarkOS node storage
    help       Print this message or the help of the given subcommand(s)
    start      Starts the snarkOS node
    update     Update snarkOS
The following are the options for the snarkos start command:
USAGE:
    snarkos start [OPTIONS]

OPTIONS:
        --network <NETWORK_ID>                  Specify the network ID of this node [default: 3]

        --validator                             Specify this node as a validator
        --prover                                Specify this node as a prover
        --client                                Specify this node as a client

        --private-key <PRIVATE_KEY>             Specify the node's account private key
        --private-key-file <PRIVATE_KEY_FILE>   Specify the path to a file containing the node's account private key

        --node <IP:PORT>                        Specify the IP address and port for the node server [default: 0.0.0.0:4130]
        --connect <IP:PORT>                     Specify the IP address and port of a peer to connect to

        --rest <REST>                           Specify the IP address and port for the REST server [default: 0.0.0.0:3030]
        --norest                                If the flag is set, the node will not initialize the REST server

        --nodisplay                             If the flag is set, the node will not render the display
        --verbosity <VERBOSITY_LEVEL>           Specify the verbosity of the node [options: 0, 1, 2, 3] [default: 2]
        --logfile <PATH>                        Specify the path to the file where logs will be stored [default: /tmp/snarkos.log]

        --dev <NODE_ID>                         Enables development mode, specify a unique ID for this node
Development guide:
- Quick start. In the first terminal, start the first validator by running:
cargo run --release -- start --nodisplay --dev 0 --validator
In the second terminal, start the second validator by running:
cargo run --release -- start --nodisplay --dev 1 --validator
In the third terminal, start the third validator by running:
cargo run --release -- start --nodisplay --dev 2 --validator
In the fourth terminal, start the fourth validator by running:
cargo run --release -- start --nodisplay --dev 3 --validator
From here, this procedure can be used to further start-up provers and clients.
- Operations. It is important to initialize the nodes starting from 0 and incrementing by 1 for each new node.
The following is a list of options to initialize a node (replace <NODE_ID> with a number starting from 0):
cargo run --release -- start --nodisplay --dev <NODE_ID> --validator
cargo run --release -- start --nodisplay --dev <NODE_ID> --prover
cargo run --release -- start --nodisplay --dev <NODE_ID> --client
cargo run --release -- start --nodisplay --dev <NODE_ID>
When no node type is specified, the node will default to --client.
Local Devnet:
-
Install tmux. To run a local devnet with the script, start by installing tmux.
-
Start a Local Devnet. To start a local devnet, run:
./devnet.sh
Follow the instructions in the terminal to start the devnet.
- View a Local Devnet. Switch Nodes (forward) To toggle to the next node in a local devnet, run:
Ctrl+b n
Switch Nodes (backwards) To toggle to the previous node in a local devnet, run:
Ctrl+b p
Select a Node (choose-tree) To select a node in a local devnet, run:
Ctrl+b w
Select a Node (manually) To select a node manually in a local devnet, run:
Ctrl+b :select-window -t {NODE_ID}
- Stop a Local Devnet. To stop a local devnet, run:
Ctrl+b :kill-session
Then, press Enter.
- Clean up. To clean up the node storage, run:
cargo run --release -- clean --dev <NODE_ID>
This guide has covered the essential steps for installing and using snarkOS for participating in the Aleo Testnet Beta Prover Incentives. By following the detailed instructions provided, you can set up and run an Aleo node, whether as a client or prover, and contribute to the validation of the coinbase reward mechanism. Remember to meet the hardware requirements, follow the participation guidelines, and stay updated with the latest versions and commands. Engaging in this incentive program not only helps in improving the Aleo network but also allows you to earn rewards and be part of an exciting journey in zk technology.
Happy coding!
To know more about Aleo, join now!
Aleo Twitter
Aleo Discord
Aleo Website
List of Aleo and Leo code and resourses
Prepared by Colliseum