Twelve months ago I heard the word DeFi for the first time and had no idea what it meant. It’s been a long rabbit hole since then that has led me to the world of Web3 and has captivated me like no other tech since the early internet days. I suspect many people’s journey has been the same, but this post is not necessarily for those who want to obsesses about the future of crypto, Web3, blockchain, btc and the like, but rather a quick primer so you can get a lay of the land.
For those who are not aware, DeFi stands for Decentralized Finance and is essentially the new frontier of finance, devoid of any centralized banks.
This post is not theoretical, it is a practical quick(ish)-start guide to getting your hands dirty with DeFi. So, let’s go:
First, this will require a few bucks to play with (not for me, but for you to invest with). Think of it as both an investment in $$, but also education expense. It is cheap, considering what you’ll learn. I’d recommend somewhere around $100 — $1000 USD at minimum.
1. Create an account on a crypto exchange
There are tons of alternatives out there including Binance, Kraken, Crypto.com, Coinbase and many others. For simplicity, I’d strongly recommend getting started with Coinbase, it is by far the most user friendly and universal. This will be pretty standard sign-up experience with all the KYC (Know your Customer) requirements you’ve come to expect for a digital finance product.
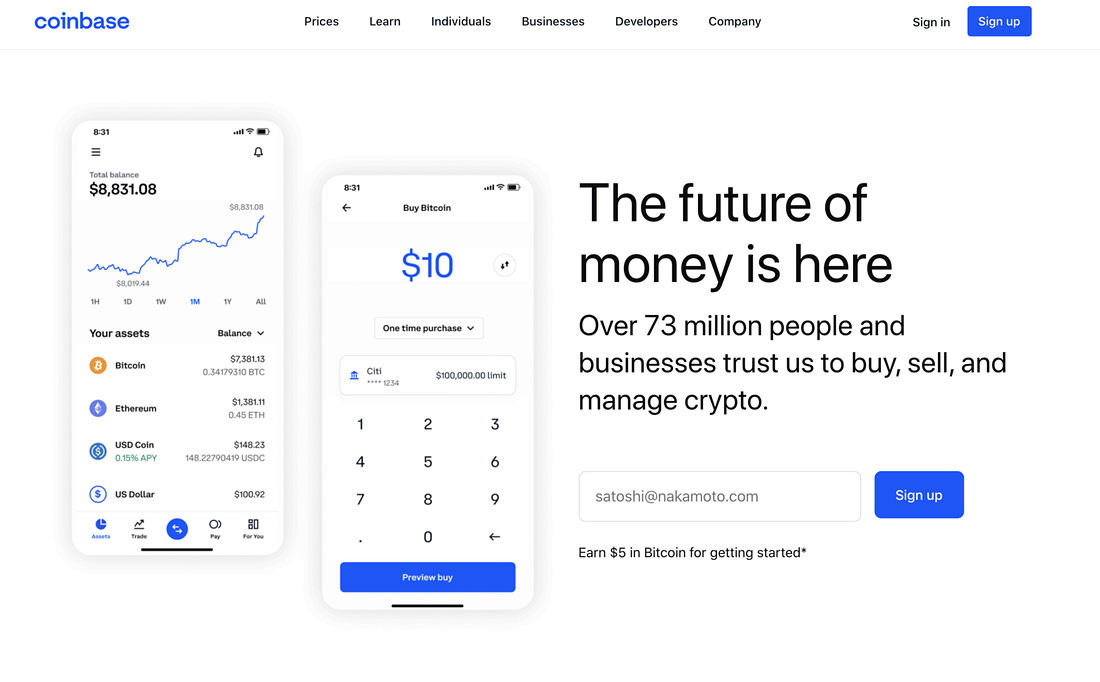
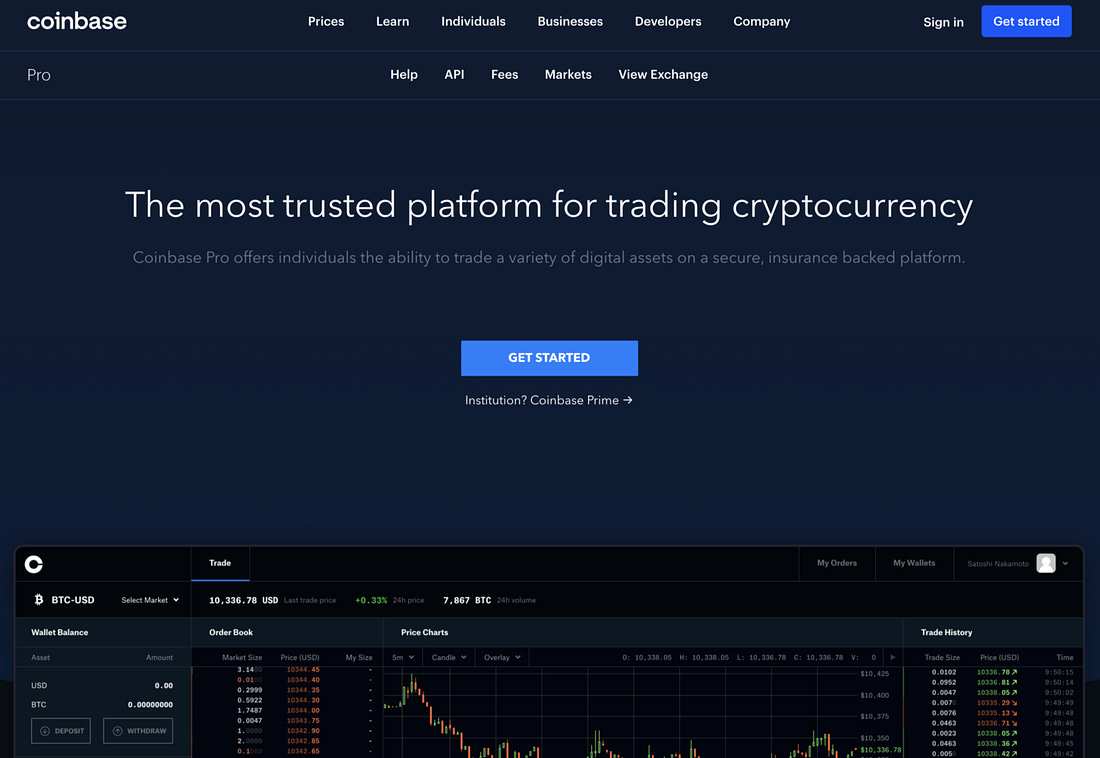
Pro Tip: If you’re feeling like skipping a step, jump straight to Coinbase Pro, it has lower fees than Coinbase but is much less intuitive and has advanced trading options. For the first-timer, I’d still recommend standard consumer Coinbase.
For my Canadian friends, Newton is a reasonable place to start and has decent UX.
2. Buy a little BTC, ETH & USDC
I’m going to assume you’re using Coinbase, so first you’ll need to connect your bank account (via Plaid) to be able to deposit some USD. Deposit somewhere between $100 and $1000 to get rolling.
Next, IGNORE everything except BTC, ETH and USDC (for now). There’s a lot to take in with crypto tokens and there are a many interesting things out there, but for the purposes of this post, most is noise for now and pleeeease don’t touch DOGE or SHIB.
For illustration sake, I’ll assume a deposit of $1000 USD, but don’t feel like you need to deposit that much if not comfortable yet, but ratios should remain about the same.
First, buy $350 in BTC. Just get that out of the way because if you’re not playing in the BTC market at all yet, you should be. BTC ETFs are ok, but they are still a few steps removed from this experience, thus not useful for this exercise(Currently there are only futures ETFs in the US, with spot ETFs in Canada and Europe). Now that you’ve bought it, forget about it. Ignore all the price fluctuations and consider it an investment in the future. What you can do with BTC and where to store larger amounts of BTC is a different topic, but for now just leave it on Coinbase. Congratulations, you’ve just taken your first step to being orange-pilled. I’ll write more about this in the future.

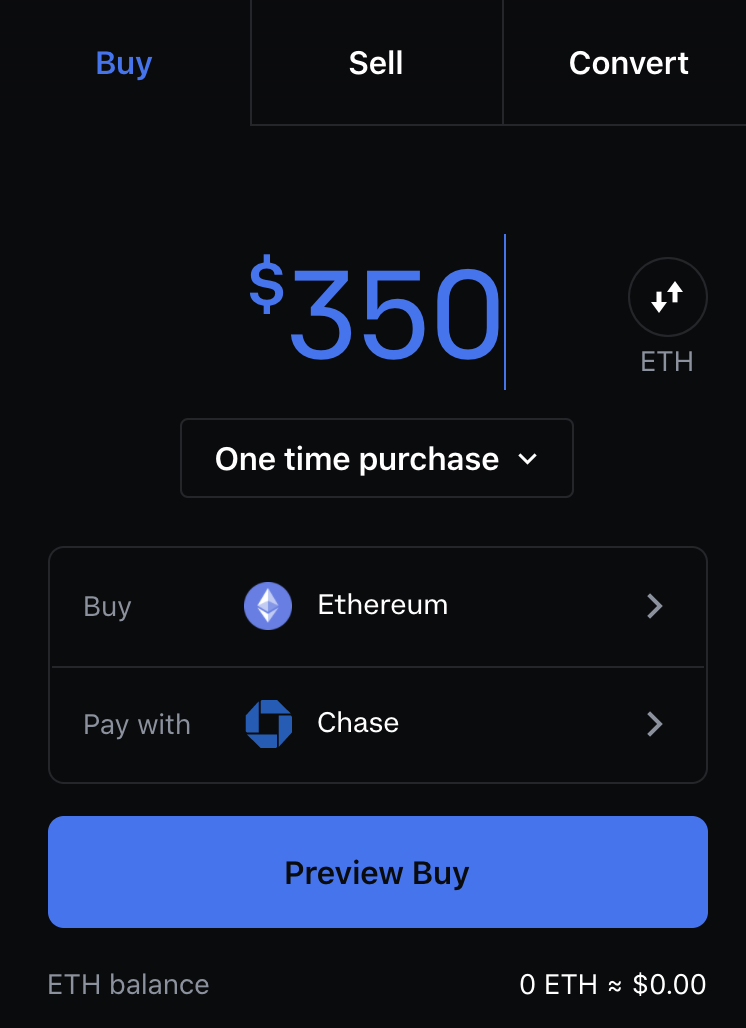
Second, buy $350 in ETH. Ether is the fuel of smart contracts on the blockchain and the centre of DeFi activity. There are others (Solana, Cardano, Avalanche+), but ignore them for now as they are currently challengers, albeit with tons of potential.
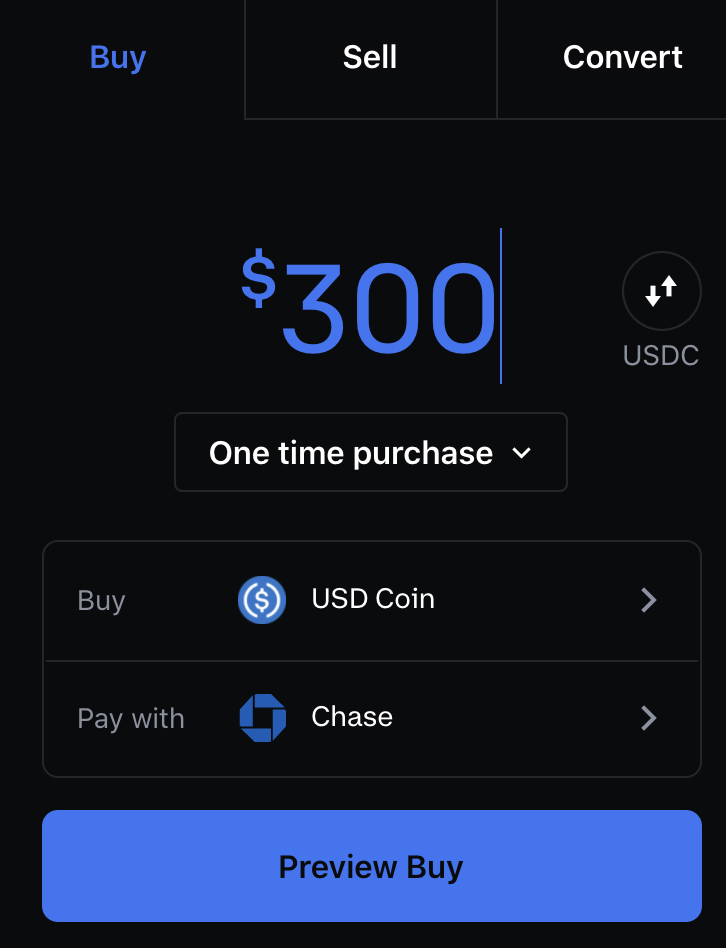
Third, buy $300 in USDC which is a stable coin. USDC is one of the most common stable coins, but you can buy any of them, including Tether (USDT), and others. Stable coins are crypto currencies that are pegged to fiat (USD or other central currency). So, they are pretty much like digitizing your old analog cash. And NO, having fiat in a digital bank account is not digital currency but that’s a longer discussion for another post. USDC and other stable coins are critical to understand as they will most likely become the medium of exchange for central bank currencies. More likely than a CBDC (Central Bank Digital Currency) ever materializing in the US. This differs from China, which is already pushing through its Digital Yuan.
3. Open a non-custodial crypto wallet (ie: Metamask)
Ok, awesome. You have some crypto ready to run with. But what does that mean? A quick primer on custodial and non-custodial wallets. Crypto (like BTC or ETH) exist on their own respective blockchains, which is a public ledger that shows all transactions on it. Coinbase is a custodial wallet, which means that when they move coins around, they are NOT actually being moved around on the blockchain rather they are just doing accounting on their side, which is very similar to what banks do today, whereby they can then reinvest that capital however they like. The important point about this is that ultimately that crypto is NOT yours, rather it belongs to that exchange and if they are ever compromised or “decide” not to let you withdraw, then you are screwed. There are nuances to this with FDIC insurance, but for simplicity the crypto community uses the term:
“Not your keys, not your coins”
…and with Coinbase, you don’t have crypto keys, so they are not your coins. Keys are what are required to access and transact with your crypto on respective blockchains.
Here’s where it starts to get a bit more complex.
Ethereum is by far the leading smart contract and DeFi blockchain. To operate on it, you require Ether (ETH). In order to properly engage in these new protocols, you need a “non-custodial” Ether wallet. The leading soft wallet is Metamask, which is super easy to use and again, a good primer for the purposes of this post. Ignore cold wallets for now. Metamask is essentially the gateway for interaction with DeFi (and many other Web3 protocols, including NFTs and the Metaverse) and will give a very good indication of what Web3 interactions look like.
So, go to Metamask and download the browser extension. It is available for several browsers, but I’m a big advocate of Brave, in case you feel like jumping off Chrome or other browser wagon.
Here’s where it gets even more complex, but please don’t walk away yet this is where the opportunity and key learning lies.
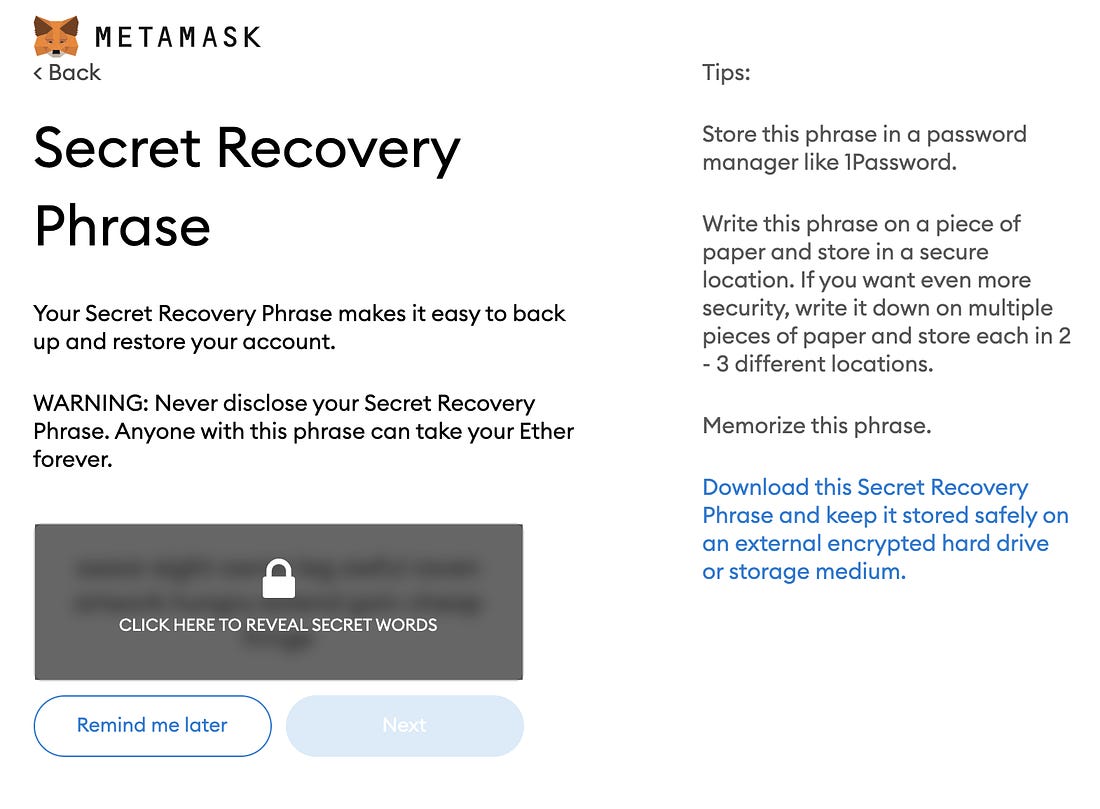
With Metamask you will need to save a series of words as your passphrase. Some purists will be mad at me for this, but just copy them and put them in your password manager or note pad or somewhere else you trust. Being really strict with this is only an issue when dealing with a lot of value. In other words, don’t stress as much as the crypto community would have you believe about the security of these phrases. Put them somewhere you can remember them. That is the most important for now. Because, if you forget, you’re F’d and that crypto is gone. Which is often a greater risk for many than the hacking risk, when involving small numbers.
4. Fund your Metamask Wallet
Alright, you’re now IN to the glorious new world of Web3! You now have a wallet that can be connected to the many new Web3 sites that don’t require traditional KYC requirements and account creation, but rather you can simply connect with your web-based wallet. This isn’t just for DeFi, but also for NFTs, the Metaverse and several other sites.
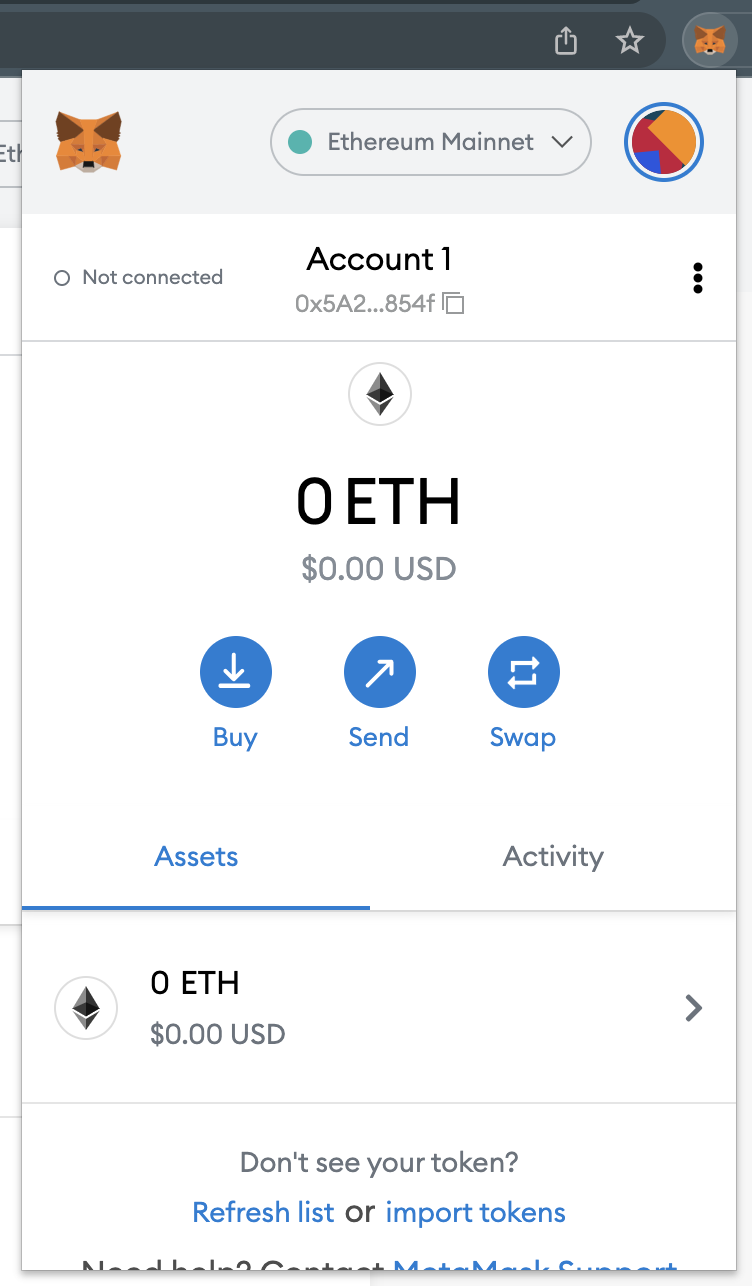
But first, let’s get some ETH into your wallet. Head back to your Coinbase (or other exchange account) and get ready to send the ETH you just purchased to Metamask. Click on “Buy” inside Metamask to get your ETH wallet address. Then scroll down to “Deposit Ether.” Click here and it will give you a QR code and a long string of letters and numbers. This is your unique public address.

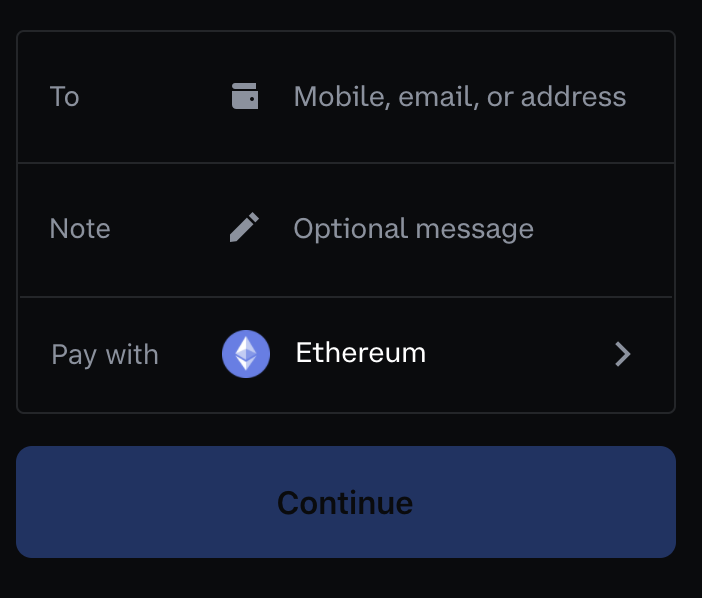
In Coinbase, click on Send / Receive in the top right and a pop-up will give you the option to send your ETH to an address. Copy and paste your Metamask wallet address in the “TO” row and hit continue. It will charge a small fee and then patiently wait for it to get transferred. It should only take a few minutes.
Then reopen your Metamask and voila, you’ve got some Web3 currency to play with.
5. Experience Web3 and DeFi
A disclaimer on Ethereum: It currently has absurdly high “Gas Fees,” which are essentially the transaction cost to secure the network. Because of the enormous popularity recently, these are astronomically high. ETH2 is meant to arrive in early 2022, which will dramatically reduce these as it moves from Proof of Work to Proof of Stake. For now, I’d recommend not actually transacting, but hold onto your ETH and learn on the different protocols, until the fees get lower.
Stop #1 on the Web3 Journey: NFTs and OpenSea
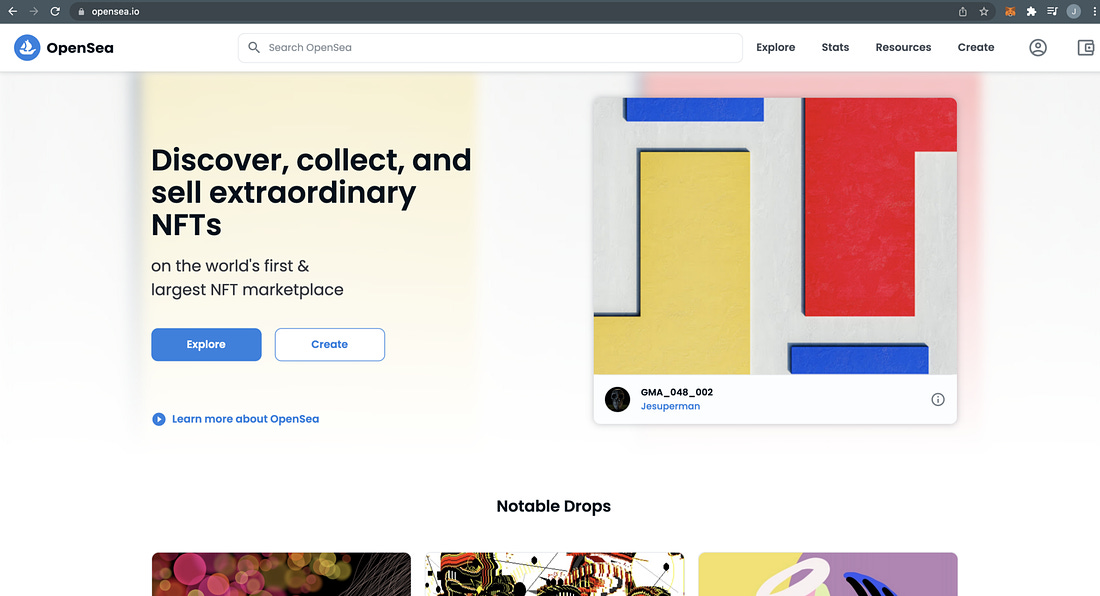
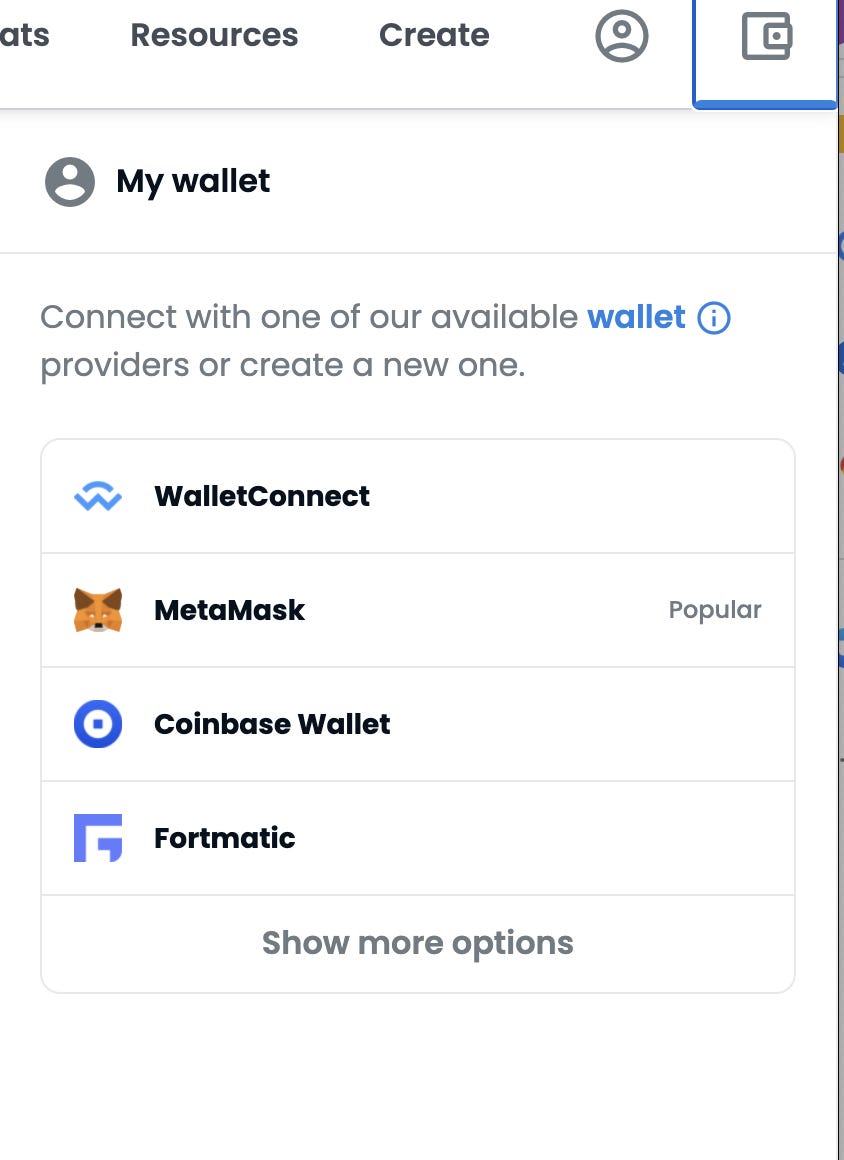
Here’s where the magic happens. You can now transact on an ever growing number of Web3 sites using only your Metmask account. Click on the wallet in the upper right and connect with Metamask. It will ask for some confirmations, but just progress through them.
Then feel free to explore the wonders of Opensea and progress through to try and buy an NFT and see how it opens and interacts with your Metamask wallet.
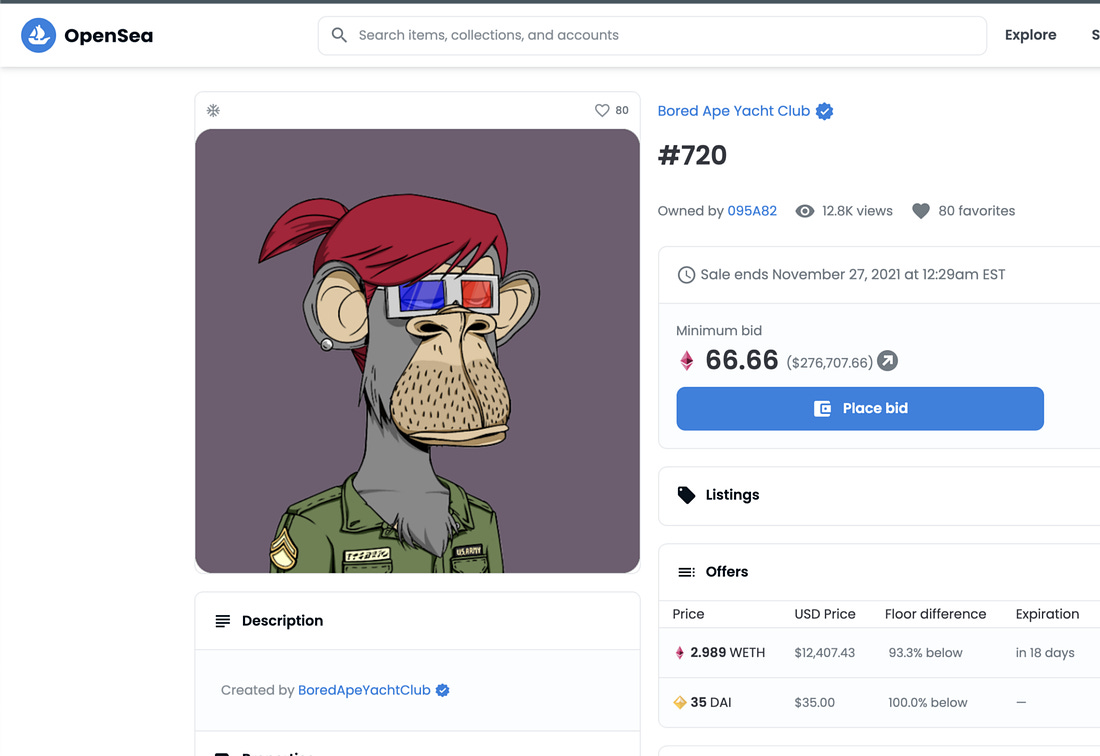
Try out Bored Ape Yacht Club to check out some monkey art, then head over to Sandbox Metaverse to consider buying a plot of land. (Note, these actually require wrapped ETH to purchase, but that is a topic for another post).
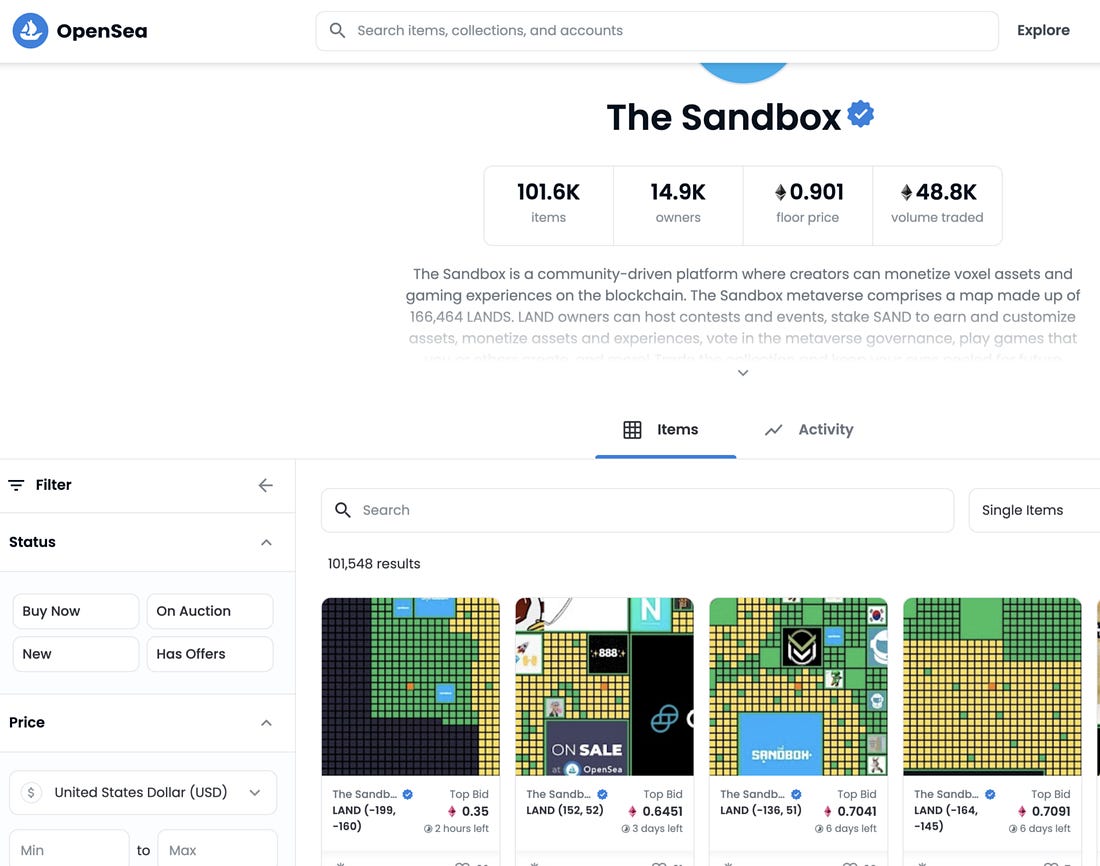
Stop #2 on the Web3 Journey: The Metaverse
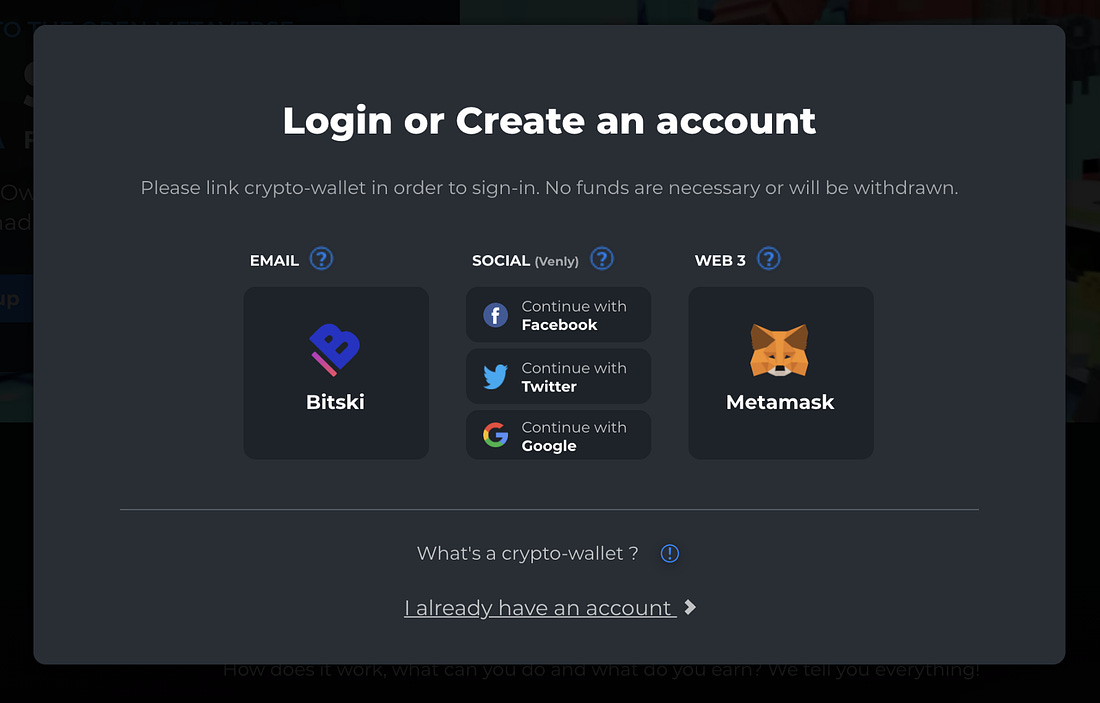
After you’ve explored some NFTs, head over to Sandbox Decentralized Metaverse, where you’ll quickly see what’s on the horizon for Web3 as it lines up beside Web2 protocols. You can create an account in several ways, but doesn’t Web3 with Metamask suddenly feel much better than connecting in with Facebook? I think so.
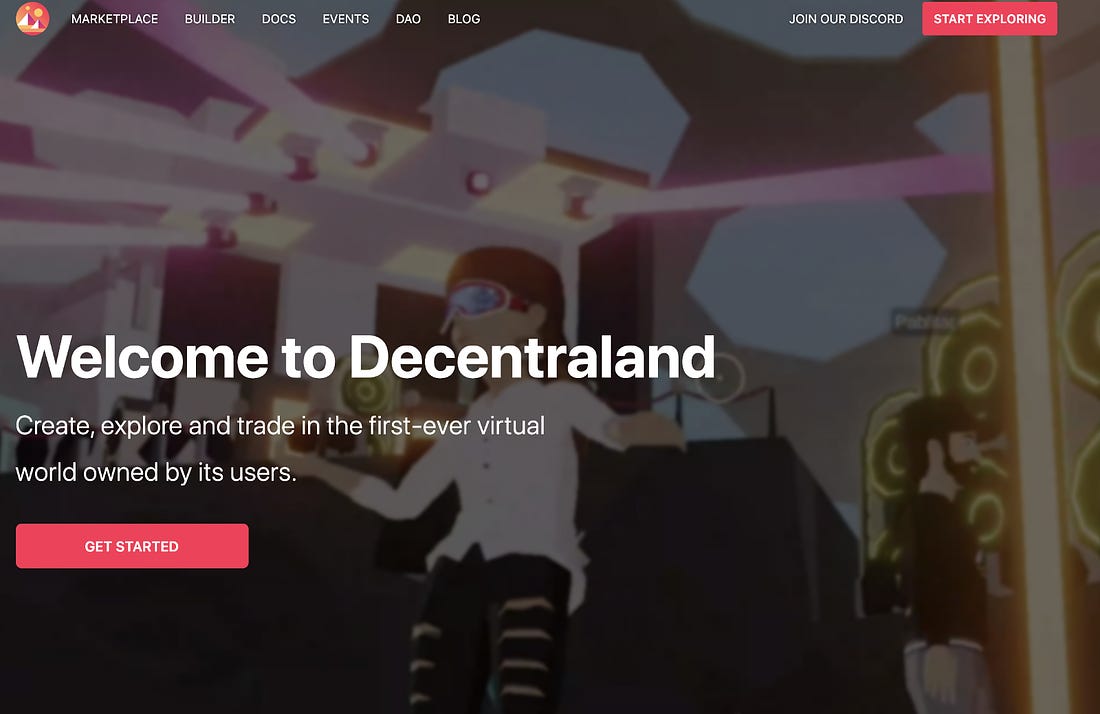
Another fun one is called Decentraland, which is an entirely decentralized metaverse that you can also connect to with Metamask and start wandering around, engaging with others and buying land if you like 🤷♂️
Stop #3 on the Web3 Journey: DeFi
Finally, let’s do a quick dabble in DeFi. Visit the following sites and experiment connecting your Metamask account. Just look for the “Connect App” or “Wallet” button in the top right.
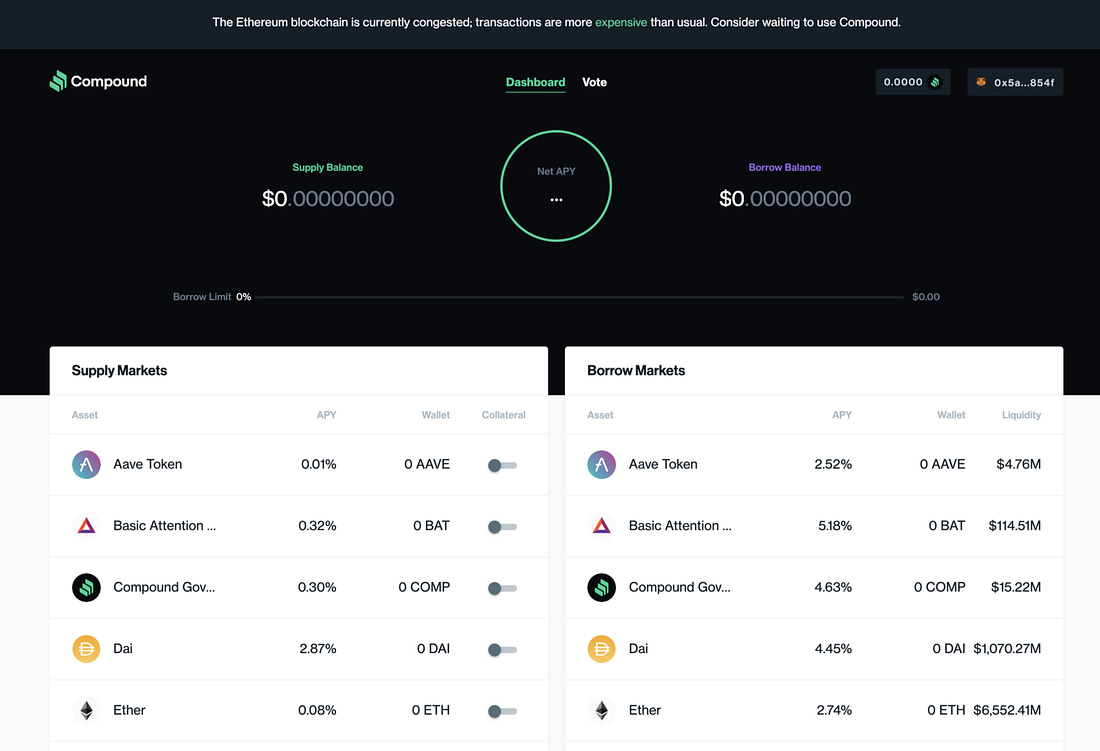
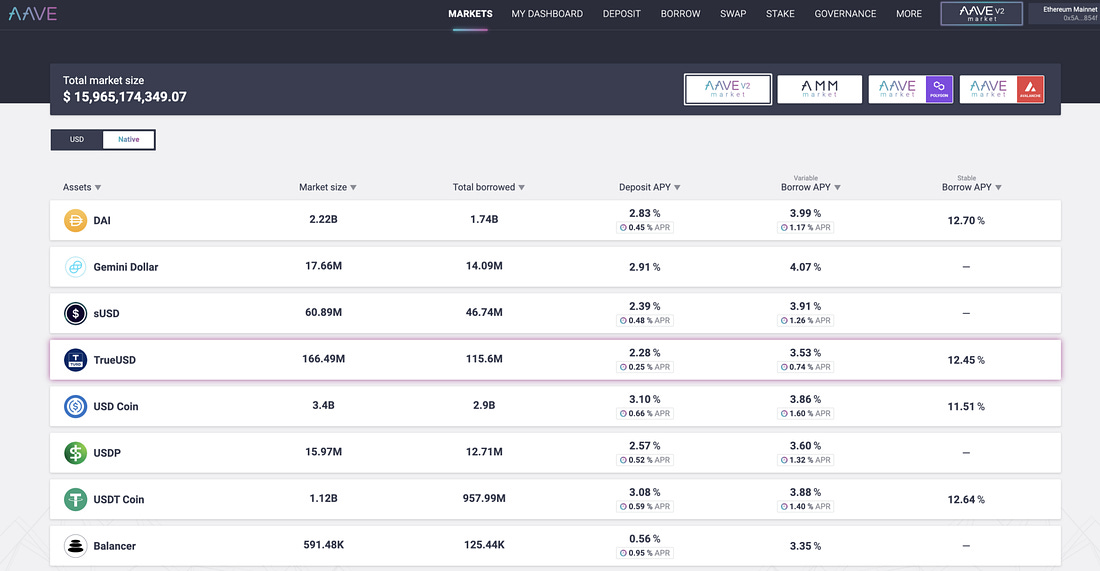
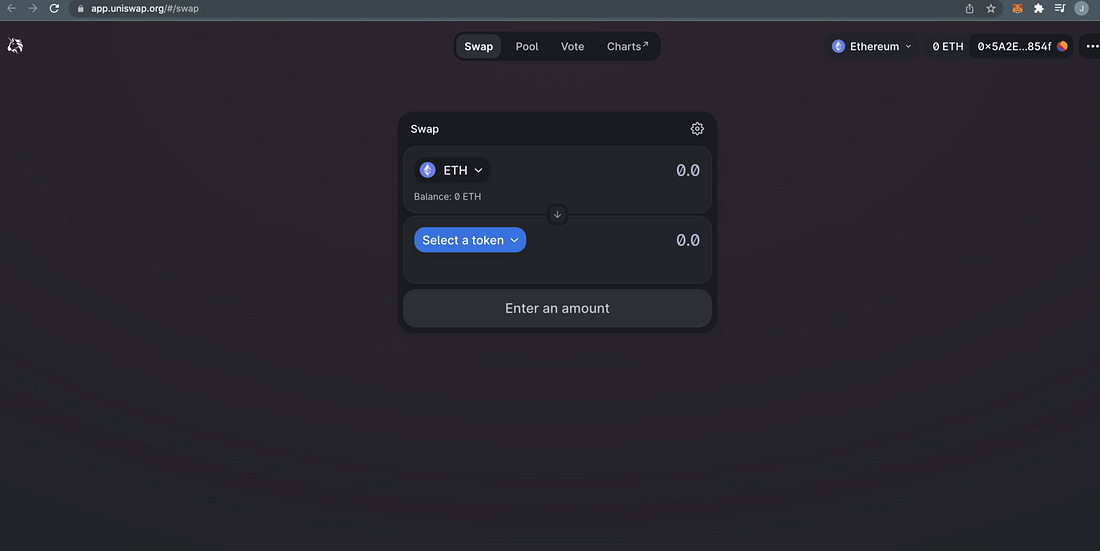
Compound and AAVE enable you to stake your crypto in order to earn yield in many different ways. You can also borrow crypto against assets you already have staked. Uniswap is the leading protocol to exchange tokens on Web3. I’m not going to go deep into these for now, but just connecting your Metamask and seeing what’s possible is the starting point.
Again, ETH gas fees are massive right now (Nov 2021), so it may not be worth actually transacting, but this is the starting point.
But wait, what about my USDC? USDC is on the Ethereum blockchain, so it behaves in the same way as ETH. You can send some to your Metamask wallet in the same way as ETH and then convert it, or stake it as you like.
Alright, if you’ve made it this far, I congratulate you! This is just the first step in the very deep rabbit hole that is crypto. It’s happening. And it’s happening fast. The majority of tech (and other) talent is going to shift to this space, so regardless of your interest in it, it will impact you, your colleagues and the places your work.
Stay tuned for more in-depth posts and let me know any thoughts in the comments.