
NFT projects are all the hype, but how do you actually launch one? In this article I will walk you through the process of making an NFT project, from start to finish. I will use the Doodles collection as a case study.
Step 1: Image Generation
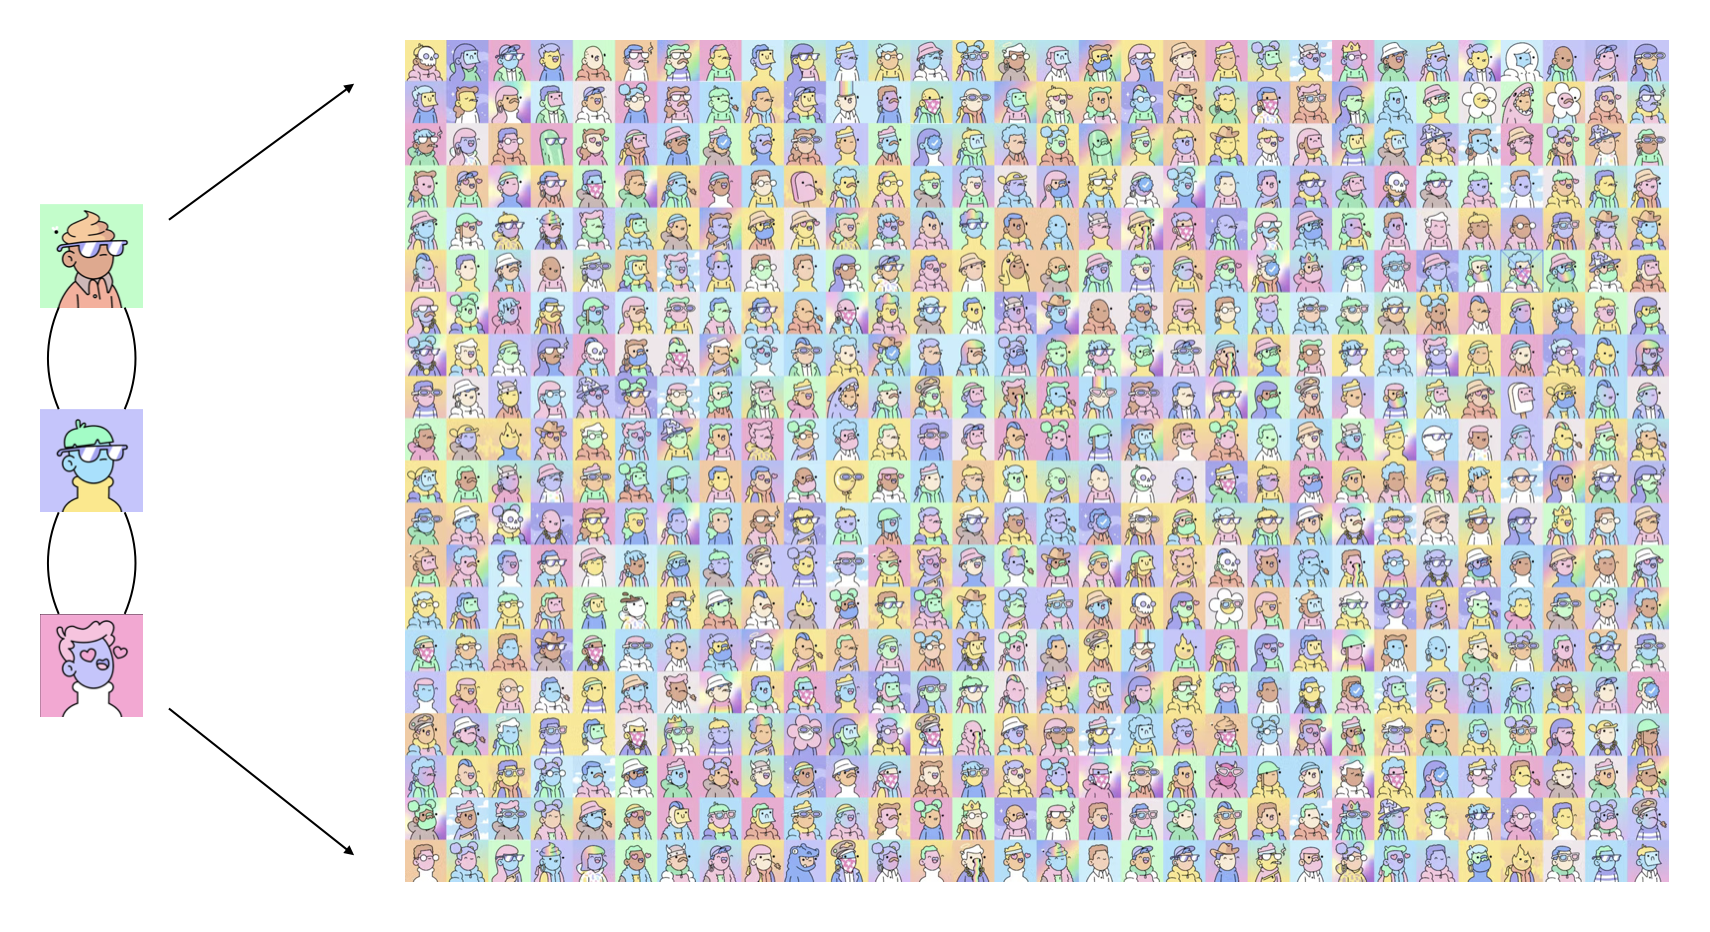
The first step is to assemble your images. You can either create them yourself or work with an artist. First create parts, then use an image generation script to form 1000s of combinations of them.
Here is an example of such a script. You can also write your own.
Step 2: Storage
The next step is to store your images. You can either use cloud storage (eg. Amazon S3) or a fully-distributed database (eg. IPFS). If you use IPFS, I recommend using Pinata as your management tool.
Step 3: Smart Contract
You need to set up a smart contract. A smart contract defines the rules of buying, selling, and transferring NFTs. Fortunately, you don’t have to do this from scratch. ERC-721 is a standard template that you can use.
You can find smart contracts on sites like Etherscan. Here’s Doodles: Link.
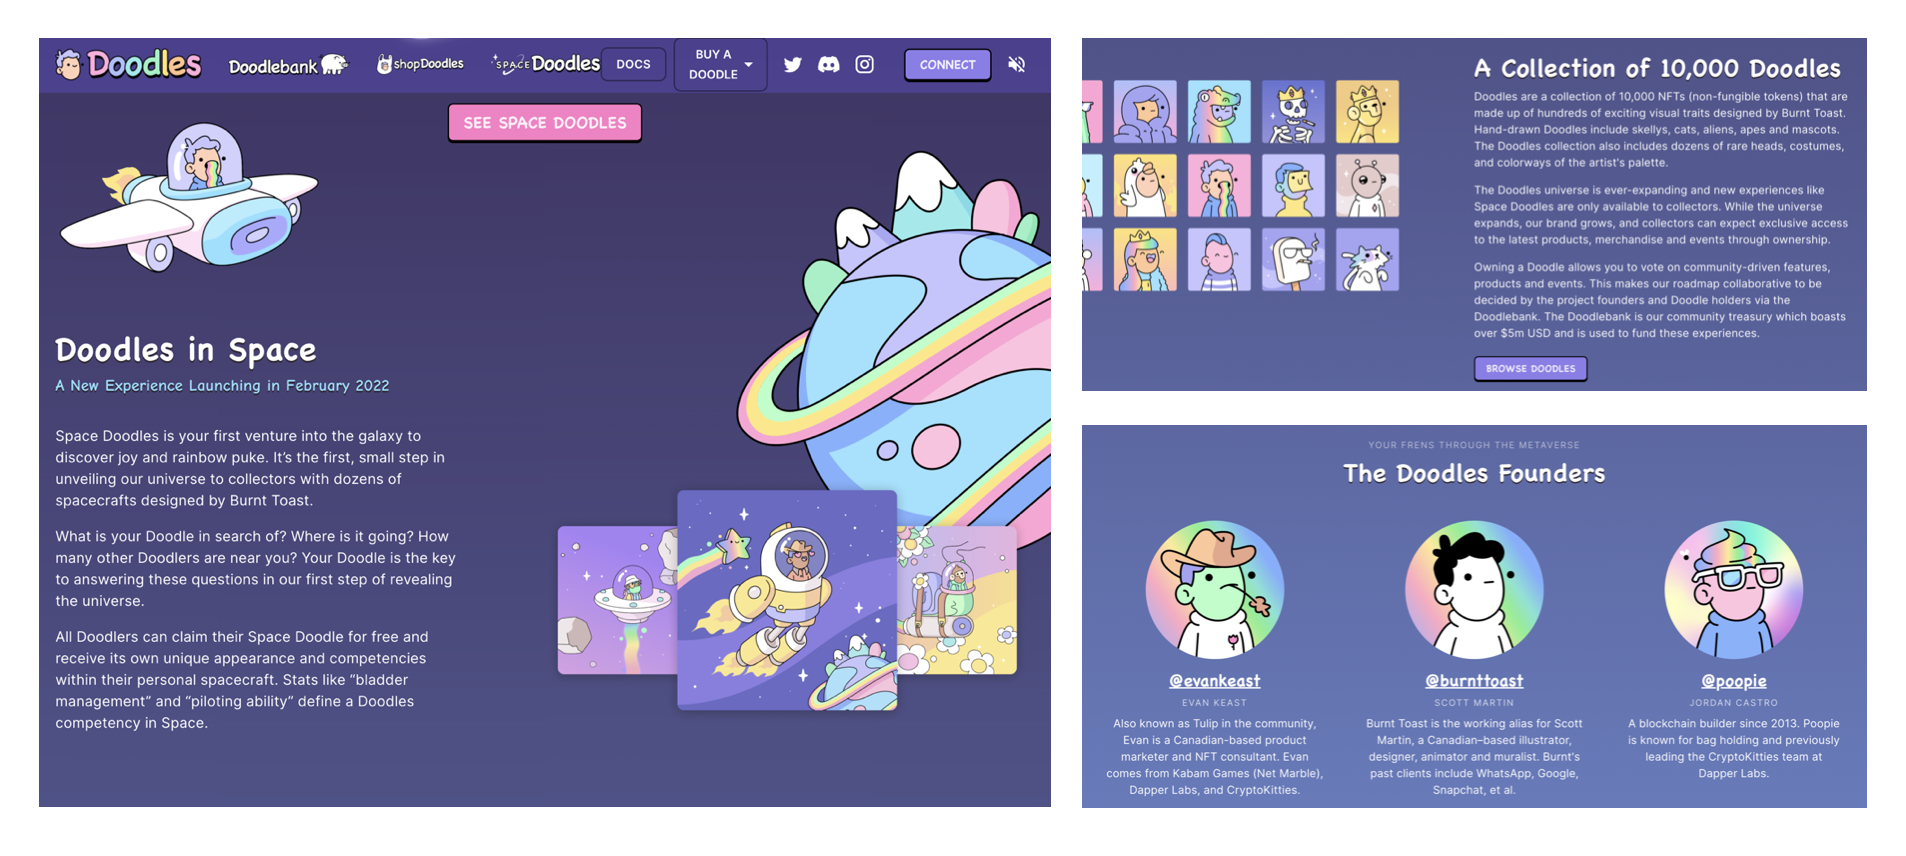
Step 4: Website
Set up a website for your project. The website is where people can go and see your project.
Sections you can include:
- Story
- Description
- Perks
- Roadmap
- About
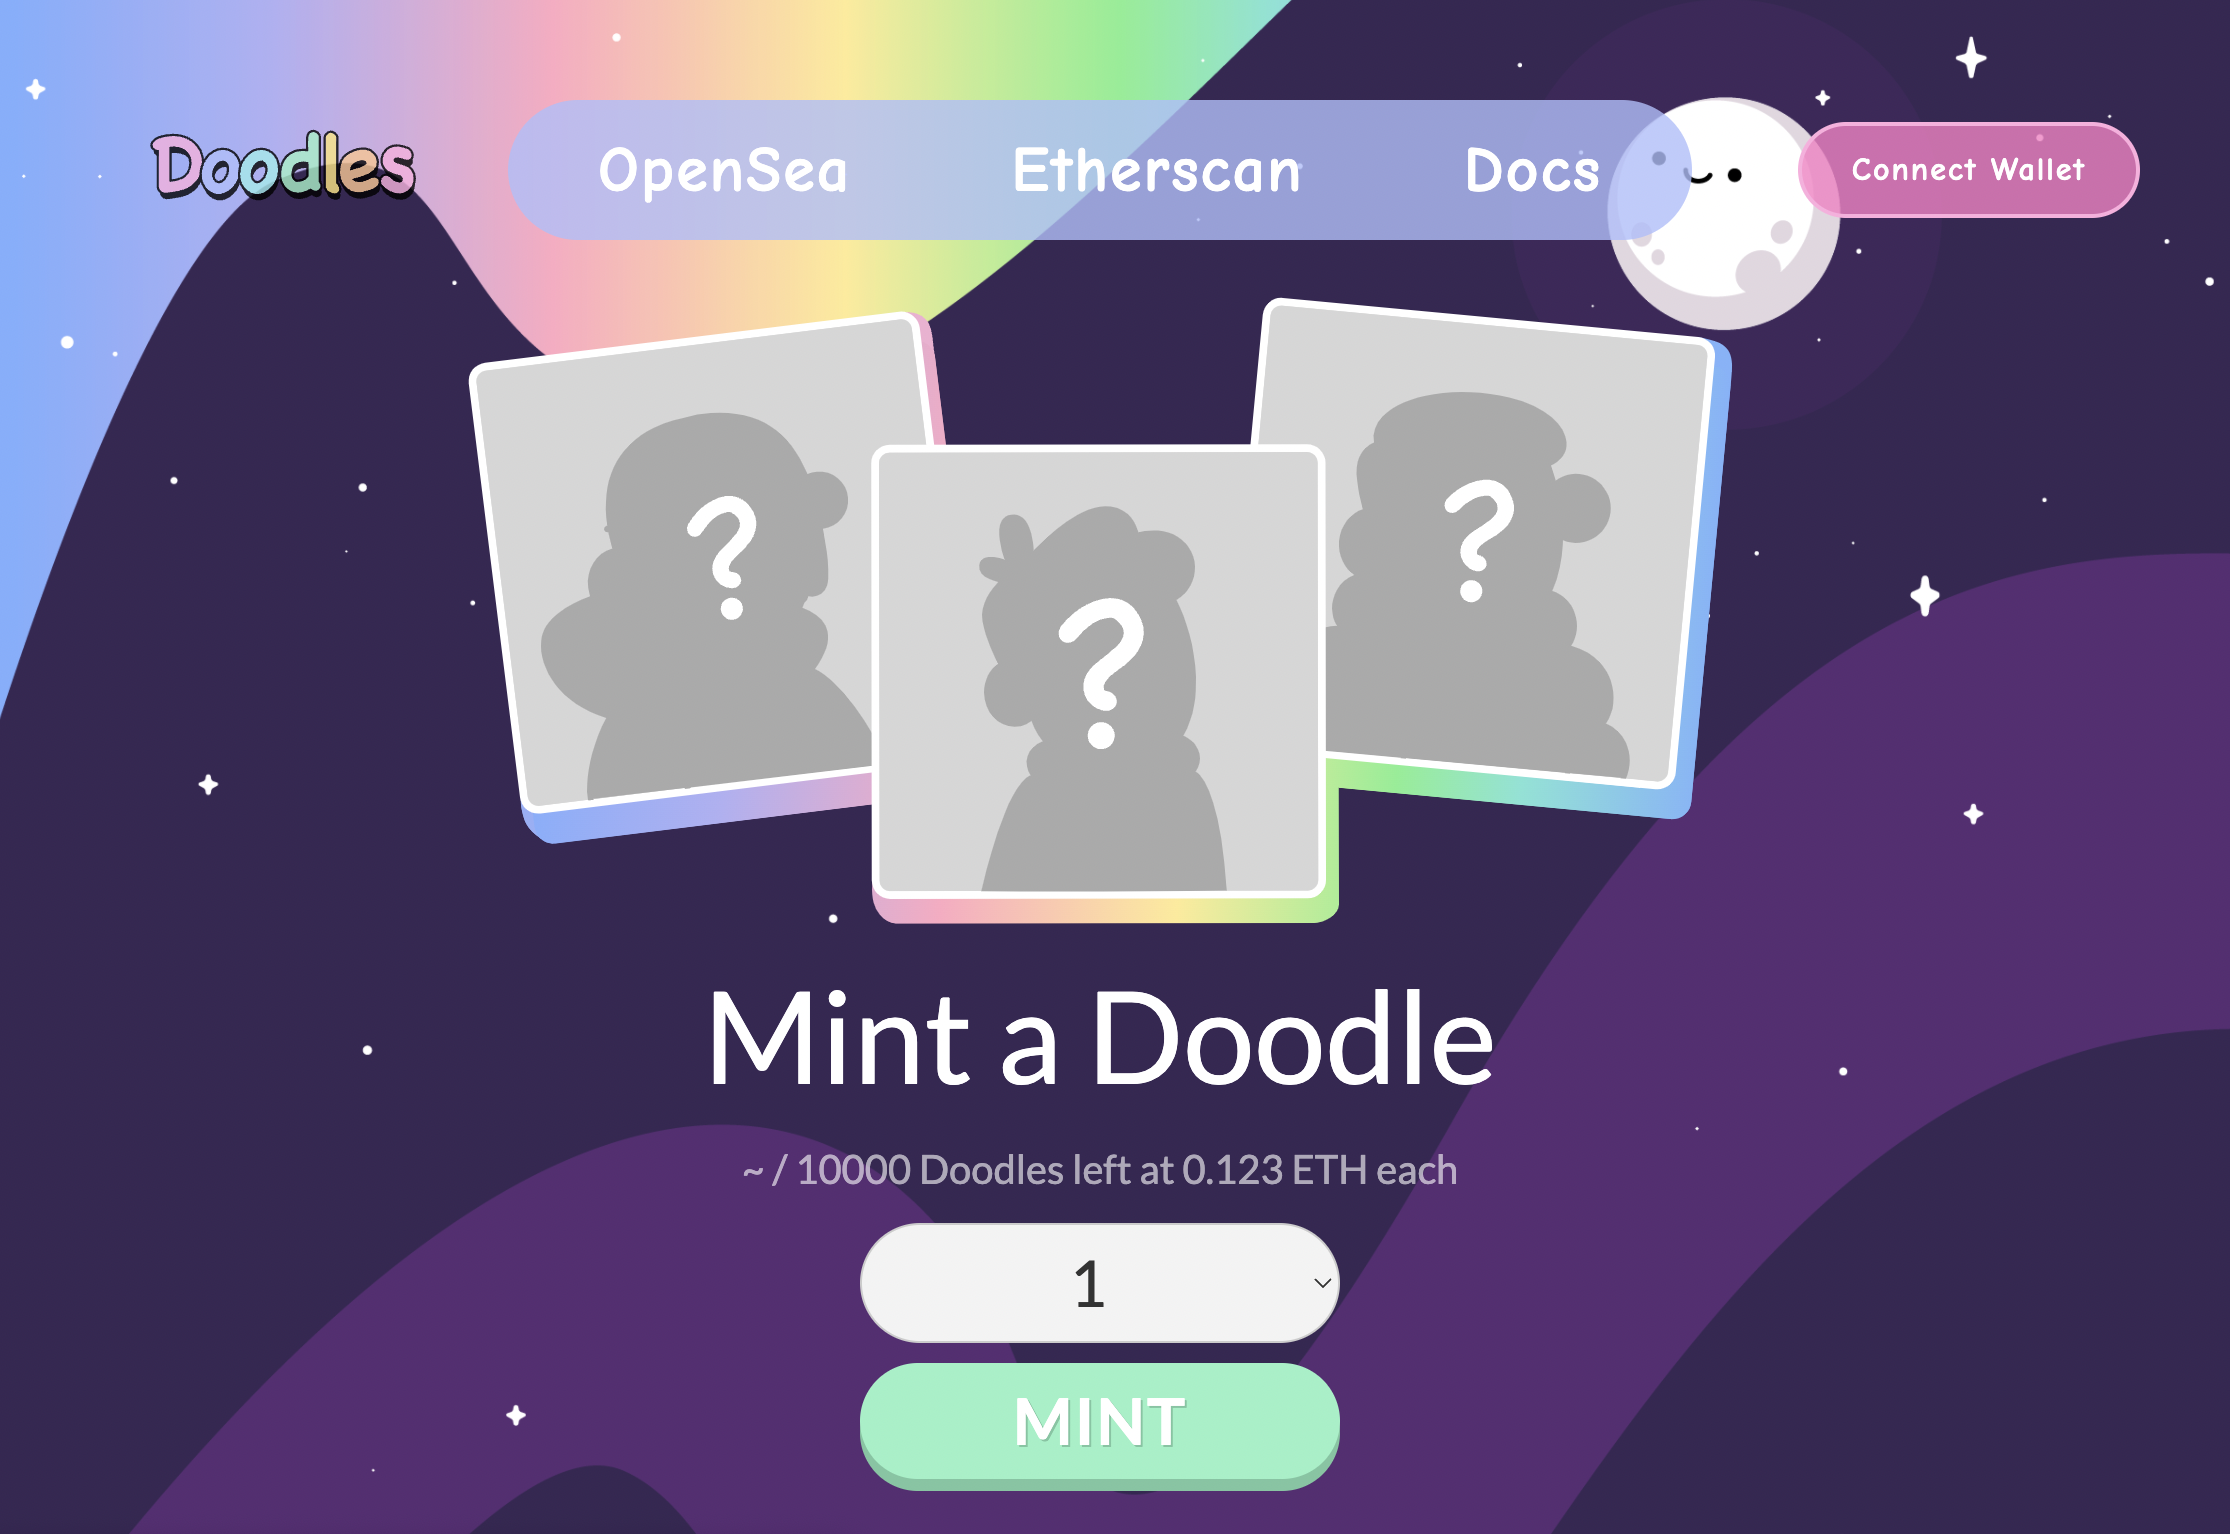
Step 5: Mint Page
Minting an NFT makes it official. Unfortunately, minting comes with a transaction fee. If you want don’t to pay it, you can have your fans mint your NFTs for you.
Preparing for Launch
Social Media
Building up a following on social media. Twitter is the most popular platform for NFT discussions.
Community
Start a community. Discord is the go-to app. A strong community makes for a successful launch.
Launch 🚀
Now it’s time to tell the world! Set a date for the mint to begin, and you’re off to the races!
If you found this article helpful, please share it with others. As always, you can find me on Twitter.