
In our guides, we provide transaction hashes for each action, allowing you to verify and explore these actions directly on the blockchain. This guide explains how to use these transaction hashes on explorers for Ethereum, Optimism, and Base networks, so you can see every transaction’s details for yourself.
What you will find in this article:
-
Step-by-step guide on using blockchain scanners.
-
Important information to look for.
What you need:
- Transaction hash: also called “Tx hash”, it’s the unique ID for each transaction on the blockchain.
Step-by-Step: Verifying Transactions
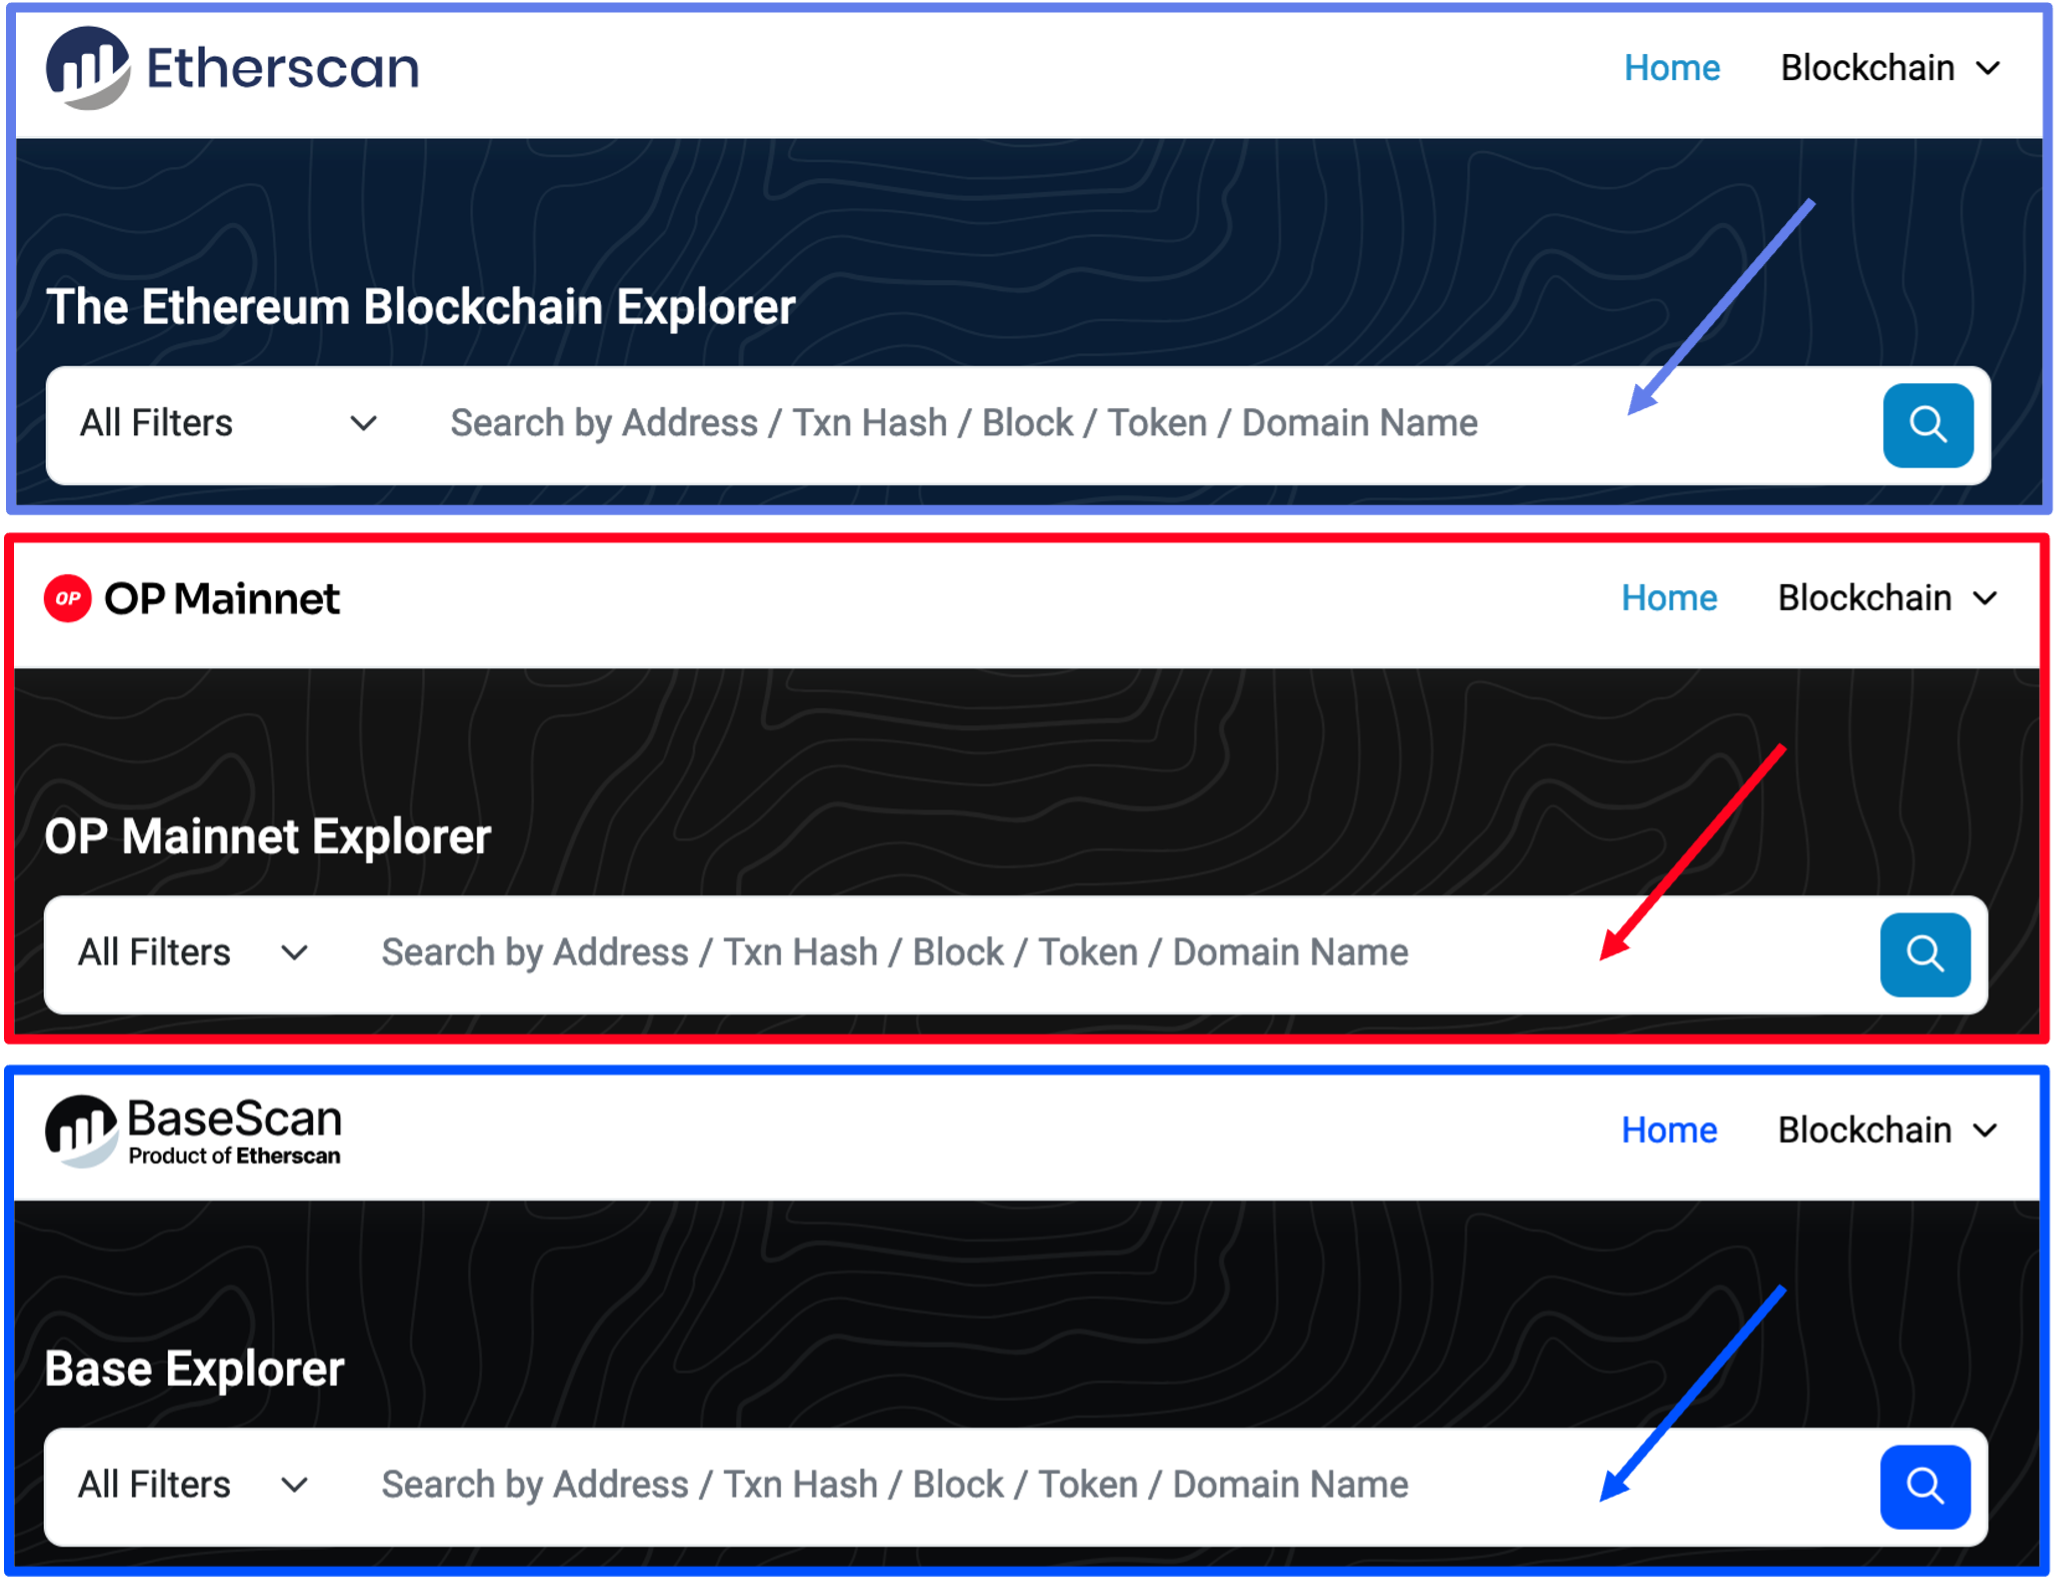
1)Access the blockchain explorer for the relevant network: use the appropriate explorer depending on the network where the transaction was conducted:
-
Ethereum Mainnet: etherscan.io
-
Optimism: optimismtic.etherscan.io
-
Base: basescan.org
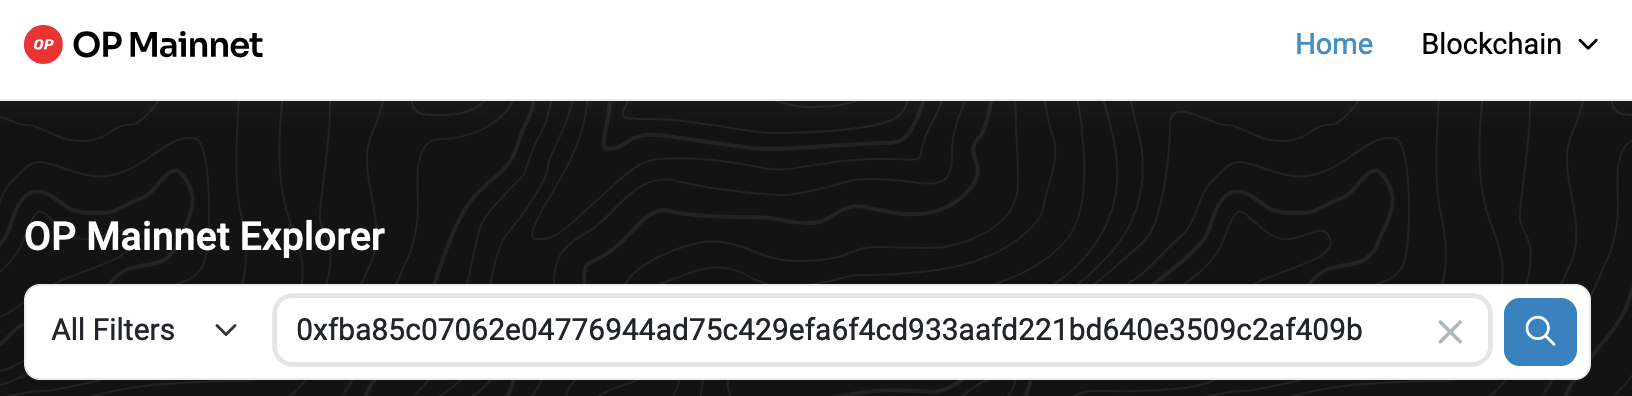
2)Paste the transaction hash: copy the transaction hash provided in the article and paste it into the search bar at the top of the explorer page. Then, hit enter to view the transaction details.
Key information on the Transaction Page
Once you enter the transaction hash, you will see details like:
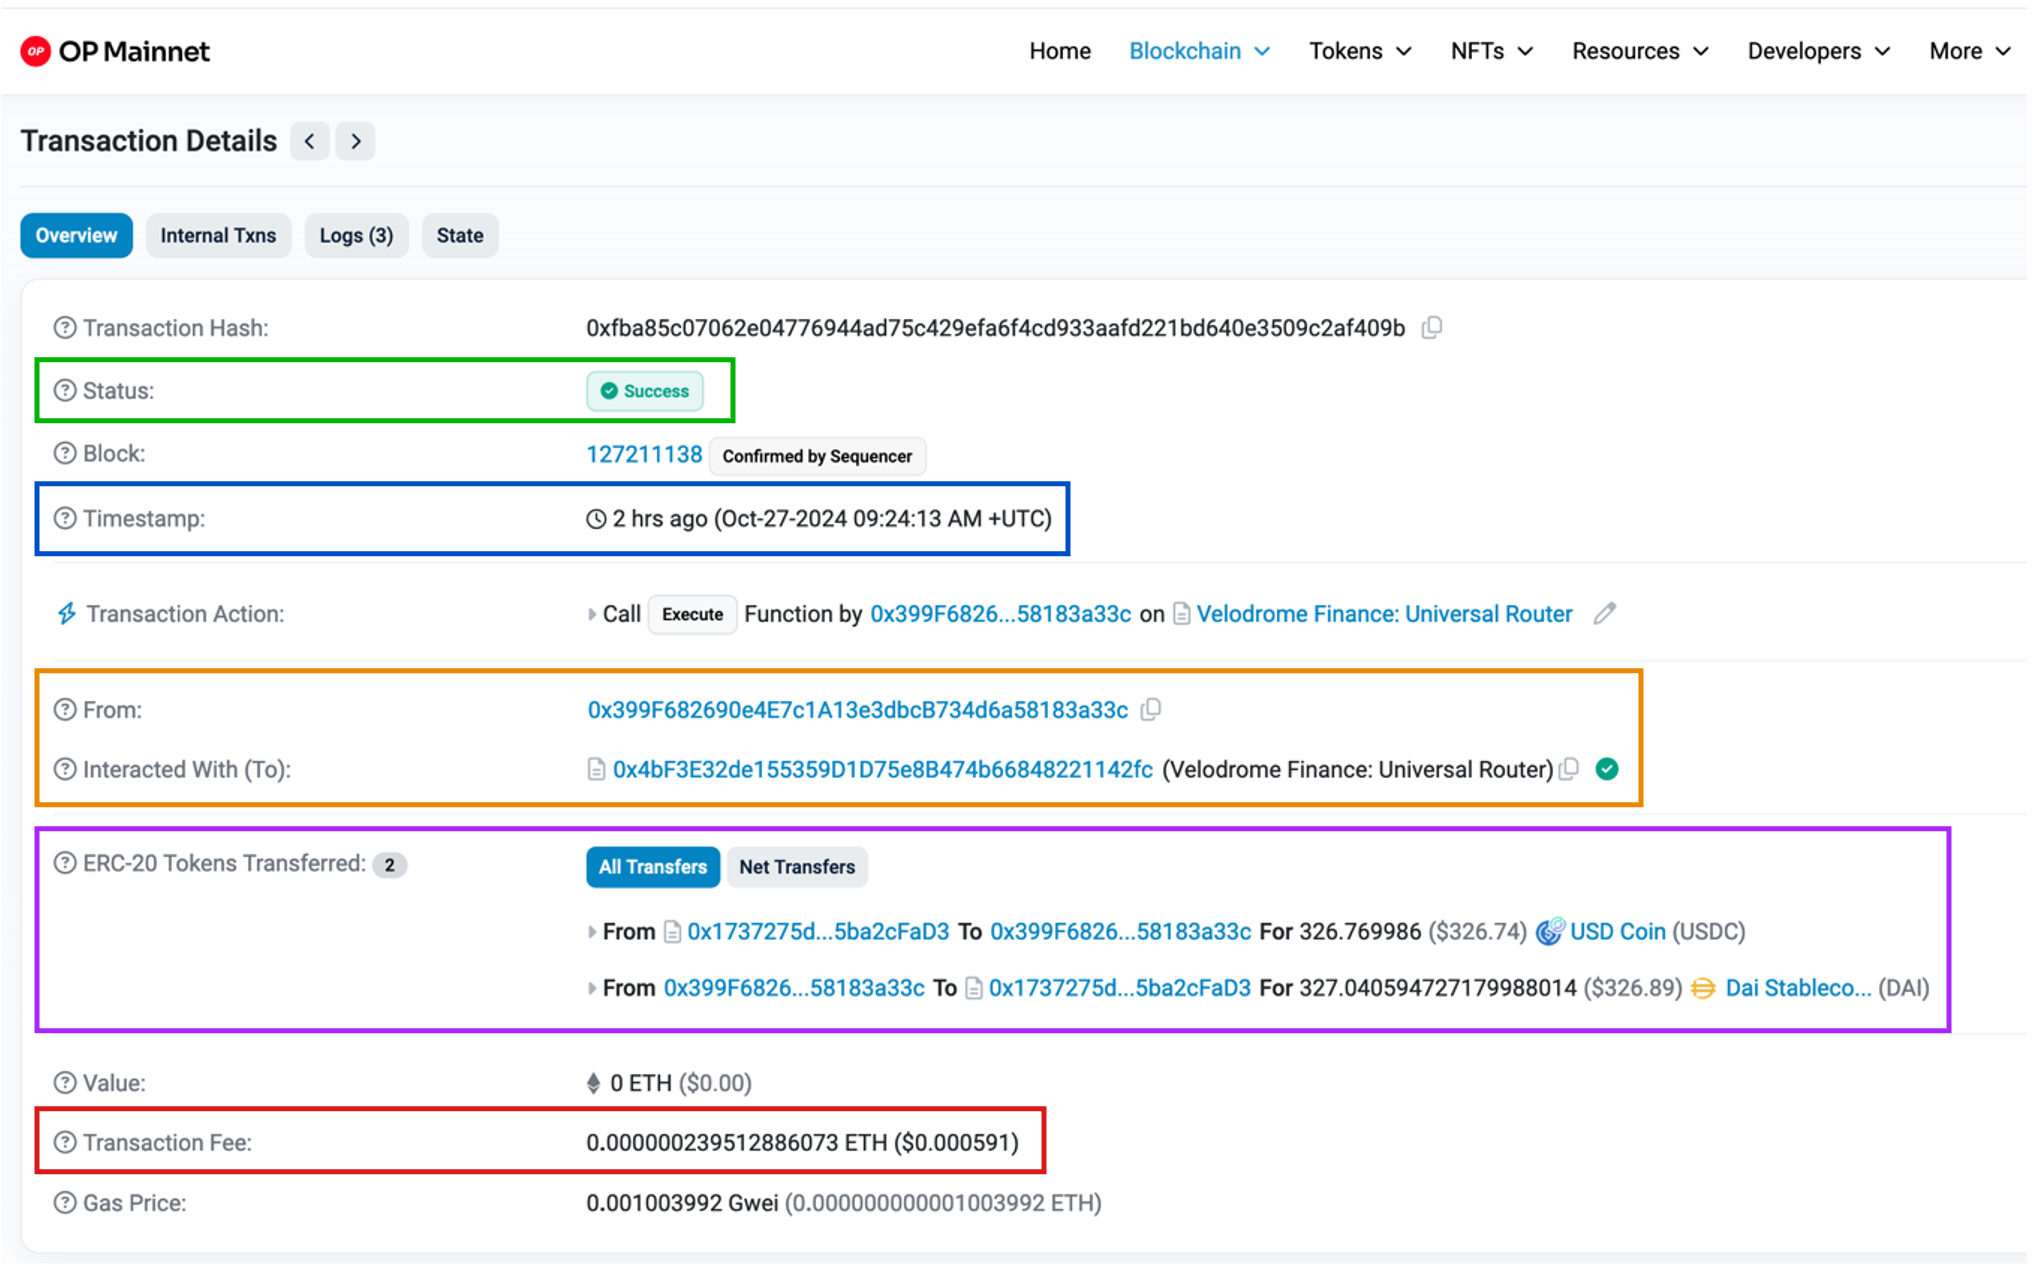
🟢 Transaction status: shows if the transaction succeeded.
🔵 Timestamp: date and time of the transaction.
🟠 From and To addresses: indicates who sent the transaction and where it was directed (e.g., to a DeFi protocol).
🟣 Tokens transferred: details on token amounts, names, and values in USD.
🔴 Transaction fee: shows the gas fee paid.
Conclusion
Verifying transactions hashes is a simple way to confirm the accurancy of the steps described in our articles. By cross-referencing these hashes, you gain transparency and assurance in interacting with the Ethereum, Optimism, and Base networks.
Lynn Brooke
This article serves educational purposes and is not financial advice. We encourage you to do your own research and be responsible for your actions in the financial space.